Deploy a Hosted Cluster
Introduction
The beginning section of this lab will introduce you to the basics of using Advanced Cluster Management for Kubernetes (RHACM) and the Multicluster Engine operator to deploy an OpenShift on OpenShift Virtualization cluster using hosted control planes as the provider.
Goals
-
Deploy a new OpenShift cluster using a hosted control plane.
-
Review the hosted cluster environment.
As a reminder, here are your credentials for the OpenShift Console:
Your OpenShift cluster console is available sample_openshift_cluster_console_url[here^].
Administrator login is available with:
-
User: sample_openshift_cluster_admin_username
-
Password: sample_openshift_cluster_admin_password
Prerequisites for Deployment
-
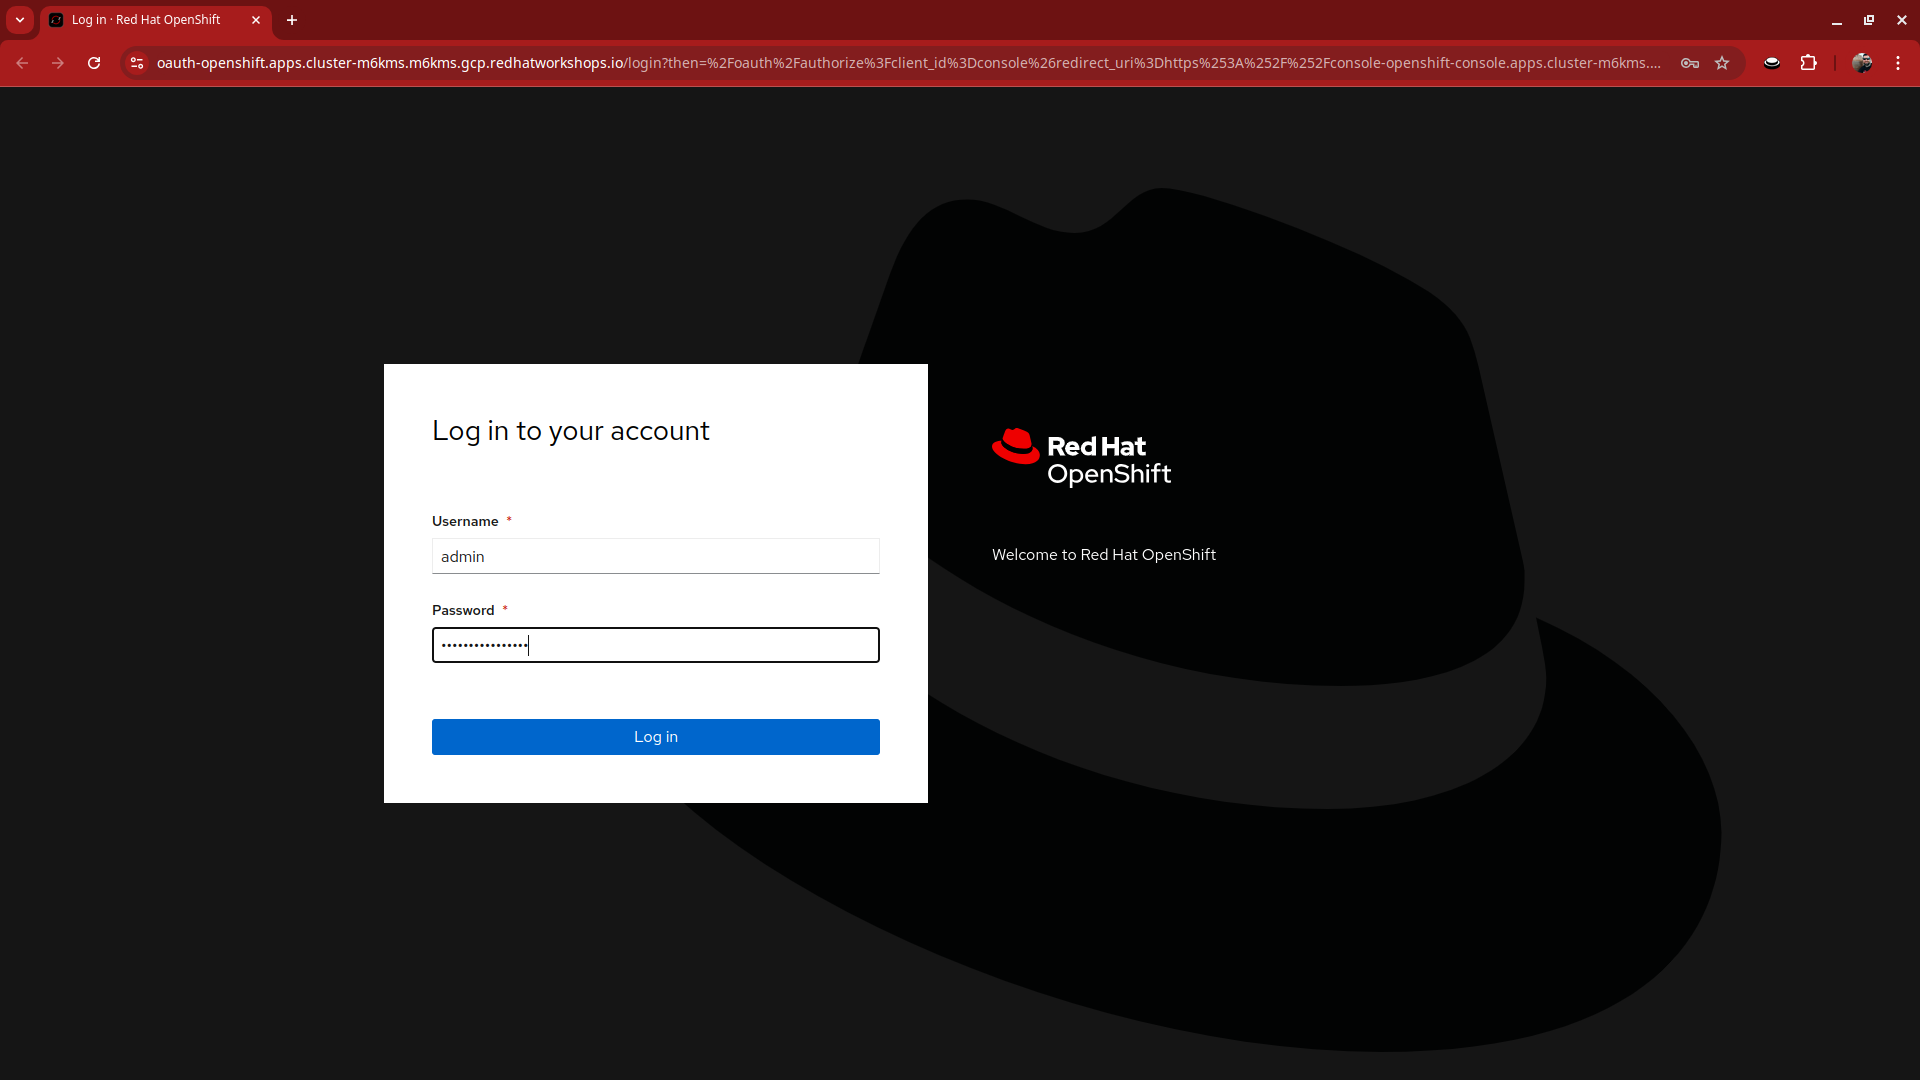
Click on the link above to launch the OpenShift console in a new browser tab.
-
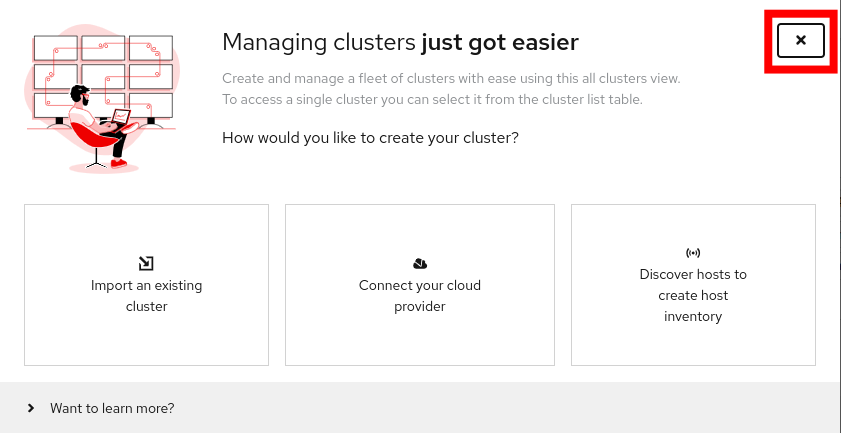
When you login you will be presented with a pop-up window that promotes the ease of managing clusters with RHACM. Click the x in the corner to close the window.
-
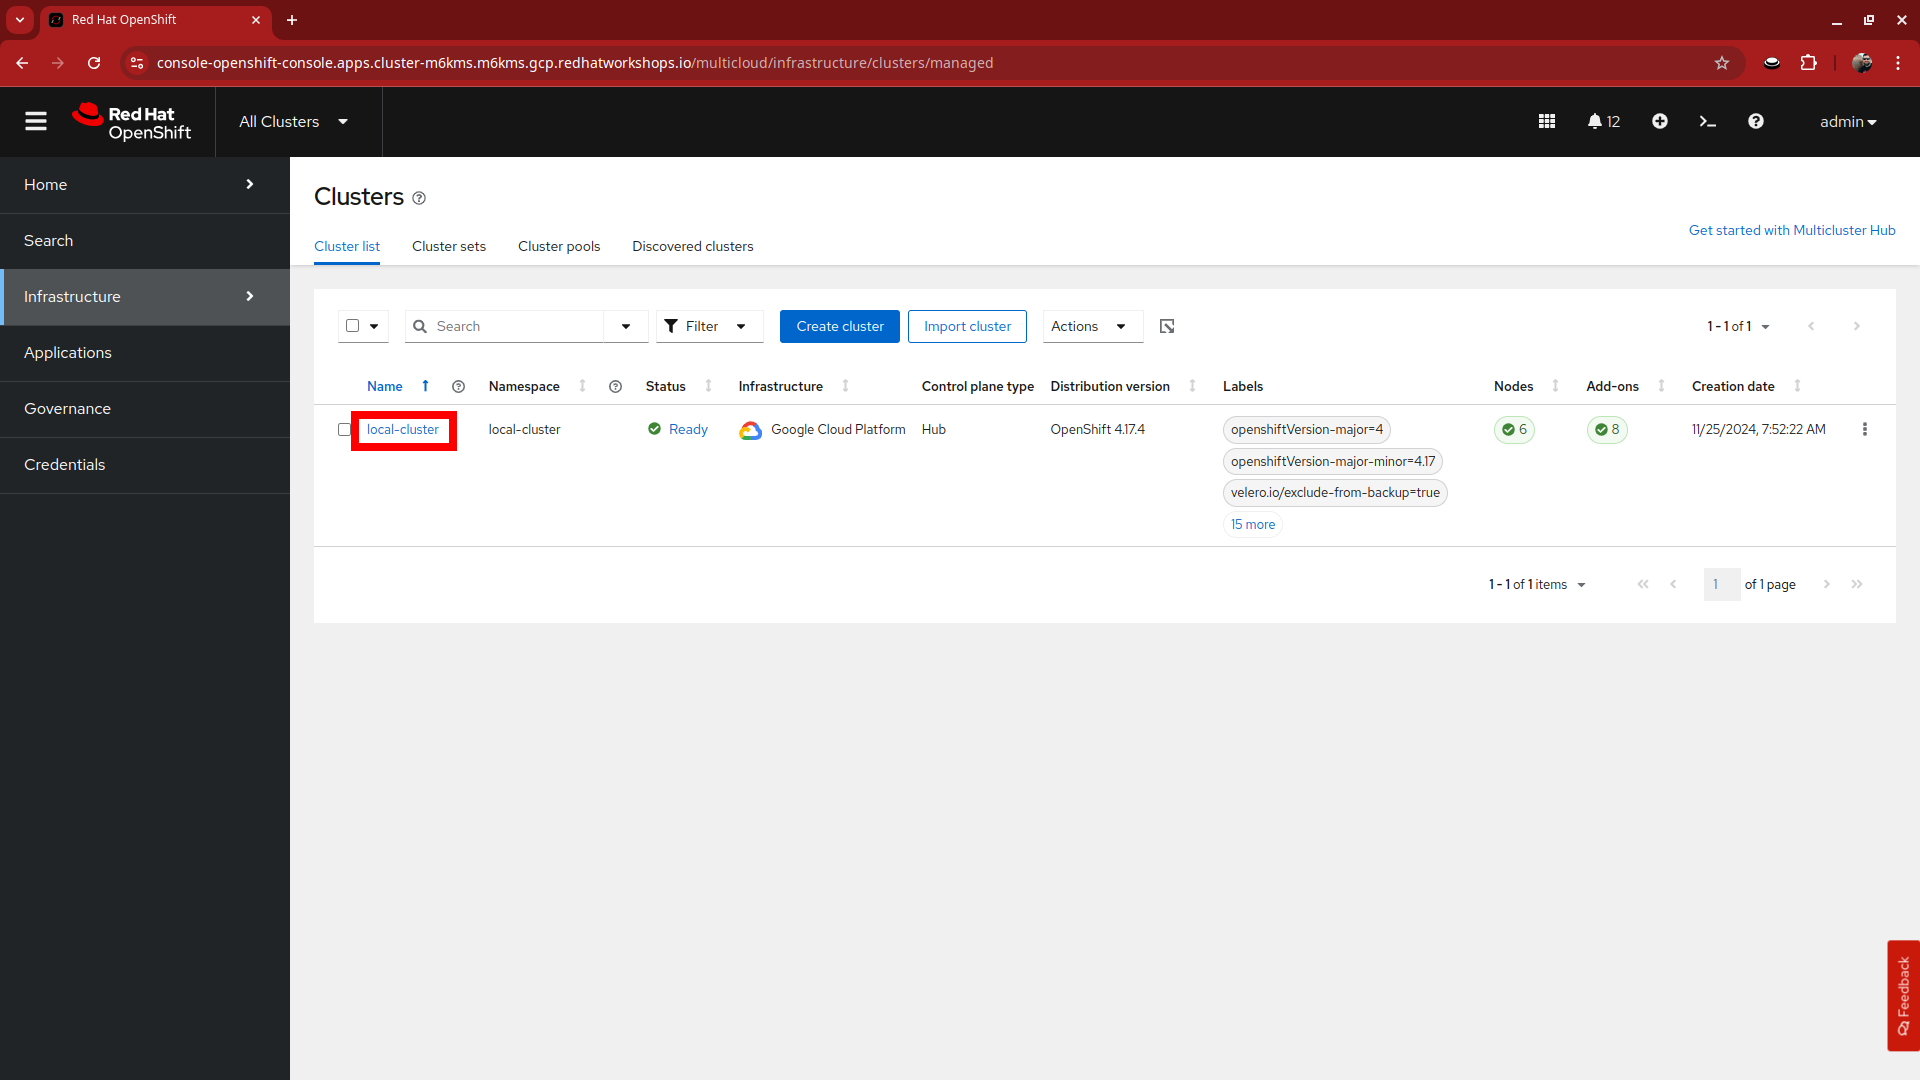
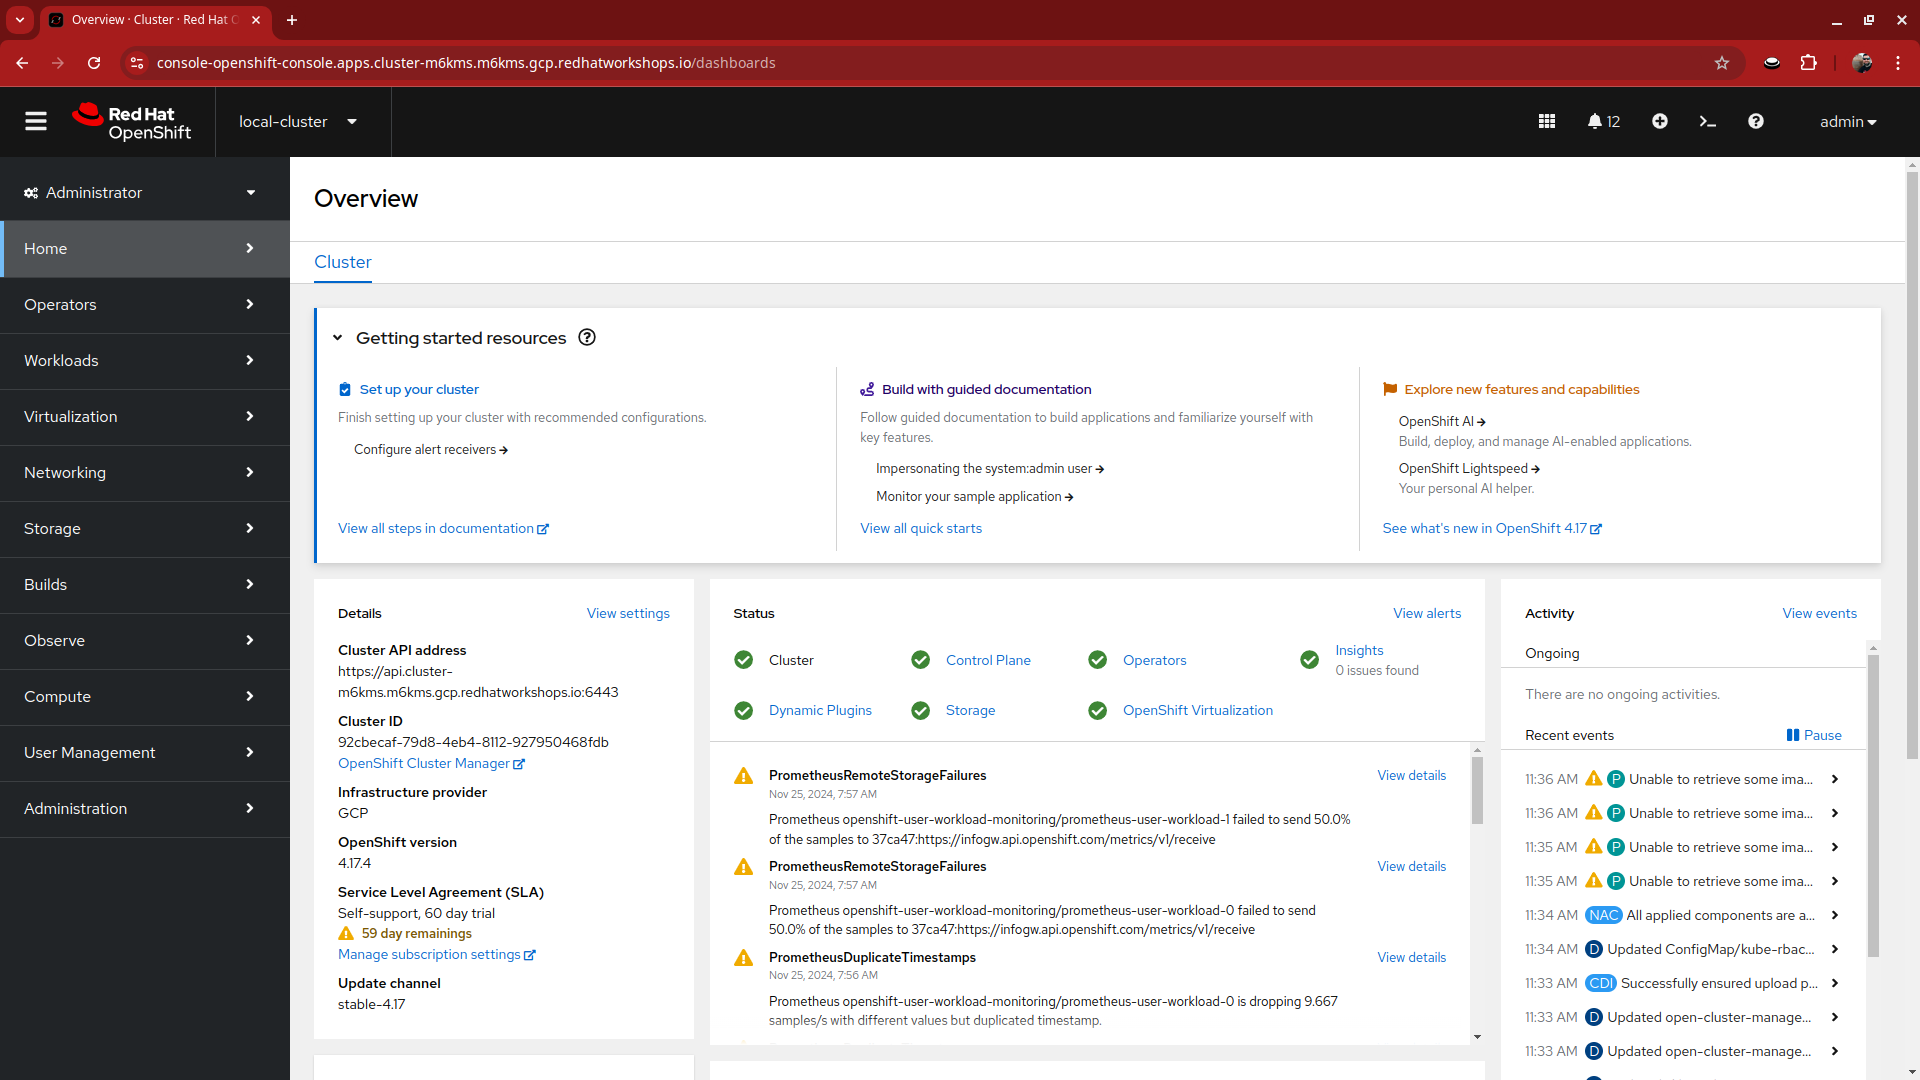
Your initial landing page will be on the ACM default view for All Clusters. Currently the only cluster being managed is the local cluster that we are running on.
-
Click on the local-cluster to find out more information about it.
-
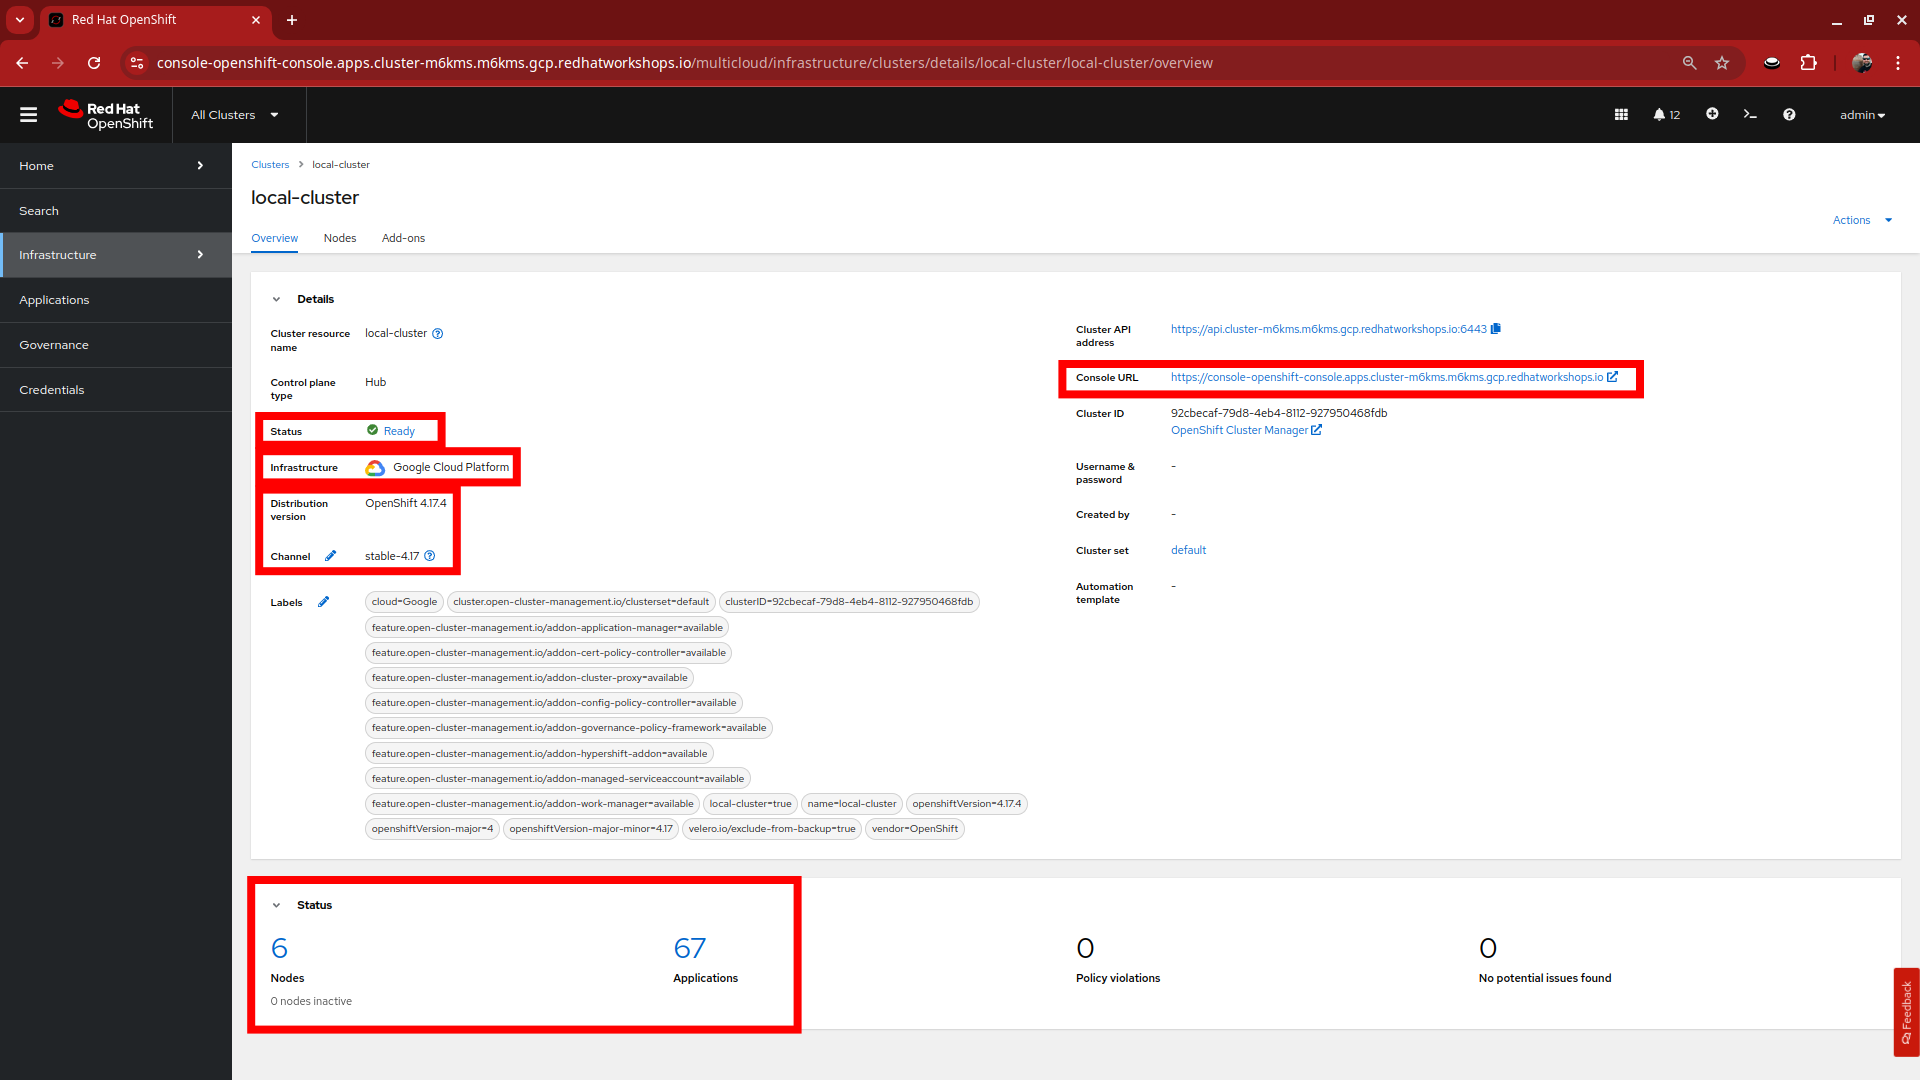
The Overview tab for the local cluster will show you the status of the environment, the console URL for direct login, as well as information about the hosting environment, the current release information, and information about the number of nodes and applications currently deployed on the cluster.
For the purpose of this lab please note that we are hosting the environment in Google Cloud. This is not a supported environment for production use at this time. For production use, please see the release notes available here. -
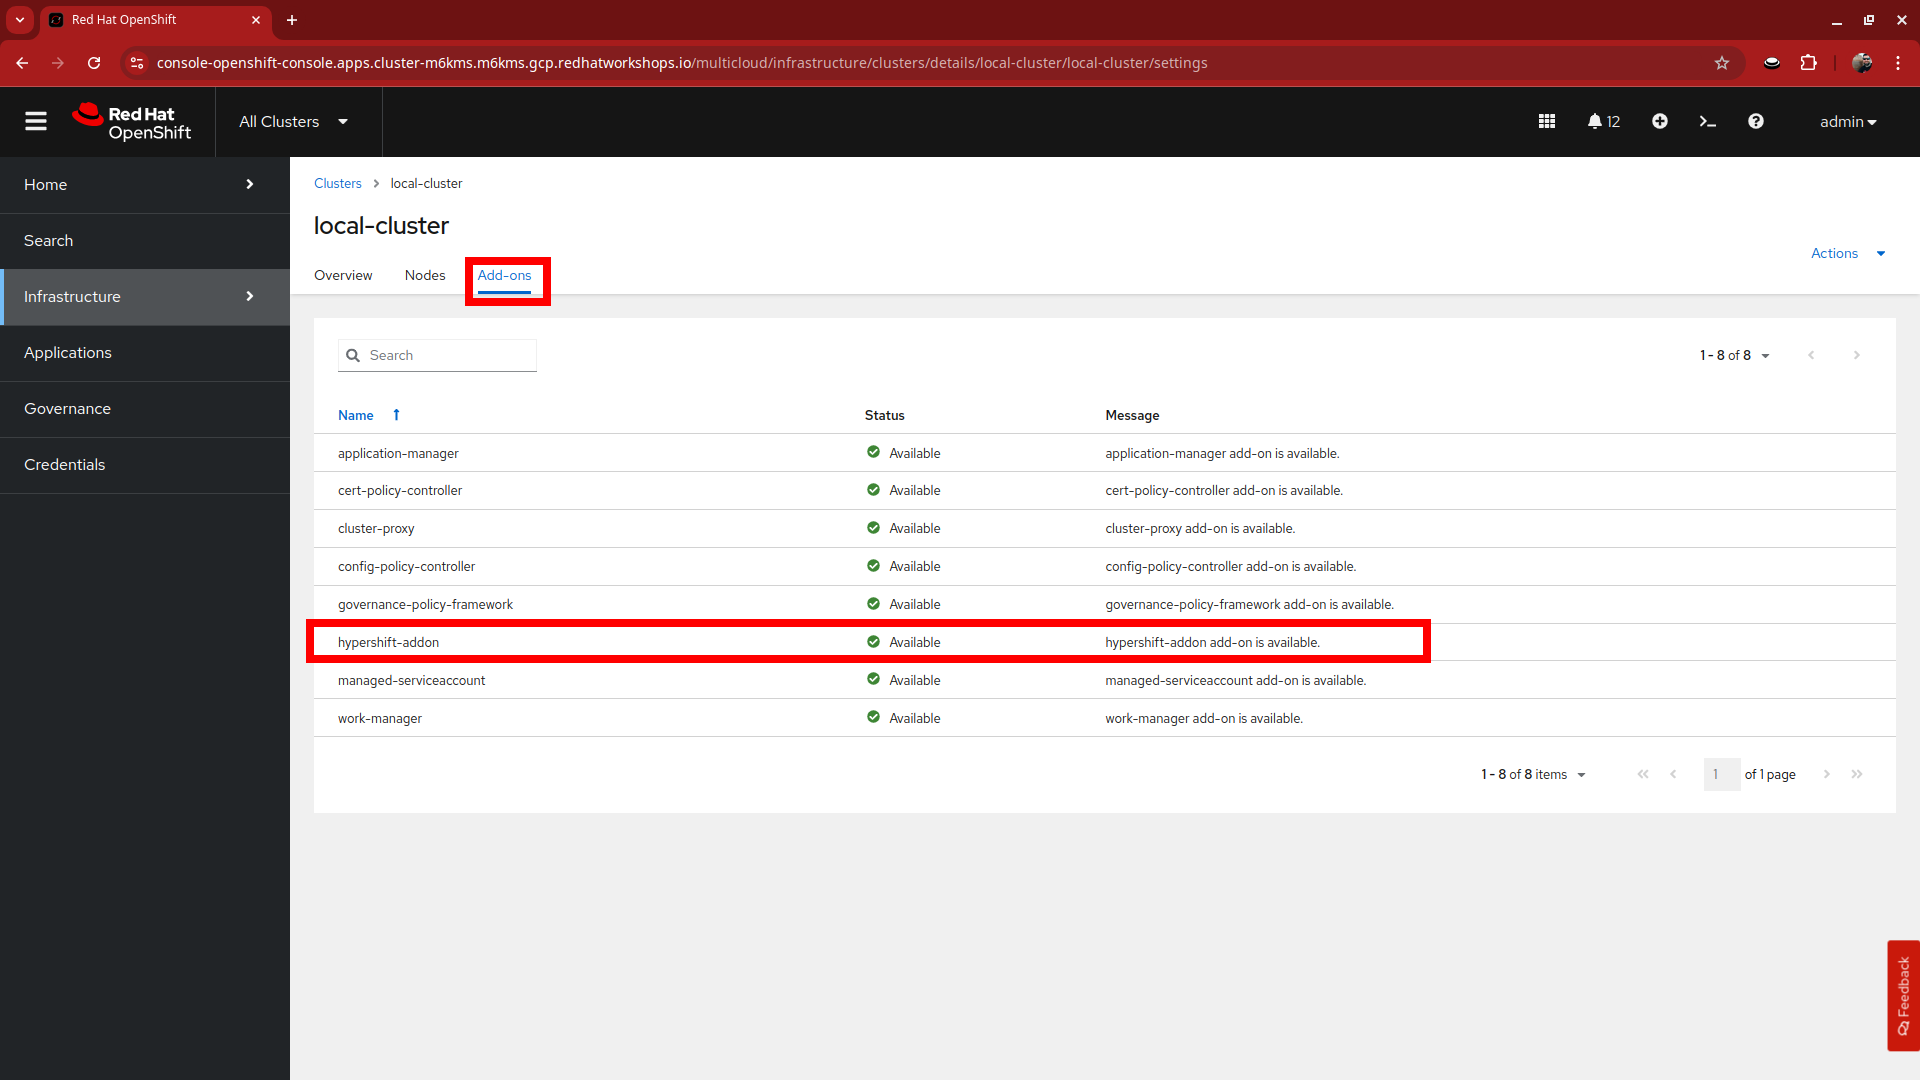
Click on the Add-ons tab, in the list you will see the hypershift-addon listed. This is required for the deployment of hosted control planes.
-
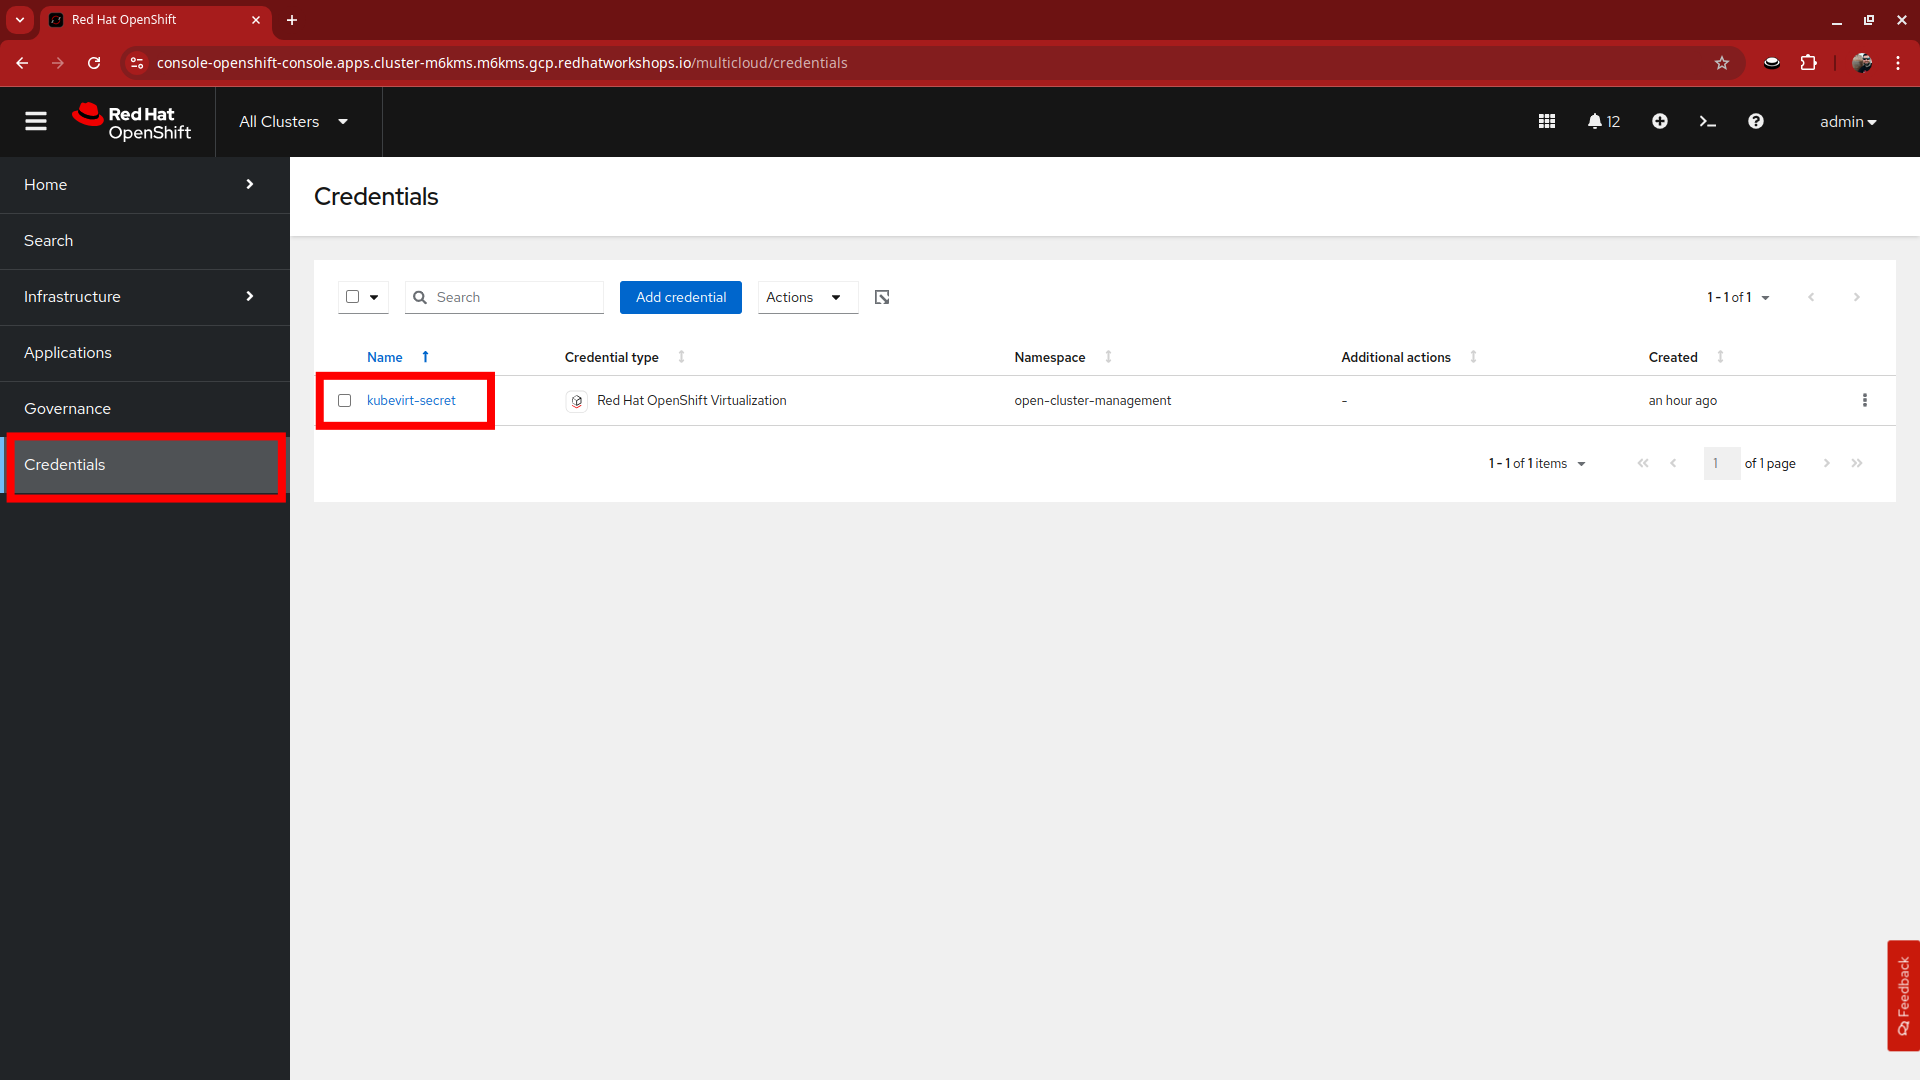
Now click on Credentials in the left-side menu. You should see that that there is a credential available called kubevirt-secret. This secret contains both a pull-secret, and a public ssh key from the bastion host that will allow you to deploy and manage the hosted cluster once it’s deployed.
-
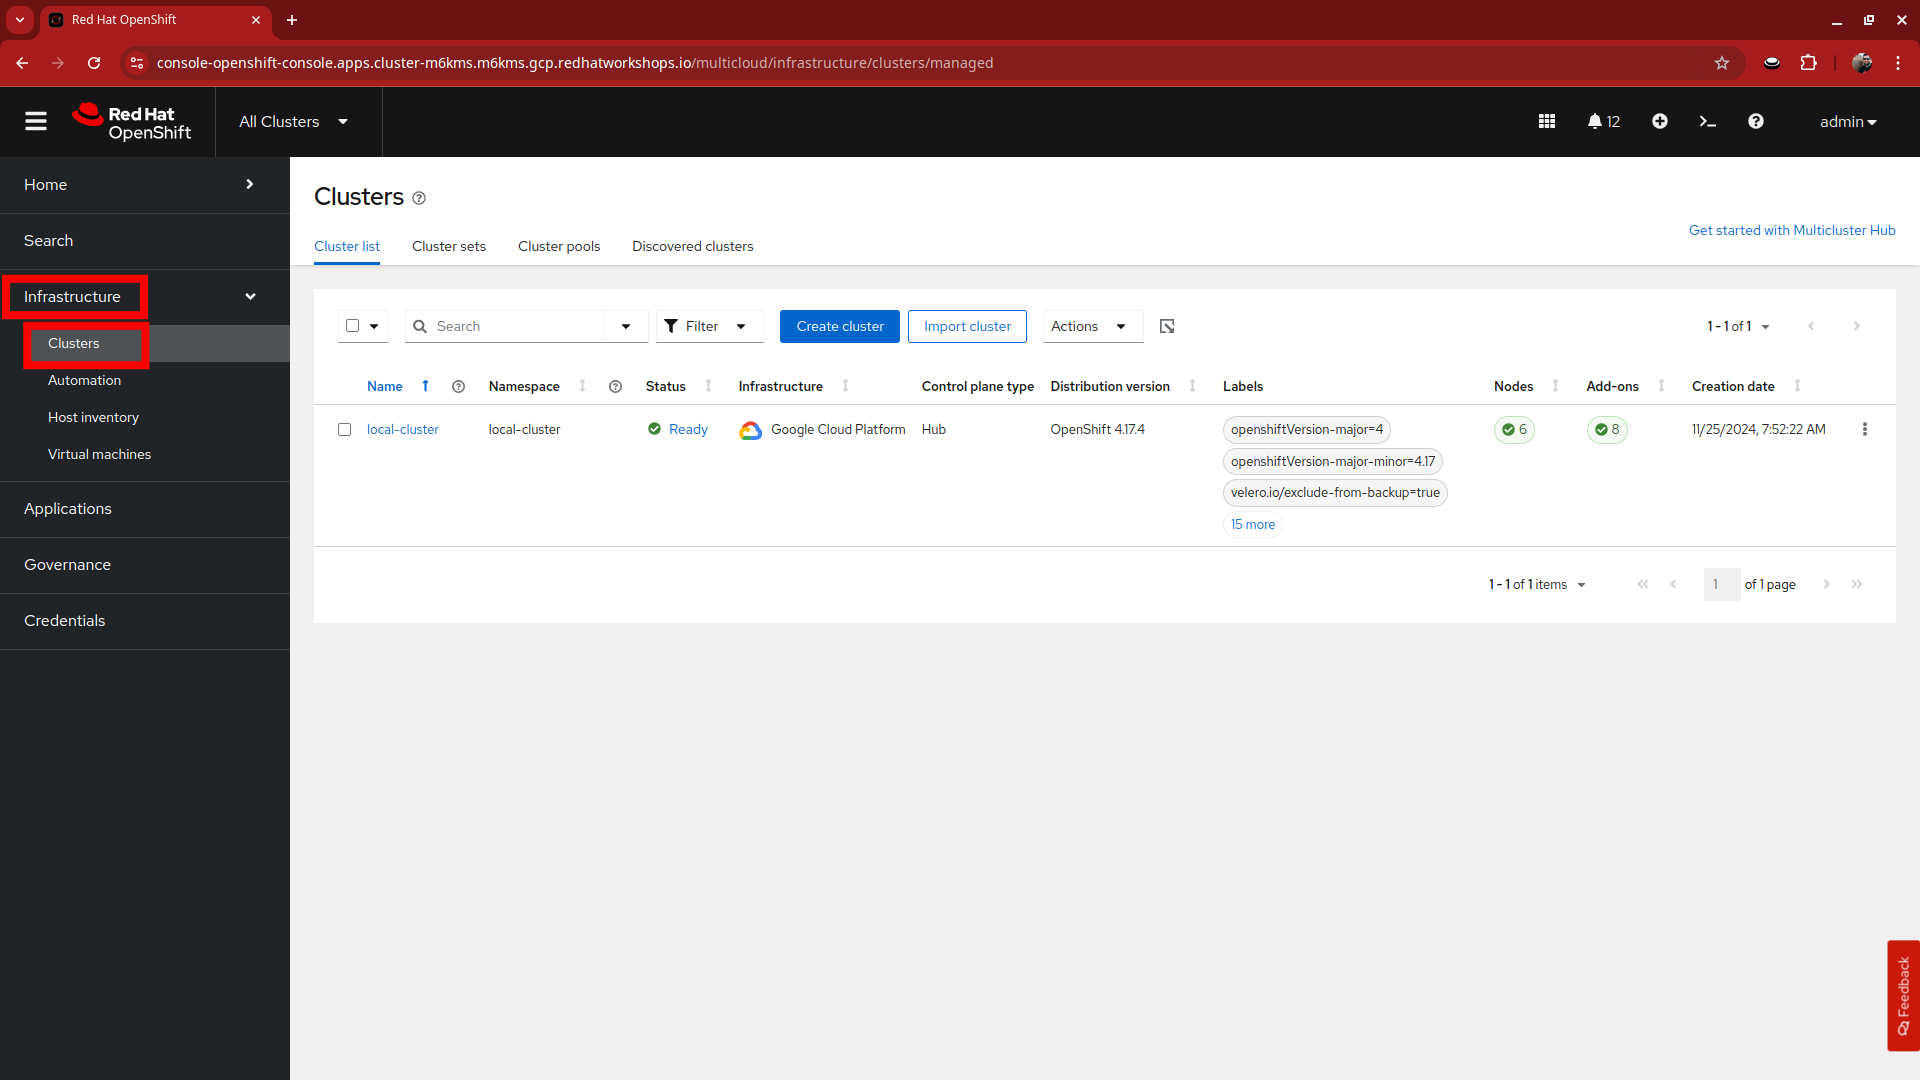
When you are done viewing the credentials click on Infrastructure in the left-side menu and click on Clusters to return to the Clusters view where we will begin the next section.
-
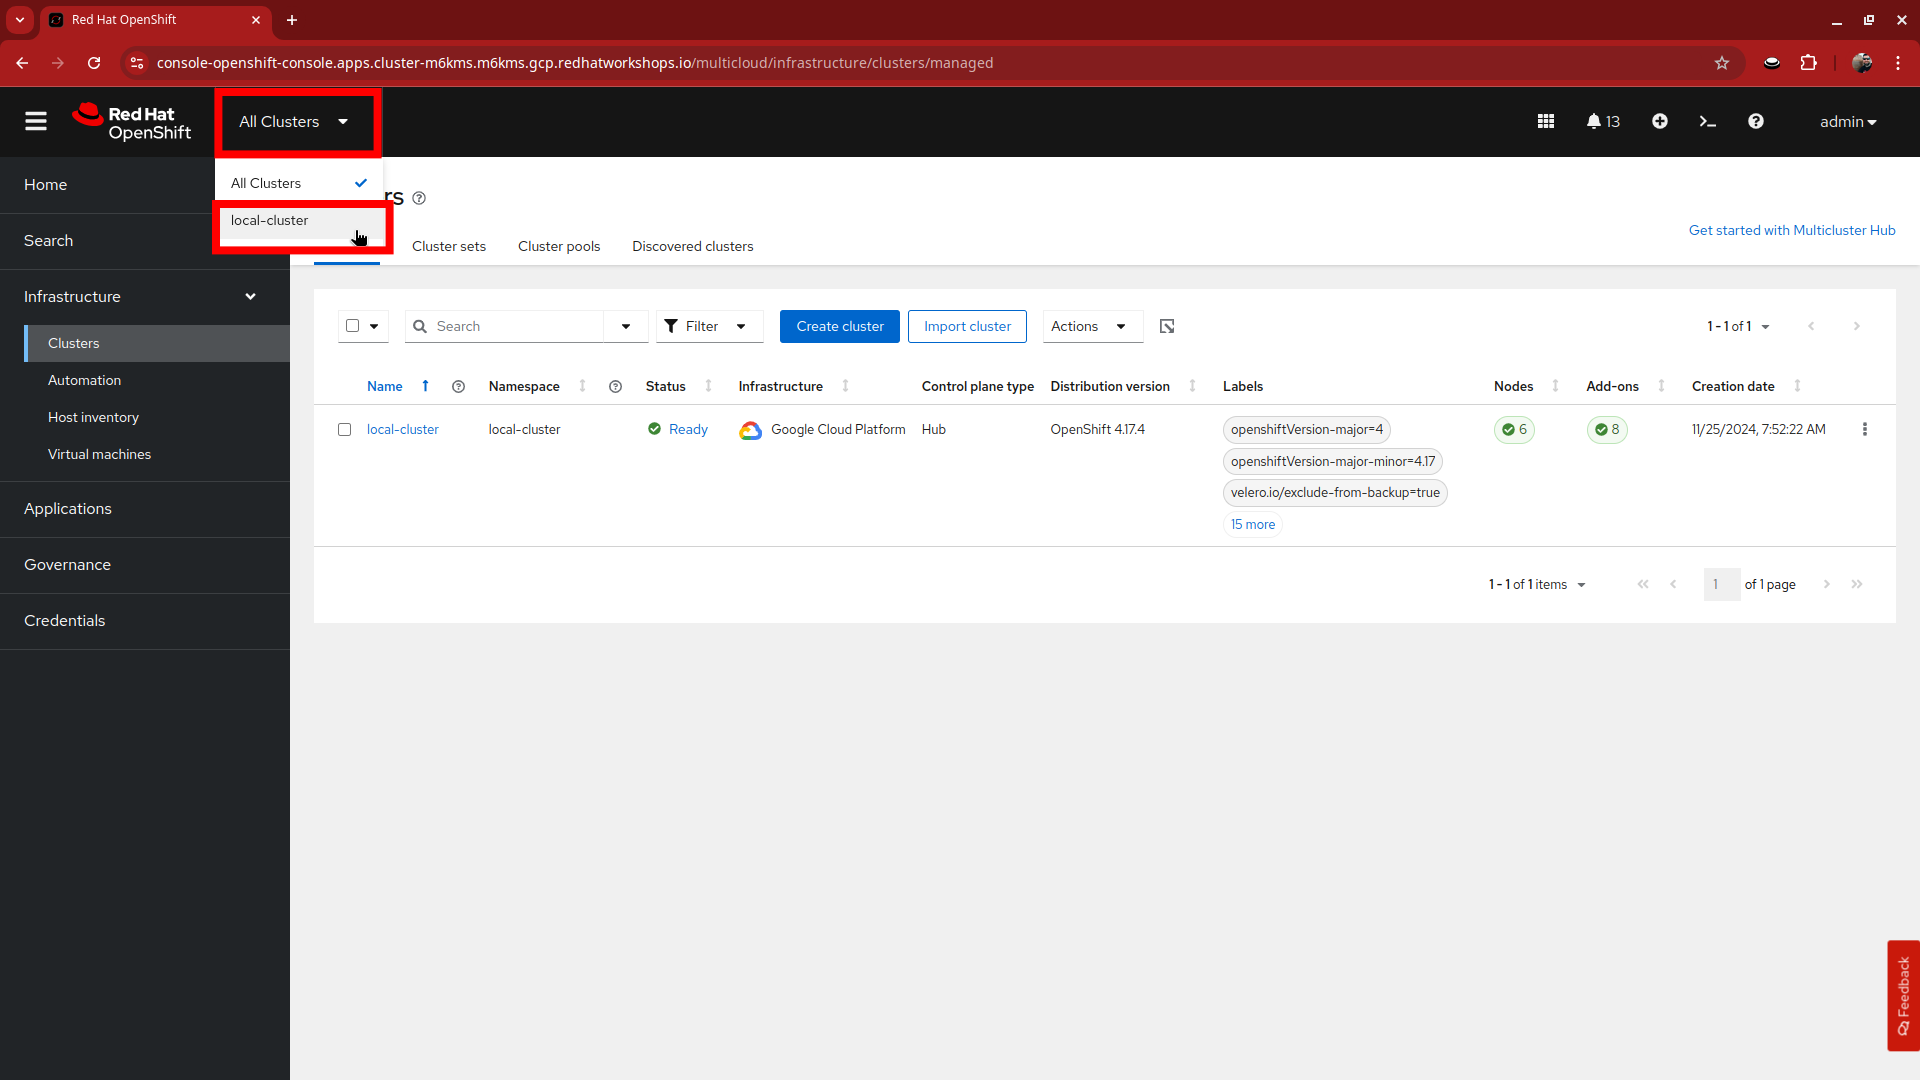
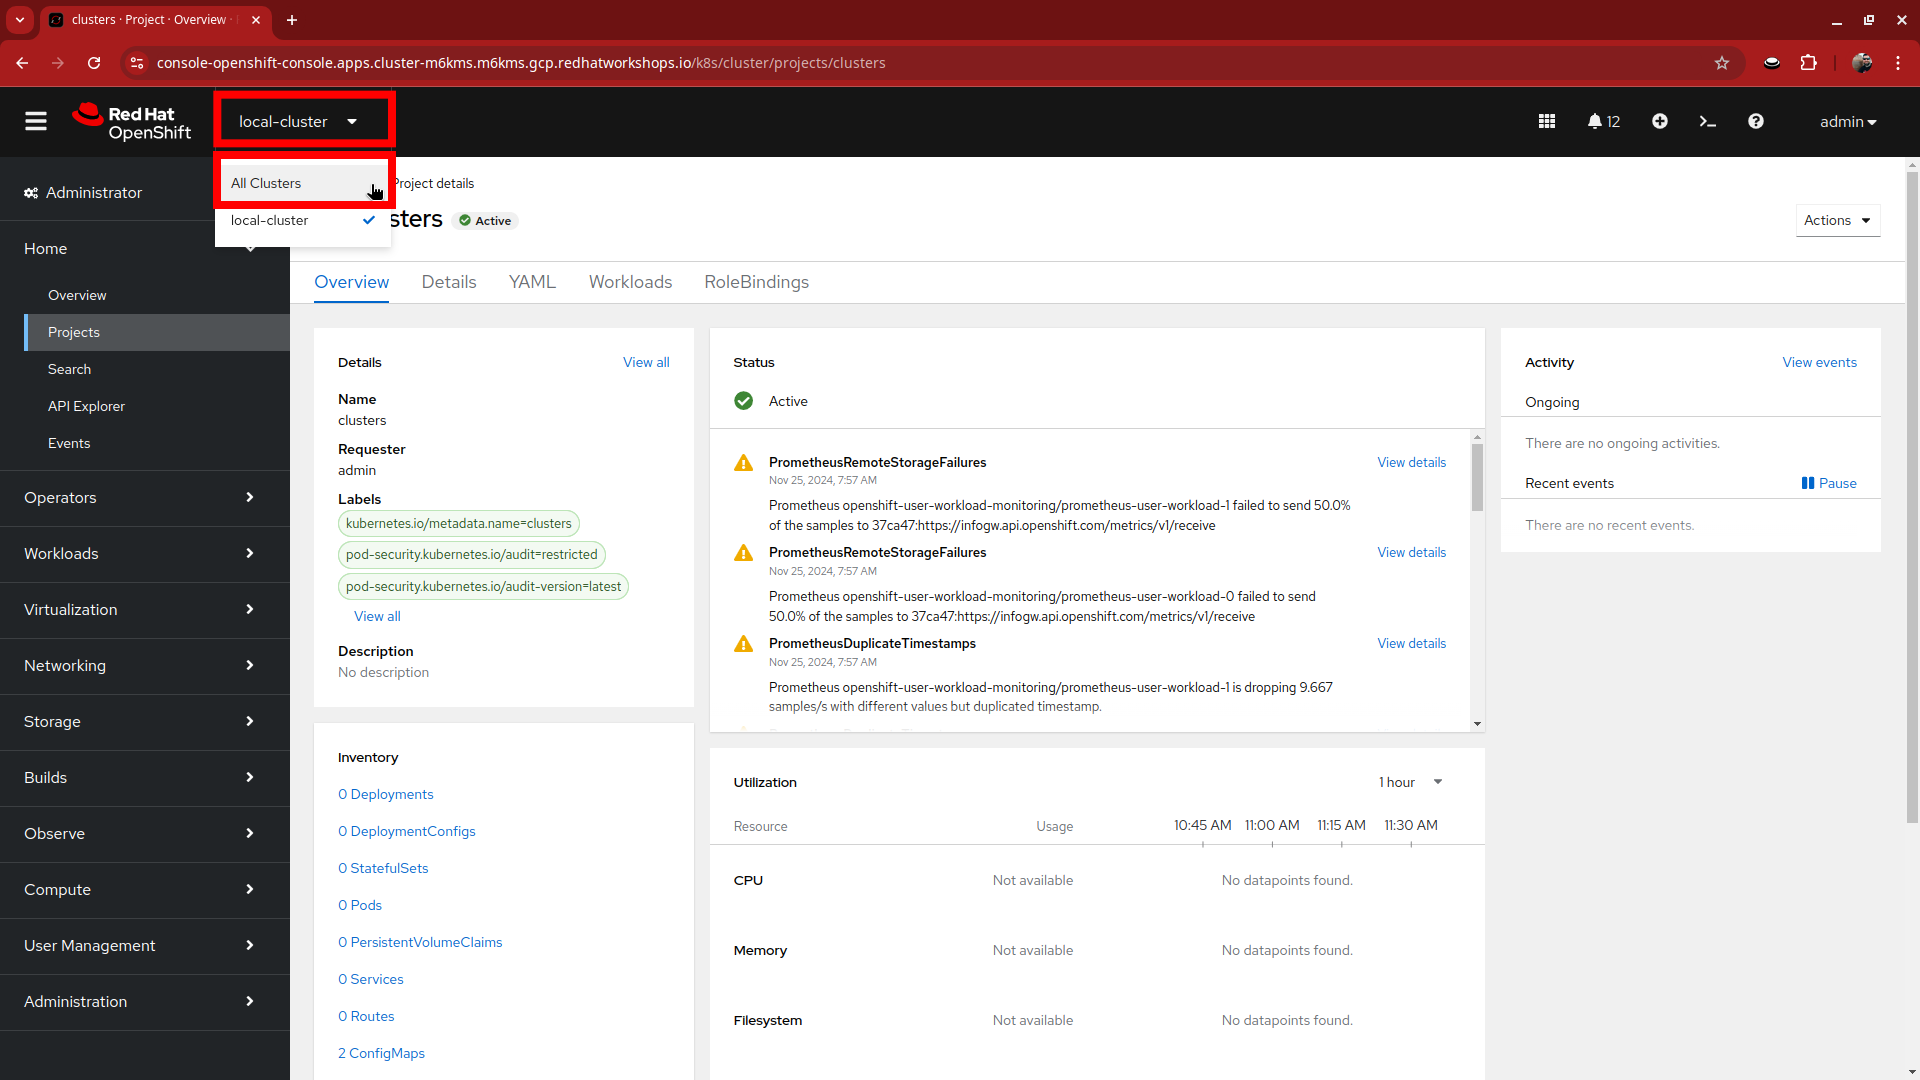
One additional action we need to perform is to create a project for our hosted clusters to be deployed to. Click on the All Clusters menu item at the top and select local-cluster from the drop down menu.
-
You will be presented with the Overview screen for the hosting cluster.
-
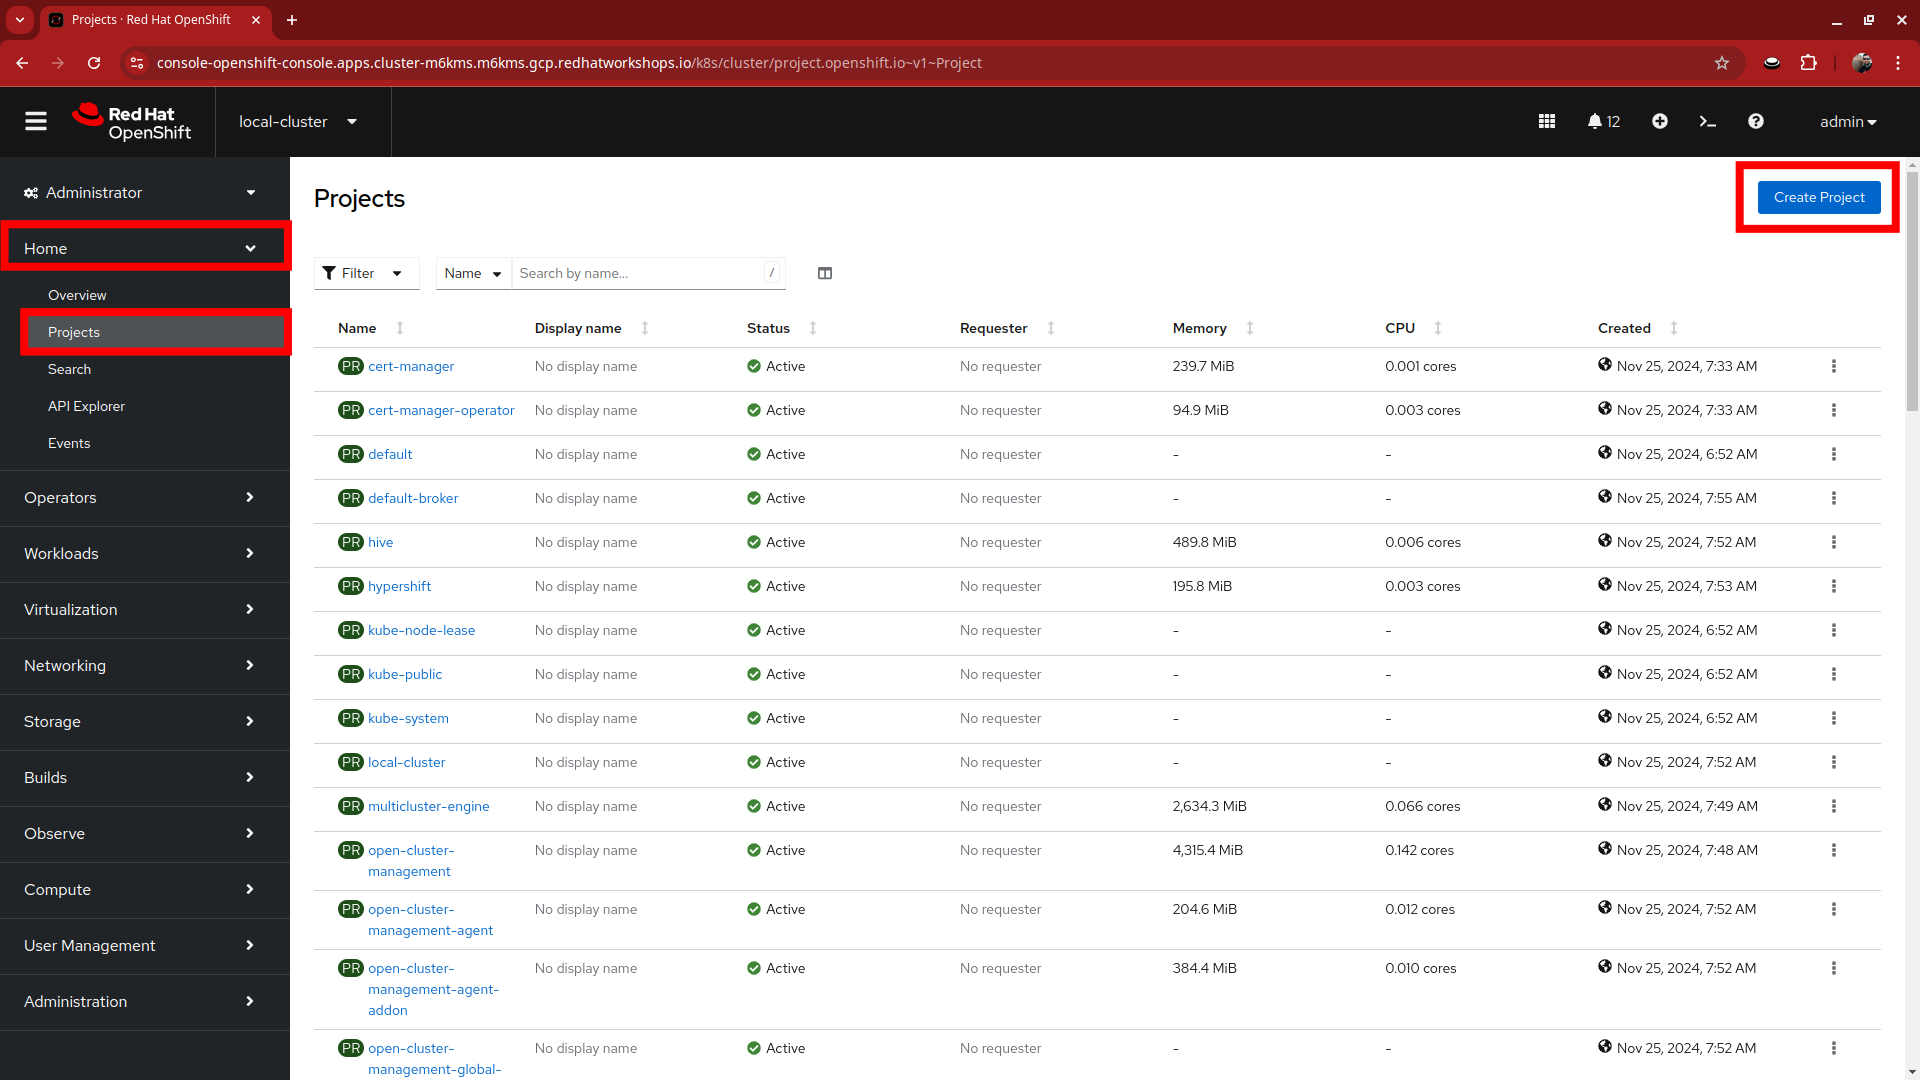
On the left-side menu click on Home and then Projects and the blue Create Project button at the top of the screen.
-
You will be presented with a Create Project window. Name your project clusters and click the blue Create button.
-
With this complete we can return to our RHACM console by clicking on the local-cluster menu item at the top and selecting All Clusters from the drop-down menu.
Deploy Cluster
-
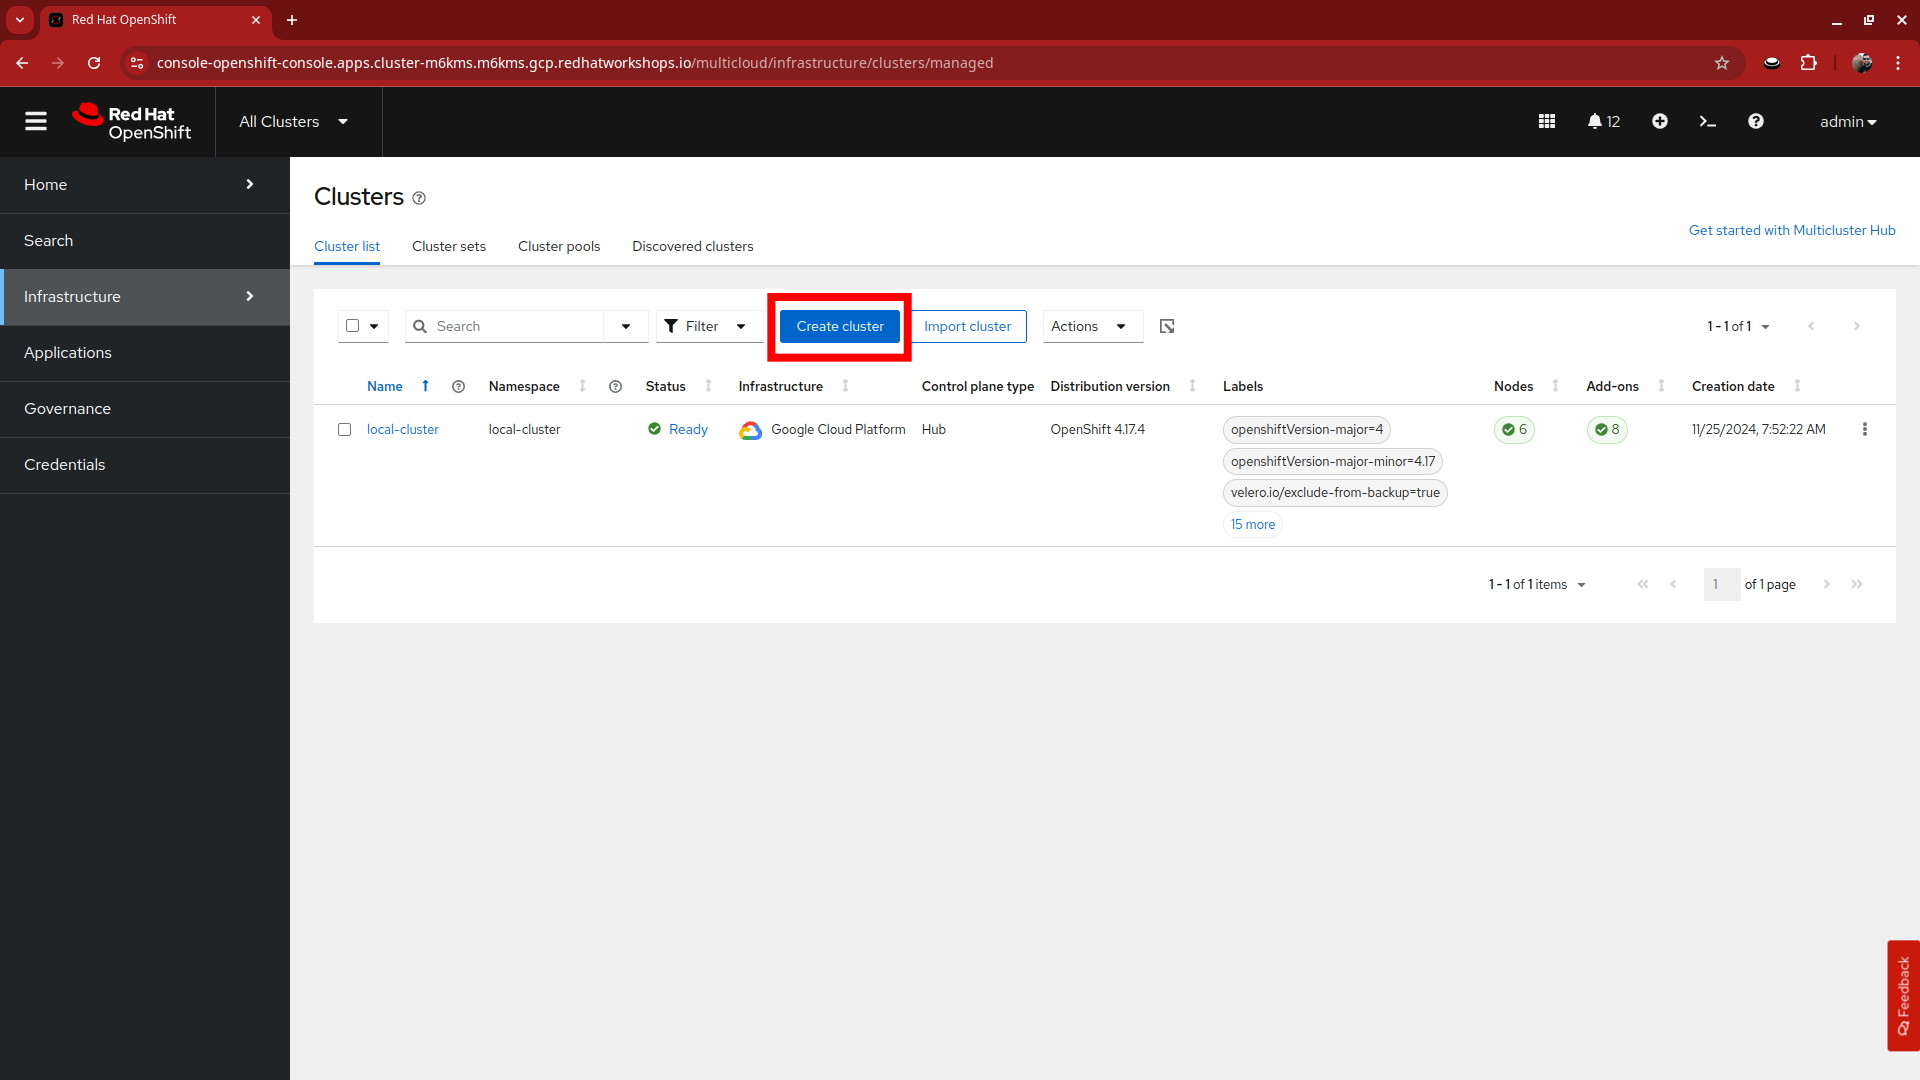
Click on the blue Create cluster button to begin the deployment process.
-
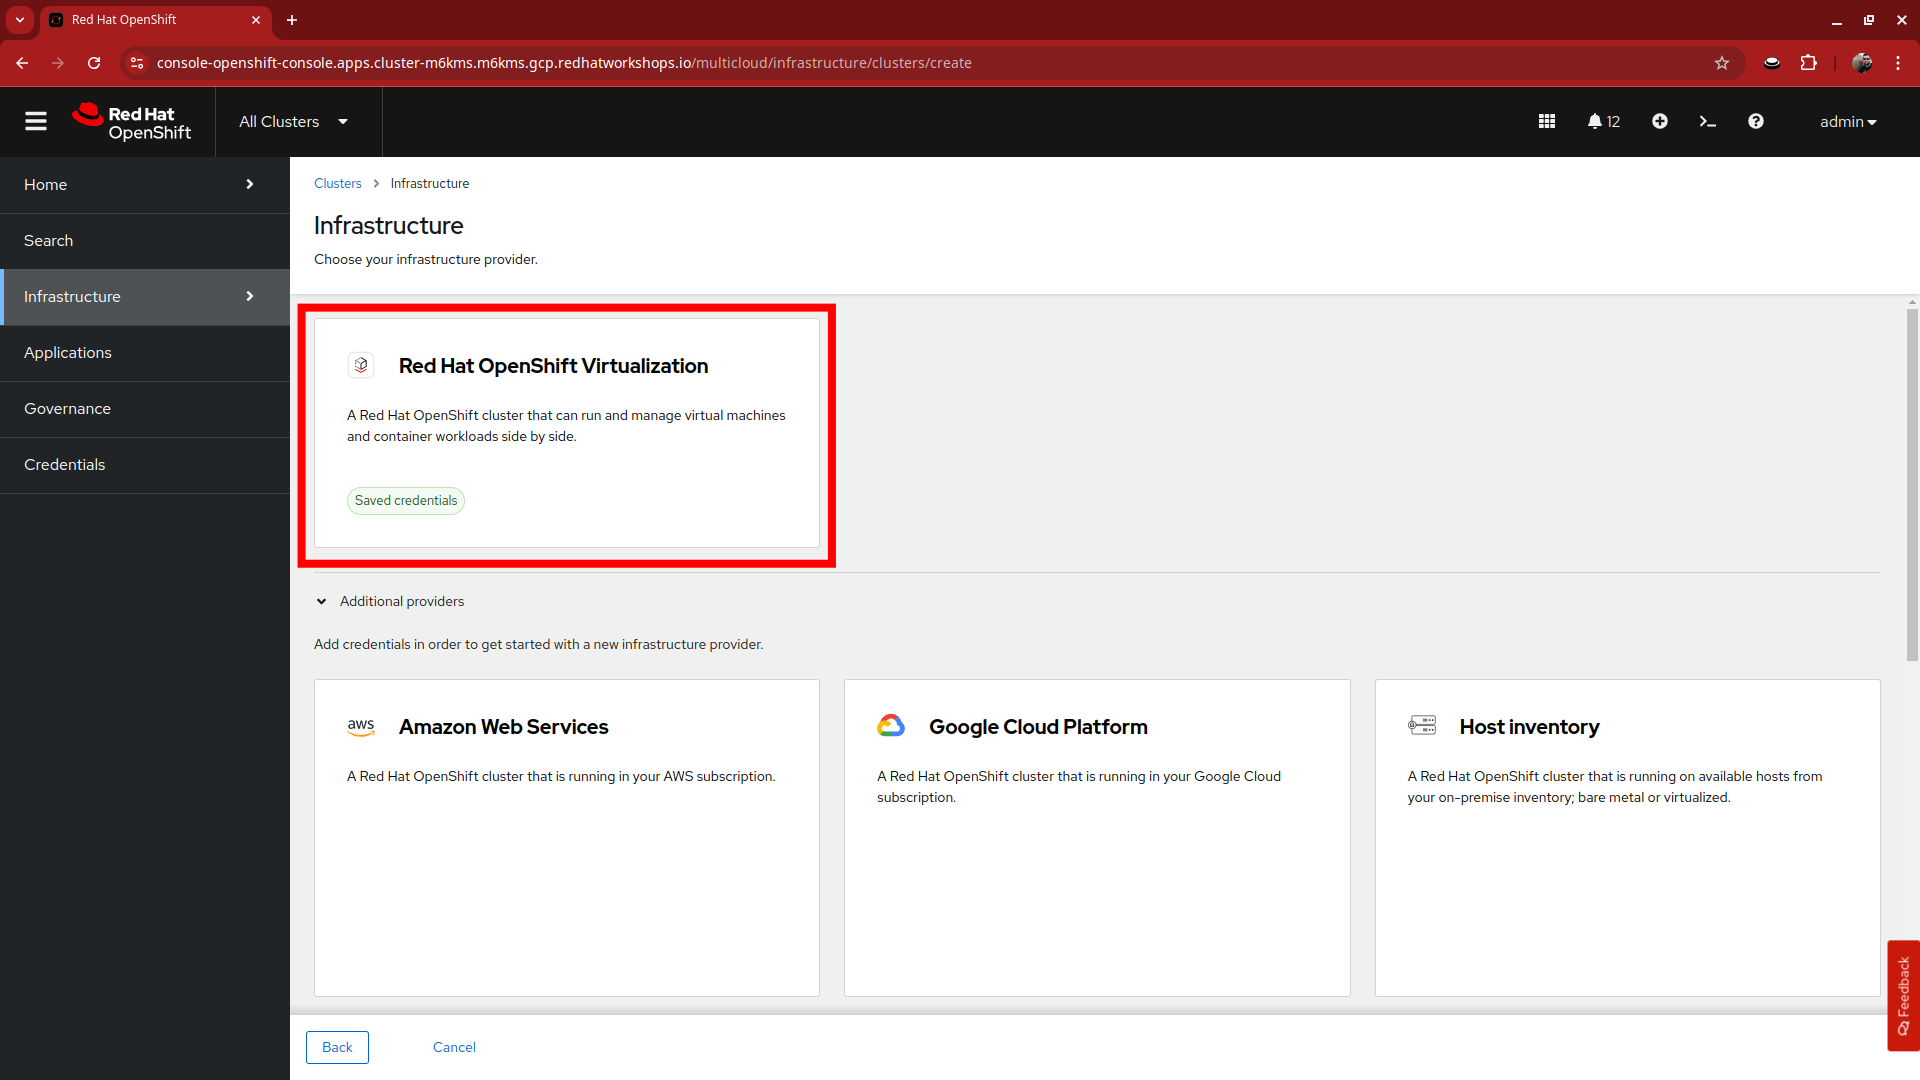
You will be presented with the Infrastructure window. Here you are given the choice of a number of cloud providers where you can deploy your OpenShift cluster, choose the tile for Red Hat OpenShift Virtualization and click on it.
-
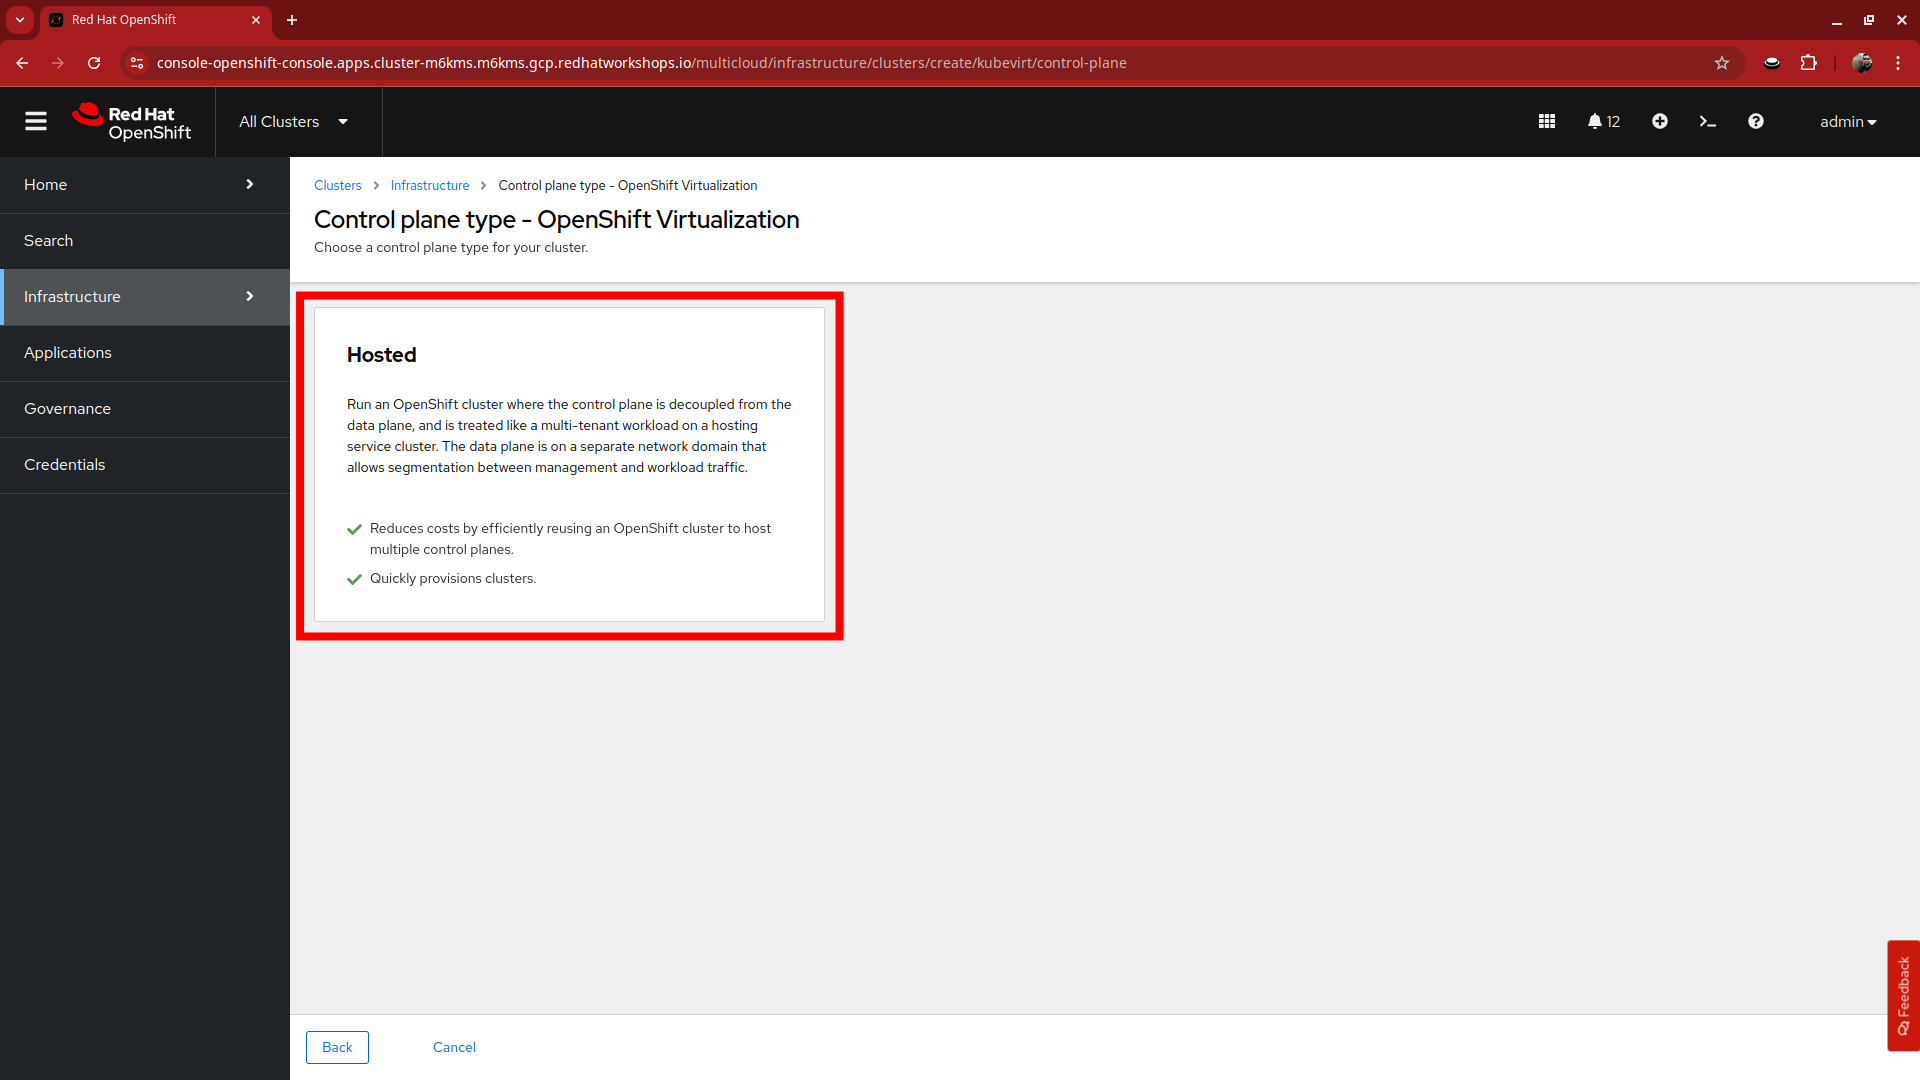
This will take you to a page titled Control plane type - OpenShift Virtualization. There is a tile here called Hosted which also mentioned the benefits of using hosted control planes to deploy your OpenShift cluster. Click it.
-
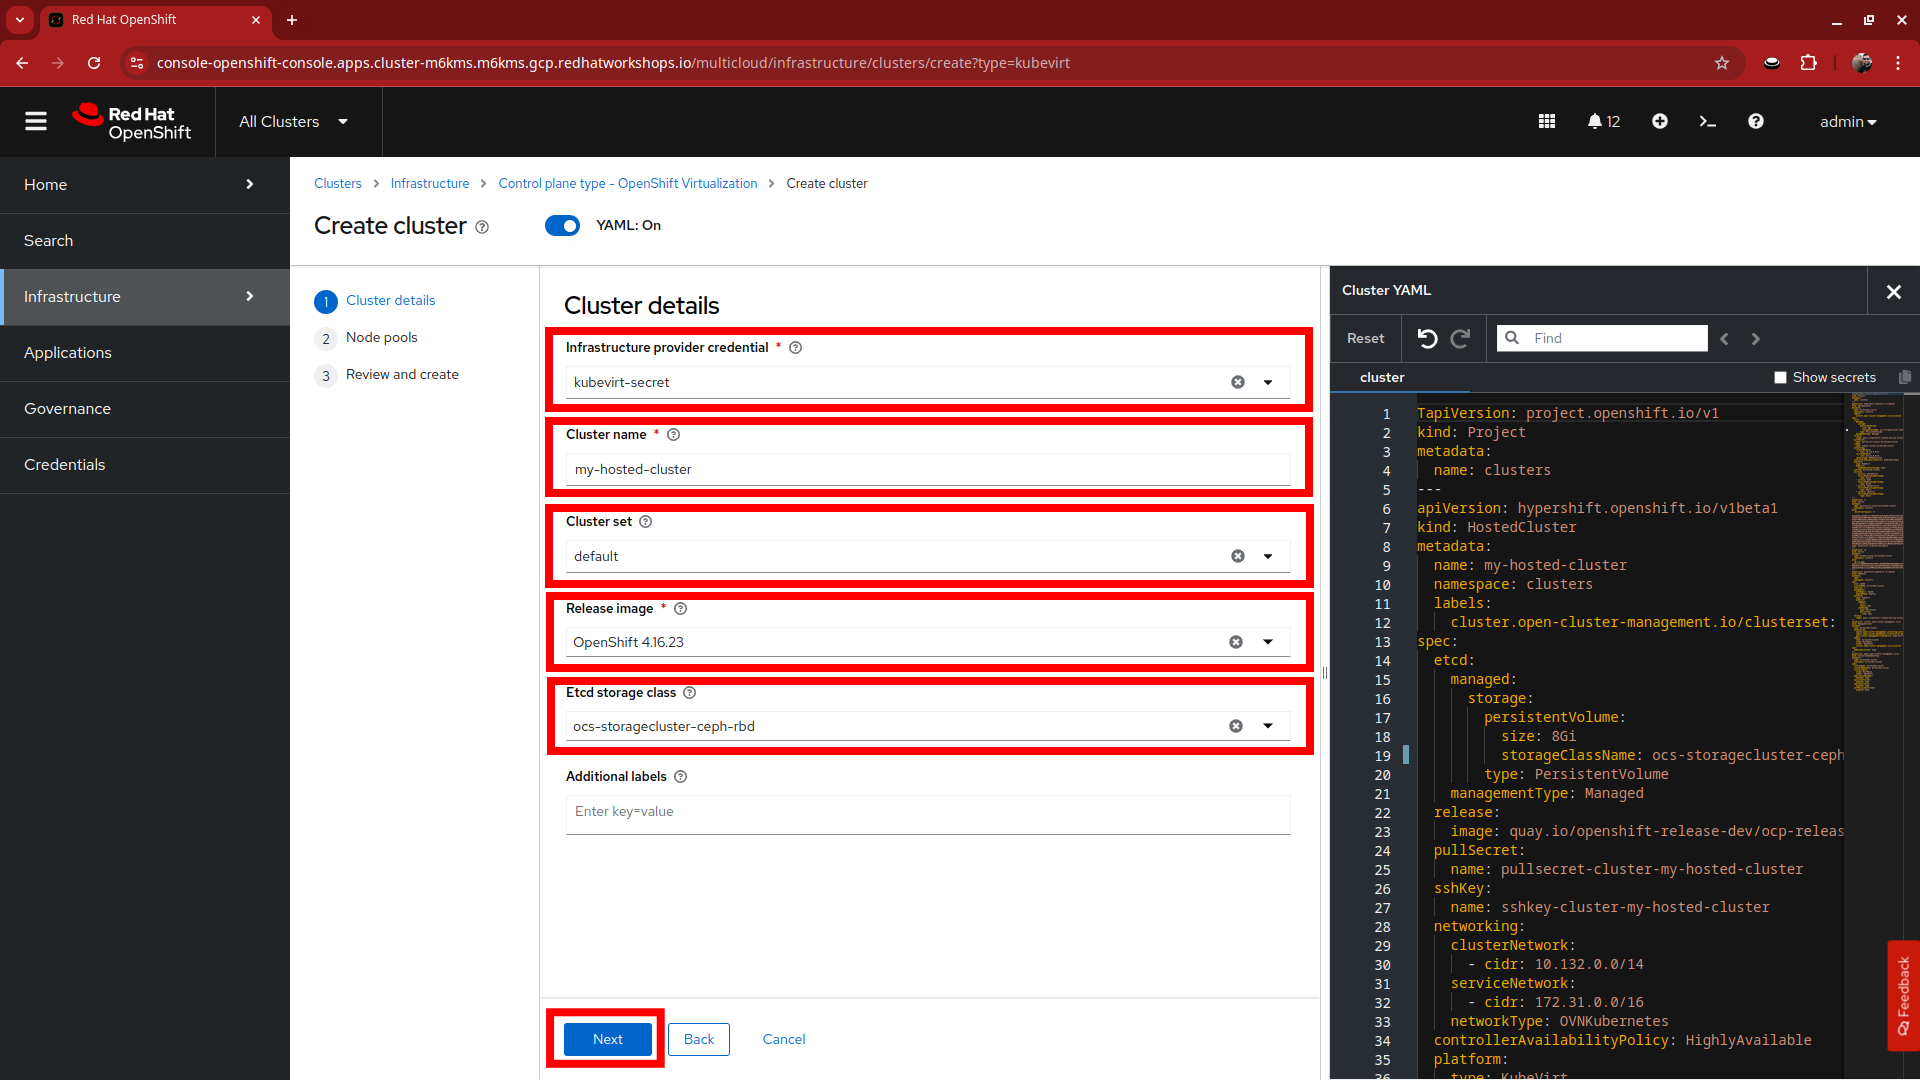
This will bring you to the Create cluster window where you will have a number of options to fill out for creating your new hosted cluster.
-
Please fill out the form with the following details:
-
Infrastructure provider credential: kubevirt-secret
-
Cluster name: my-hosted-cluster
-
Cluster set: default
-
Release image: 4.16.z
-
Etcd storage class: ocs-storagecluster-ceph-rbd
-
-
Click on Next when you have completed filling out the options.
-
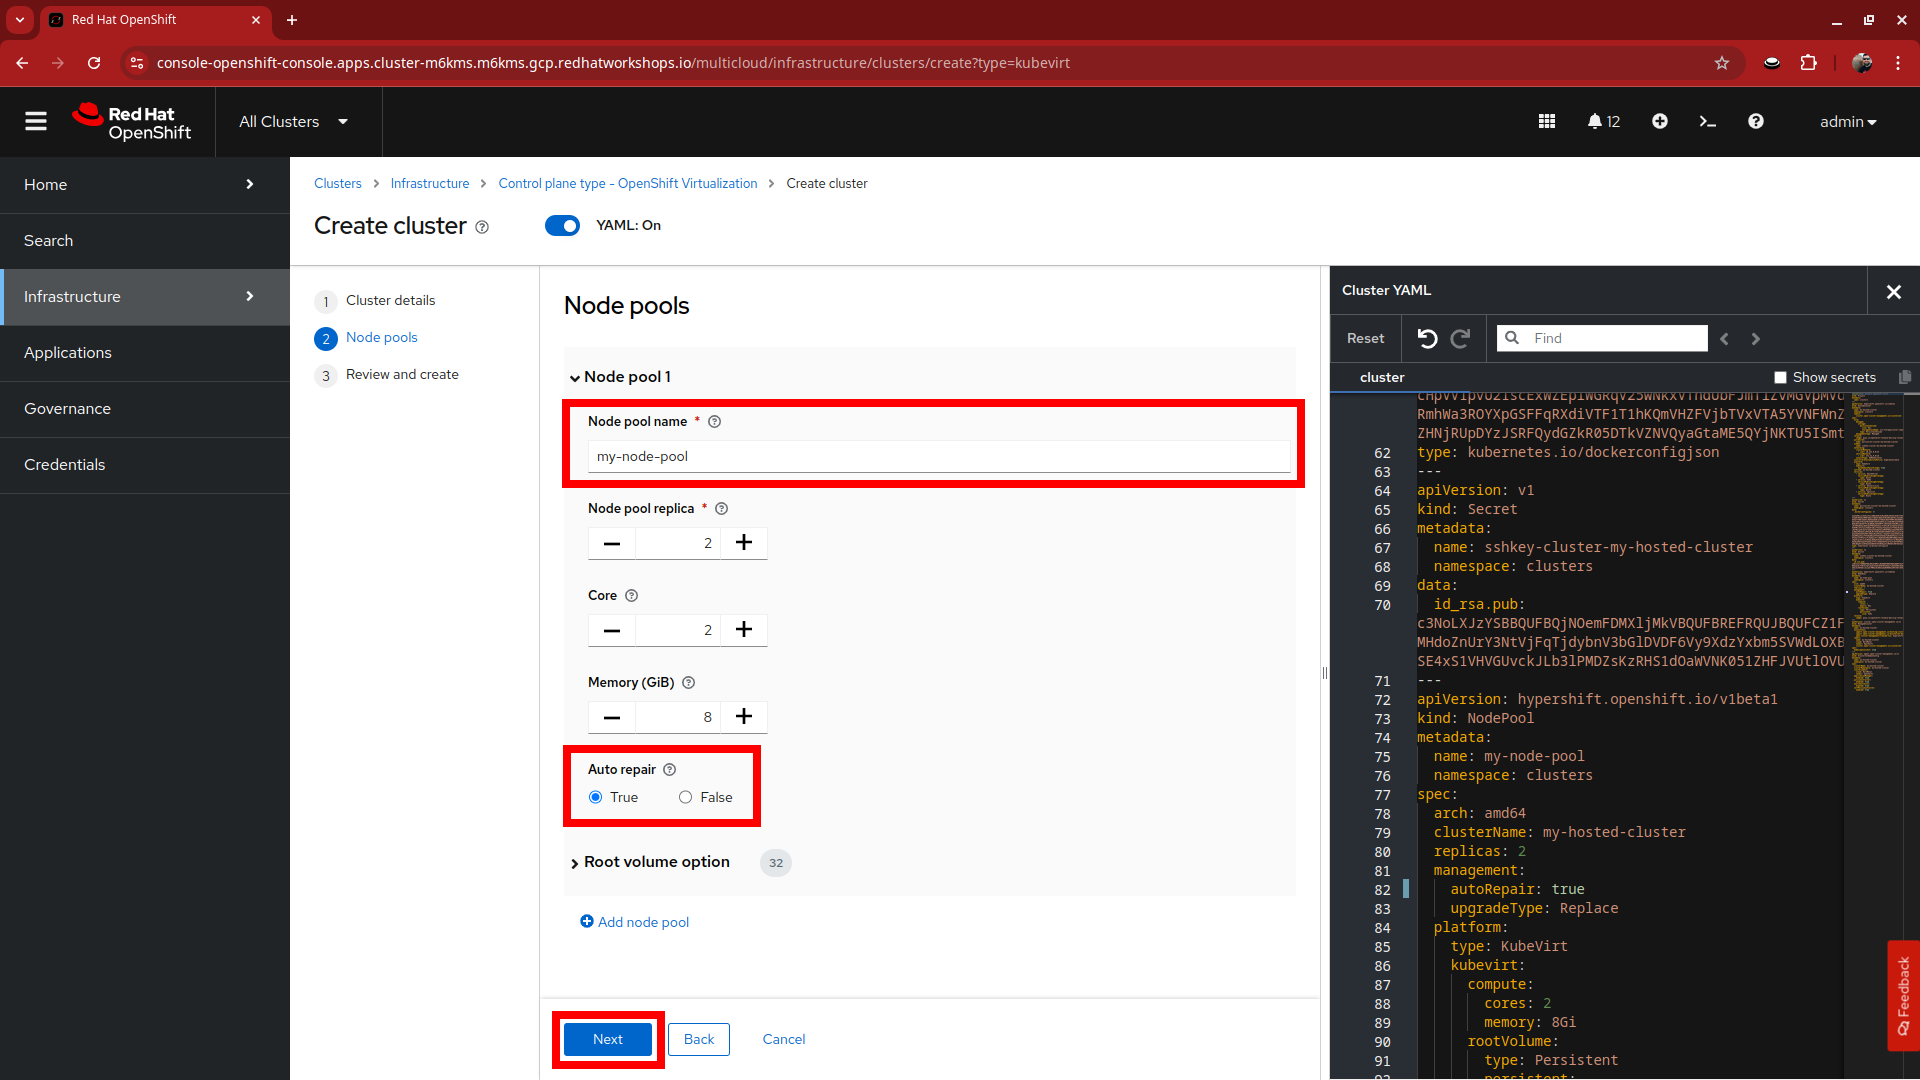
You will be presented with the page to configure your intitial cluster node pools.
-
Please fill out the form with the following details:
-
Node pool name: my-node-pool
-
Node pool replica: 2
-
Core: 2
-
Memory (GiB): 8
-
Auto repair: True
-
-
Click on Next when you have completed filling out the options.
-
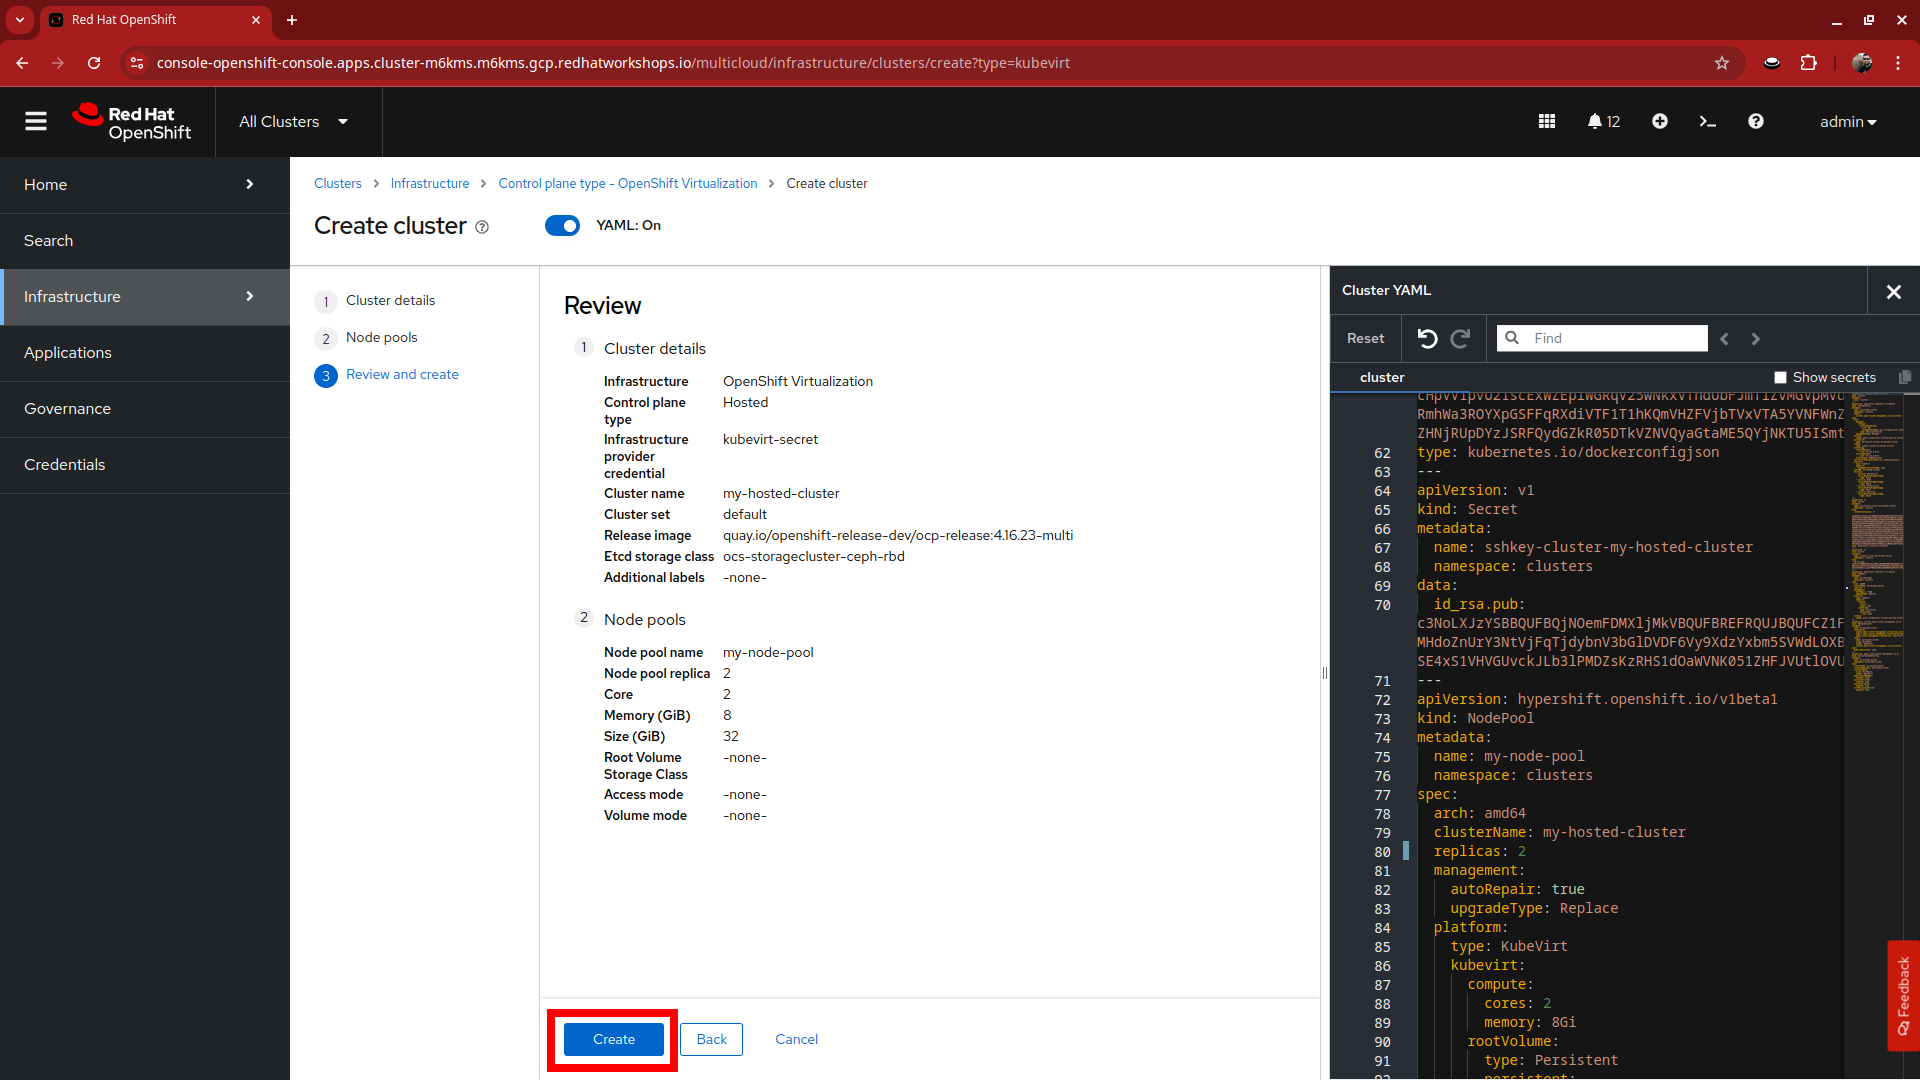
The next screen shown will allow you to review the deployment configuration by providing a review of the Cluster details and the Node pools that you have configured. If all looks good upon review, click the Create button to begin provisioning your hosted cluster.
-
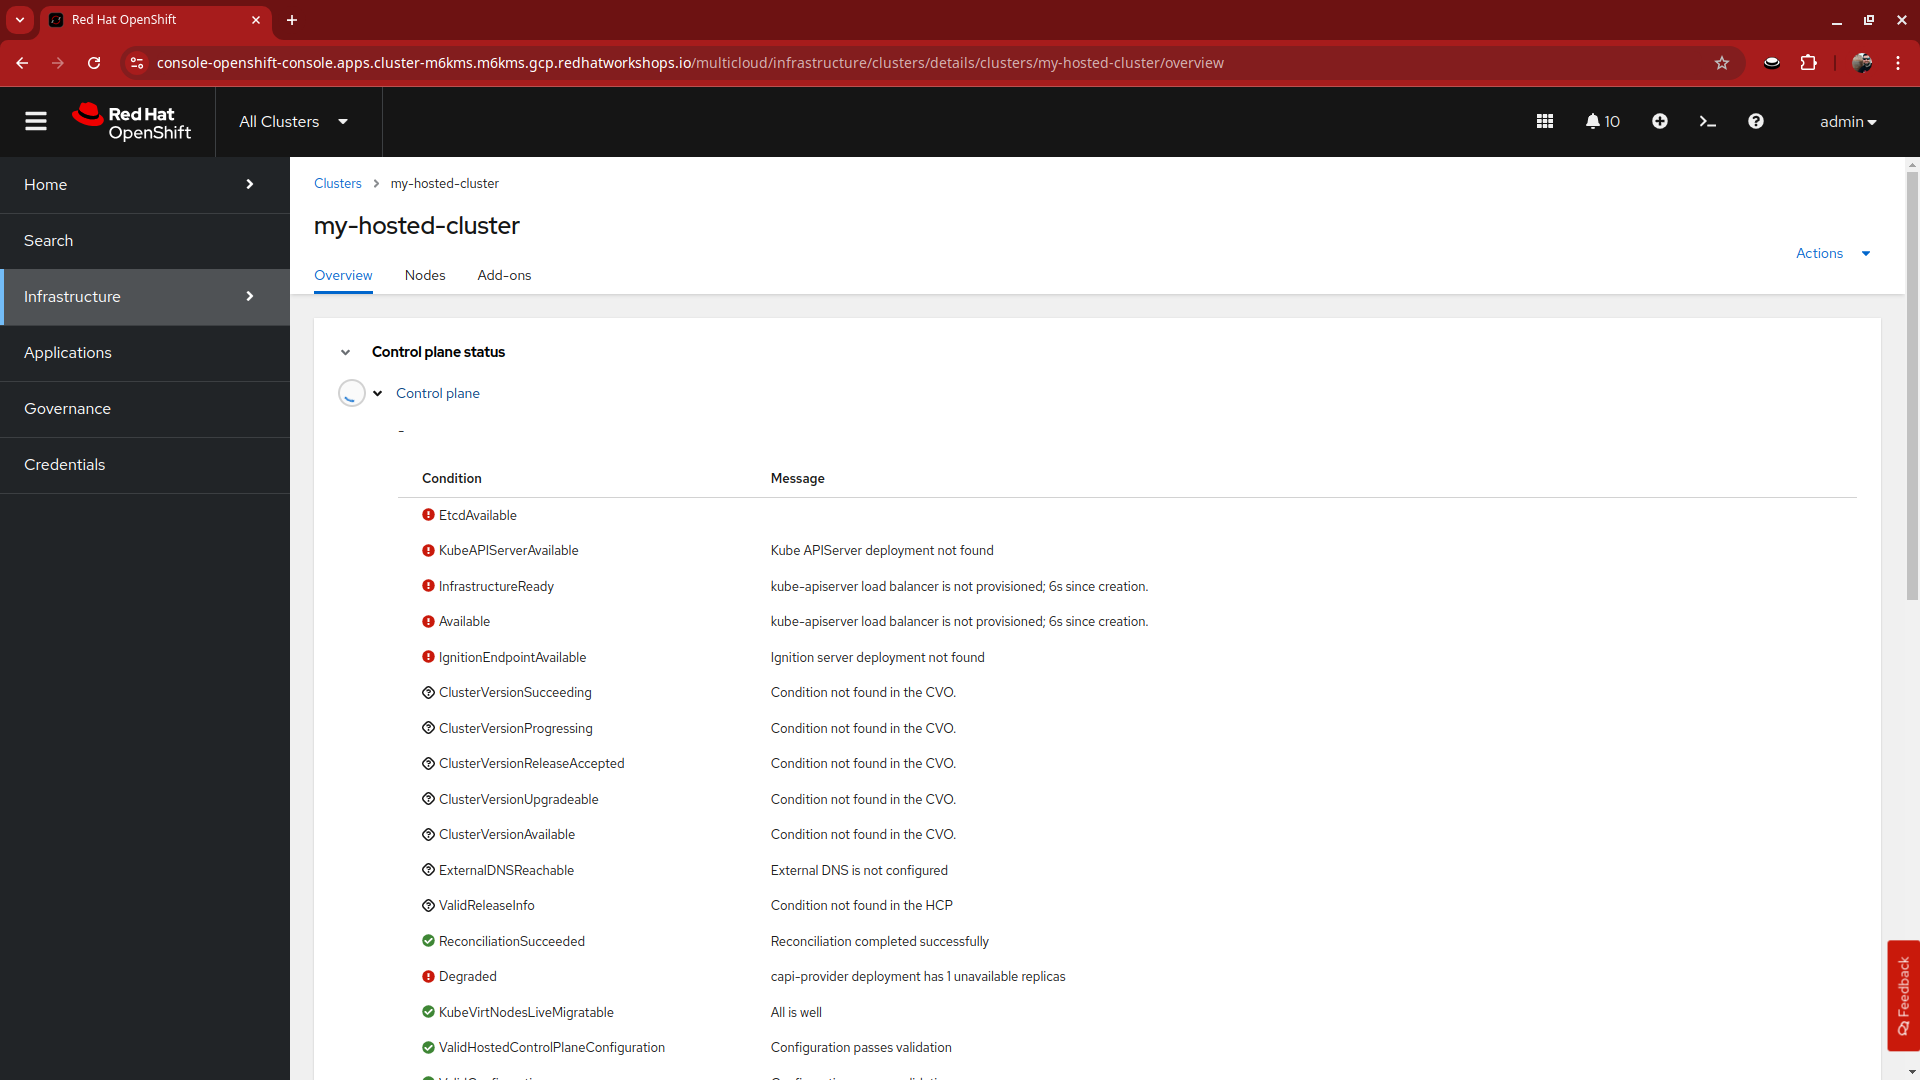
You will see a message that the cluster is starting deployment and then will be taken to the overview page for your hosted cluster, please be patient while the cluster deploys.
-
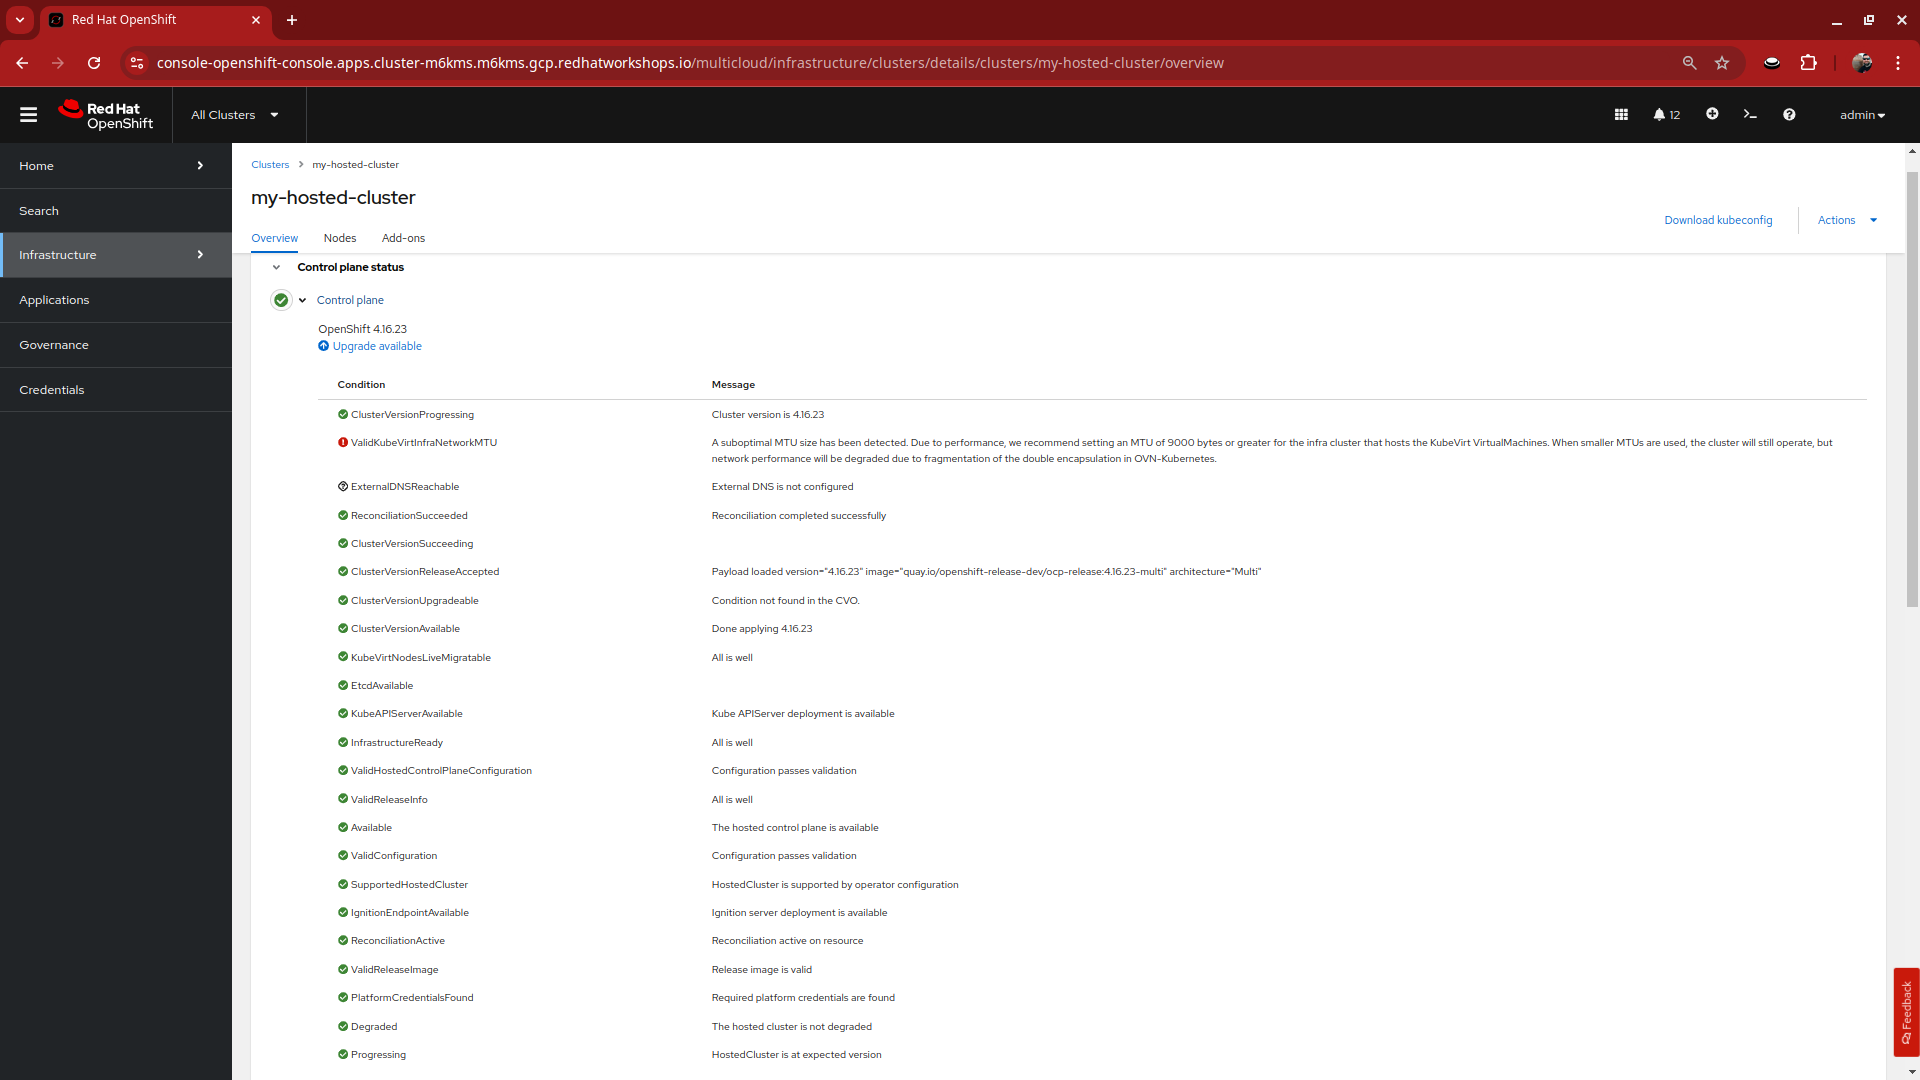
After 15-20 minutes the cluster deployment will be complete and you can start to explore your hosted cluster.
Due to the fact that we are hosting this lab in Google Cloud, you will see two items without a green check once the hosted cluster deployment is complete. Neither item will have an adverse affect this lab going forward, but be sure to follow recommended configuration guides when deploying a cluster for production or your own testing use.
Explore the Cluster
With our cluster deployed we can start exploring by scrolling down the page. There we are presented with information about the cluster itself, including how to login, the node-pools where application workloads will run, and the pods that support the control plane. Come on, lets explore.
Control Plane Pods
During the value prop section it was brought to your attention that there are no dedicated control plane nodes in a hosted OpenShift environment. All of the control plane processes are run within containers, within a project on the cluster. Let us take some time and explore these pods.
-
Click on the Control plane pods link provided near the bottom of the deployment summary and above the Cluster node pools section.
-
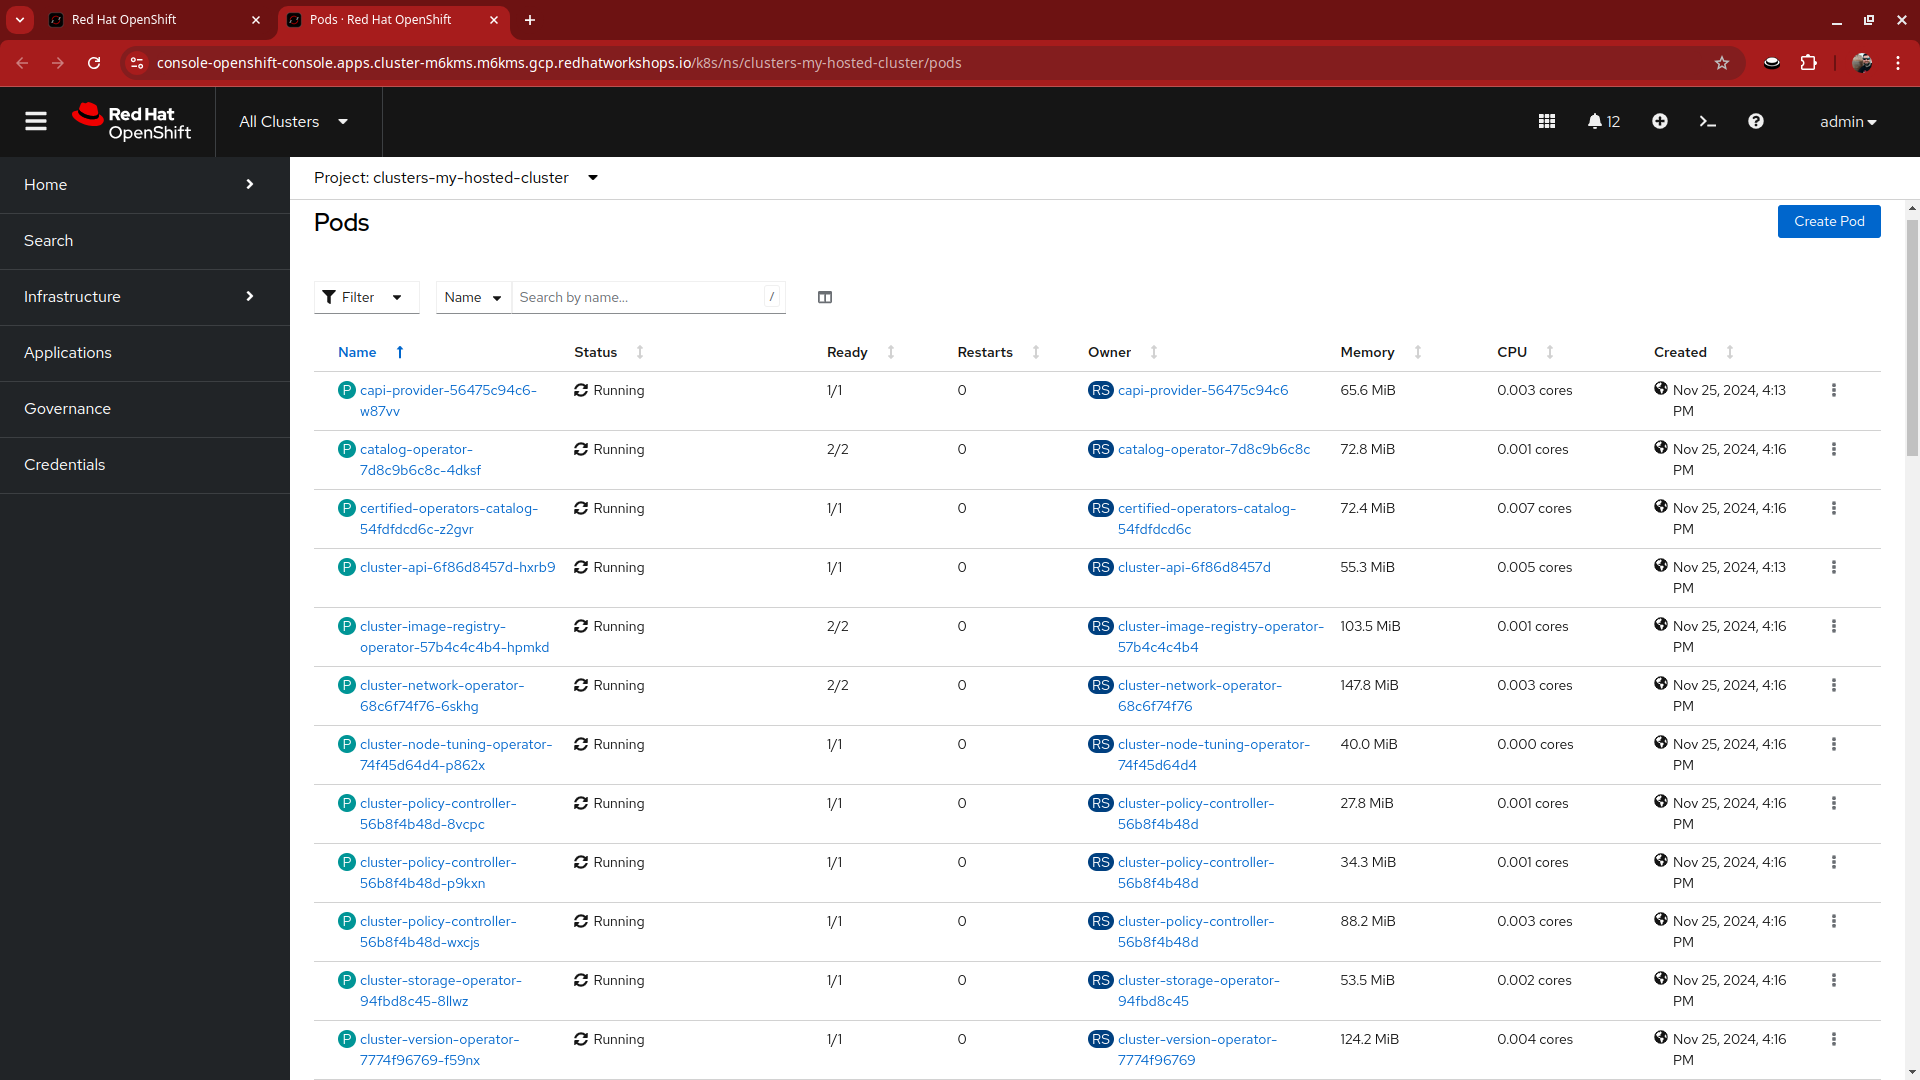
This will launch a new tab and take you to the project clusters-my-hosted-cluster, assuming that is what you named your cluster when we deployed it.
-
The pods here will consist of mostly replica sets for the processes that run the hosted cluster control plane.
-
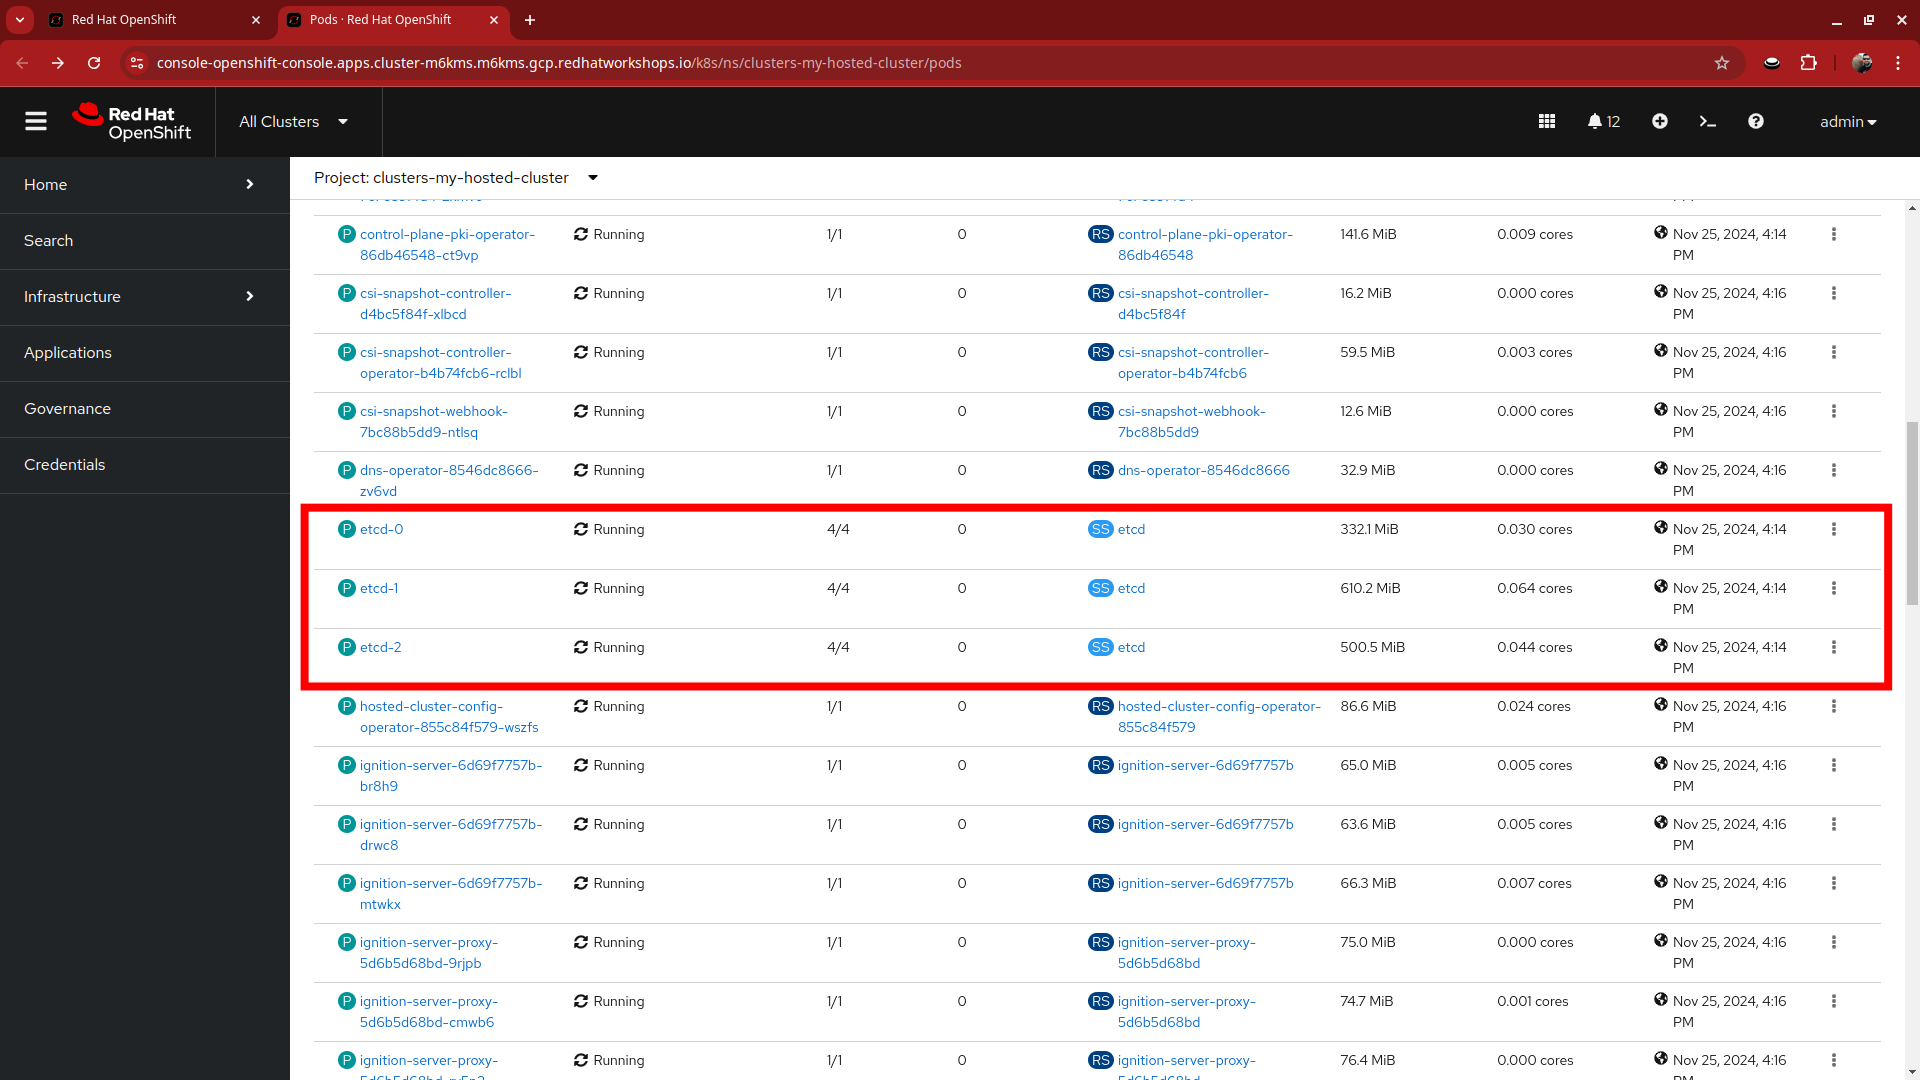
Scroll down until you see the etcd pods, what do you notice different about them?
-
Notice that they are configured as StatefulSets. Click on the etcd-0 pod to see more.
-
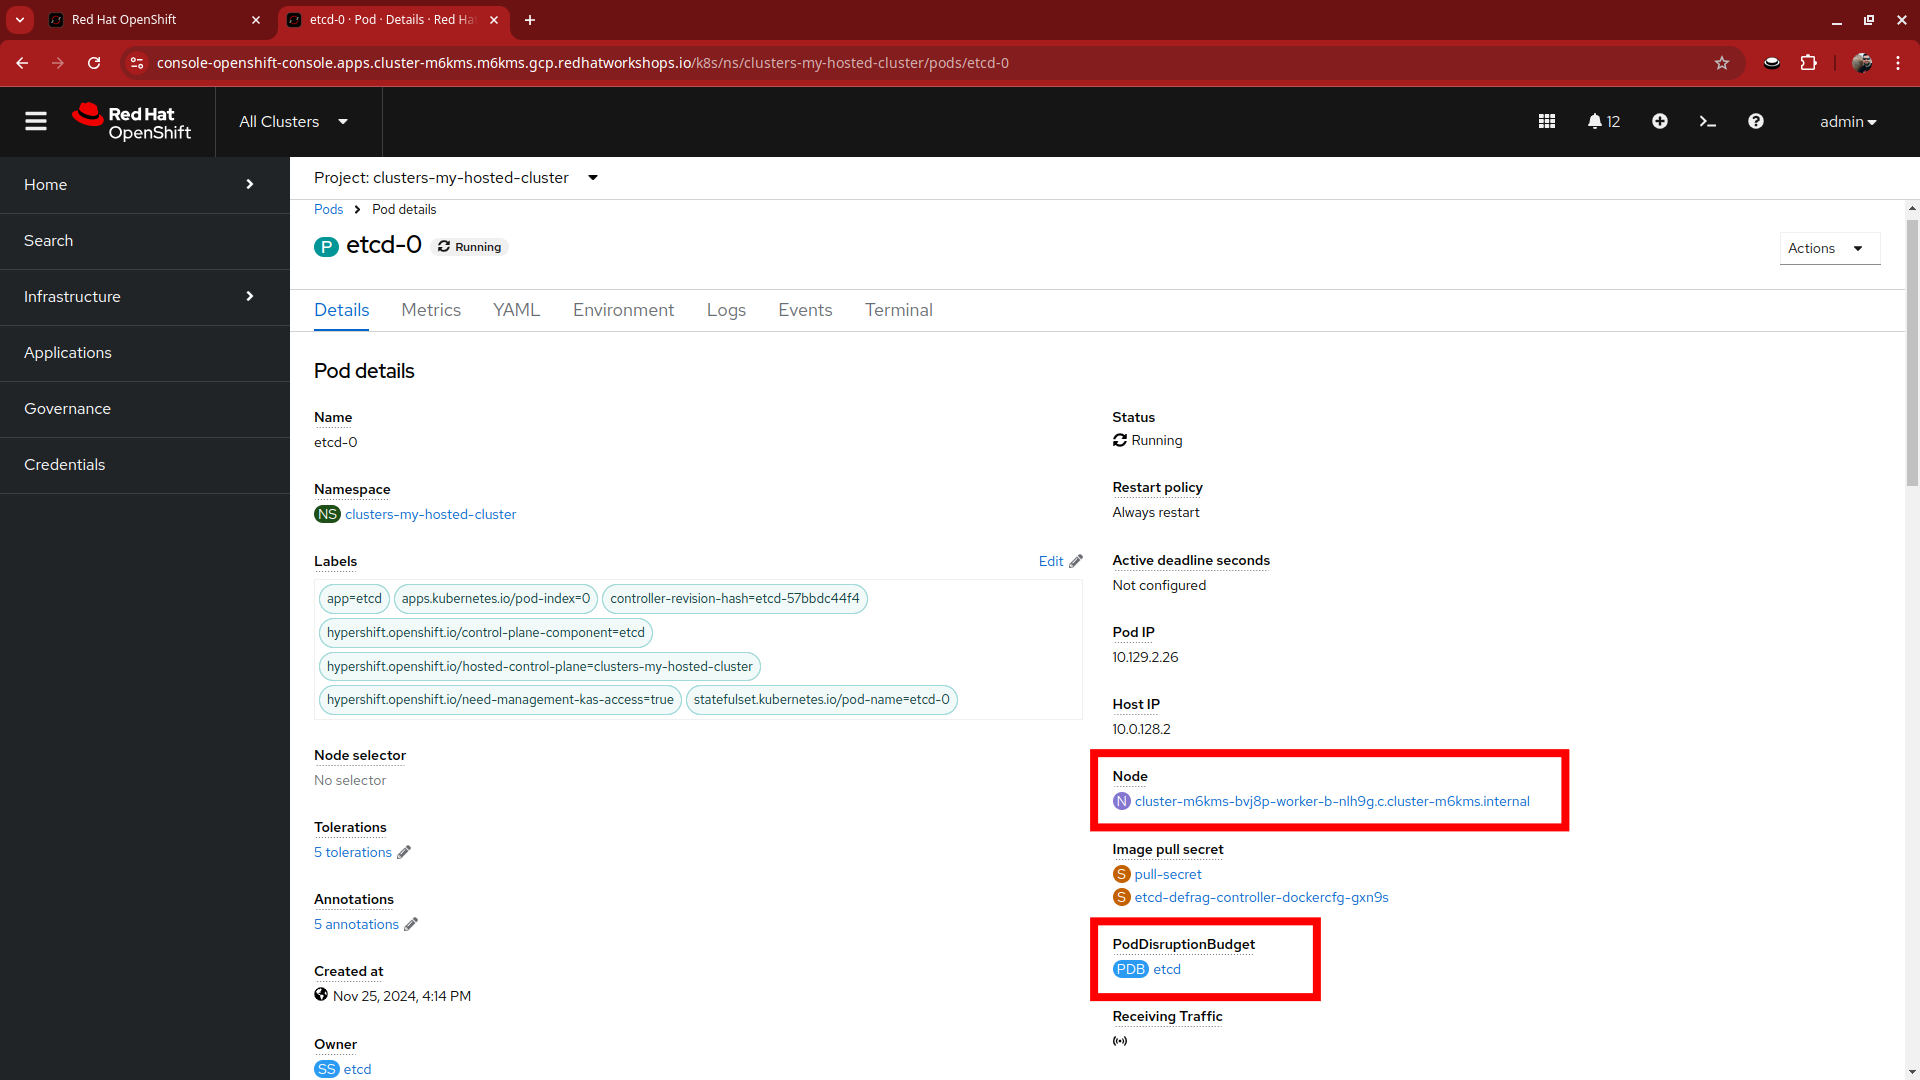
When you click on the pod, you will be brought to the details page for the pod. Notice that you can see the node it’s assigned to. Looking at the other etcd pods will show that they are assigned to different nodes through anti-affinity rules. There is also a pod-disruption budget set so that the maximum unavailable at any time is 1, or the cluster becomes unavailable.
-
Press the back button on your browser to return to the list of pods available in the clusters-my-hosted-cluster project.
-
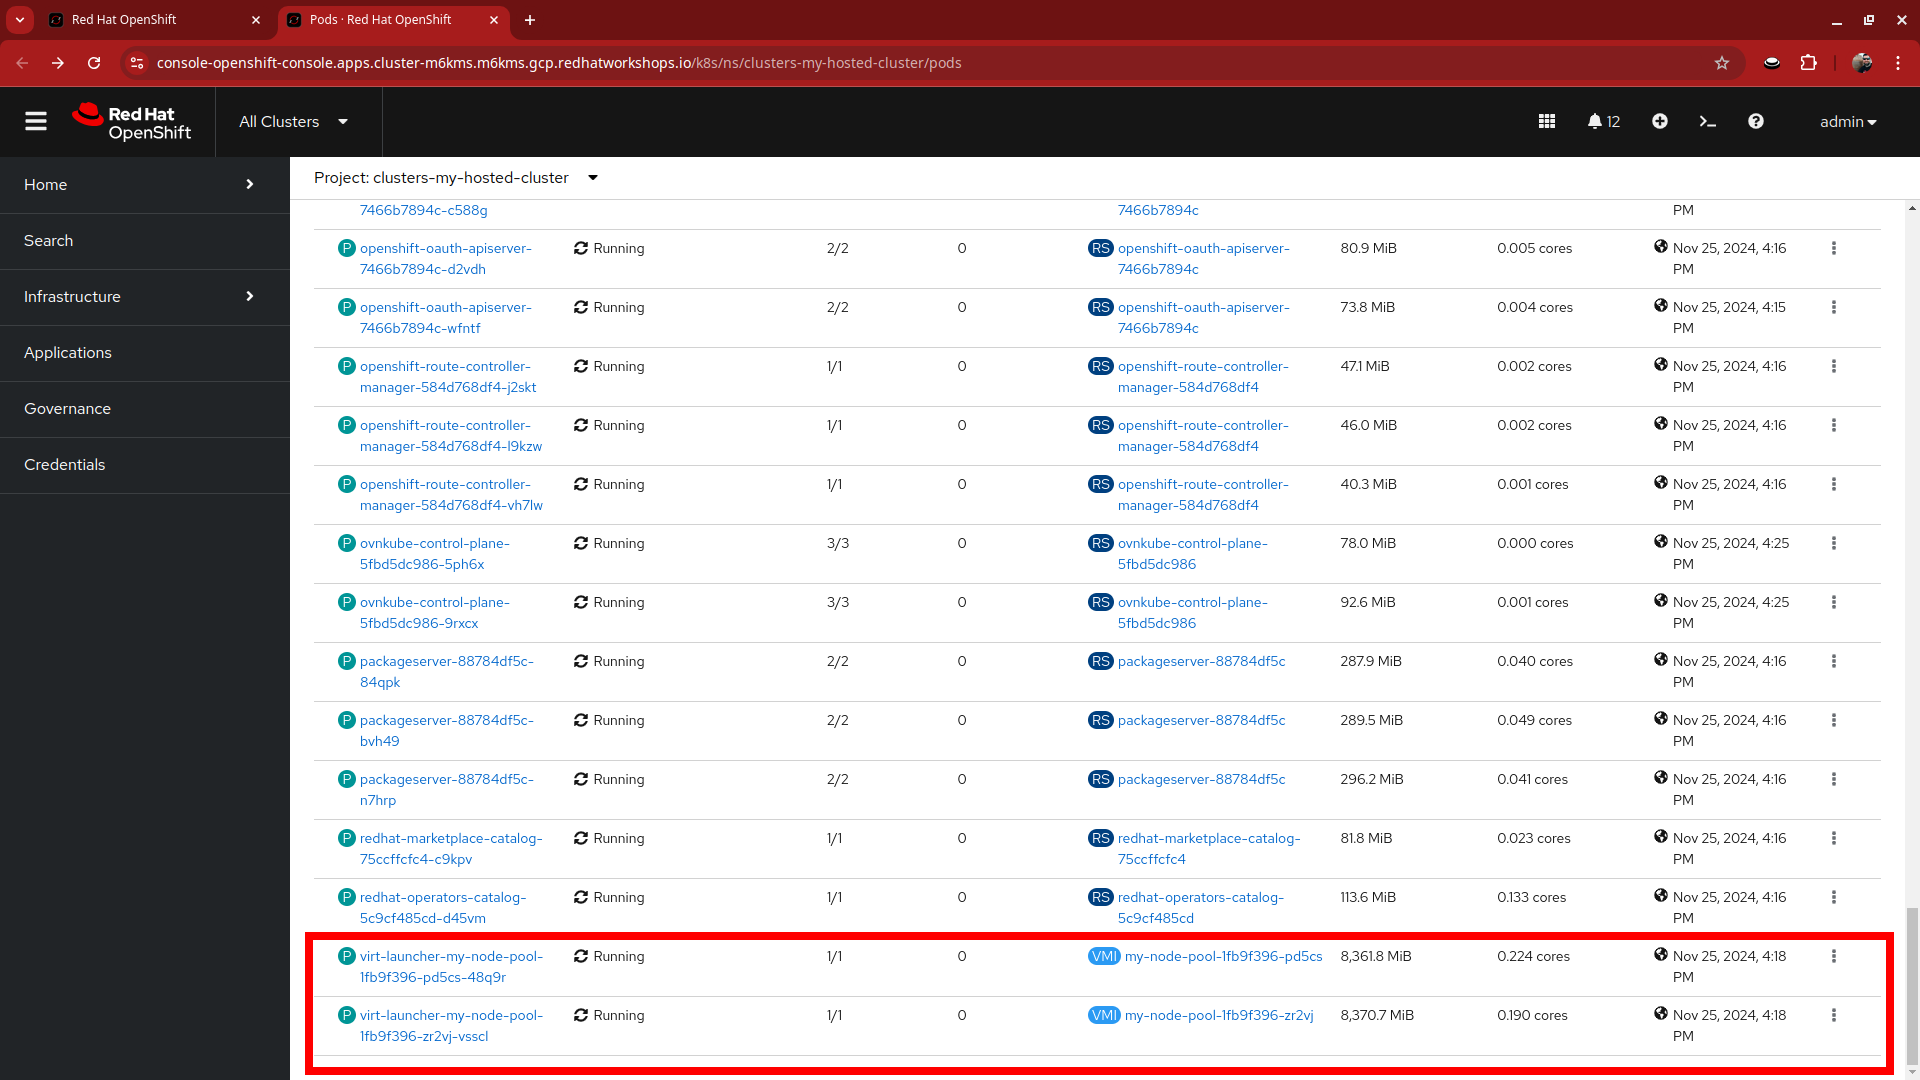
Scroll to the very bottom of this list, there are two more pods that stand out, what do you notice different about them?
-
These are the VirtualMachineInstance pods that represent the two virtual worker nodes in our node pool. Notice that the amount of reserved memory is much larger than any other pod in this project.
-
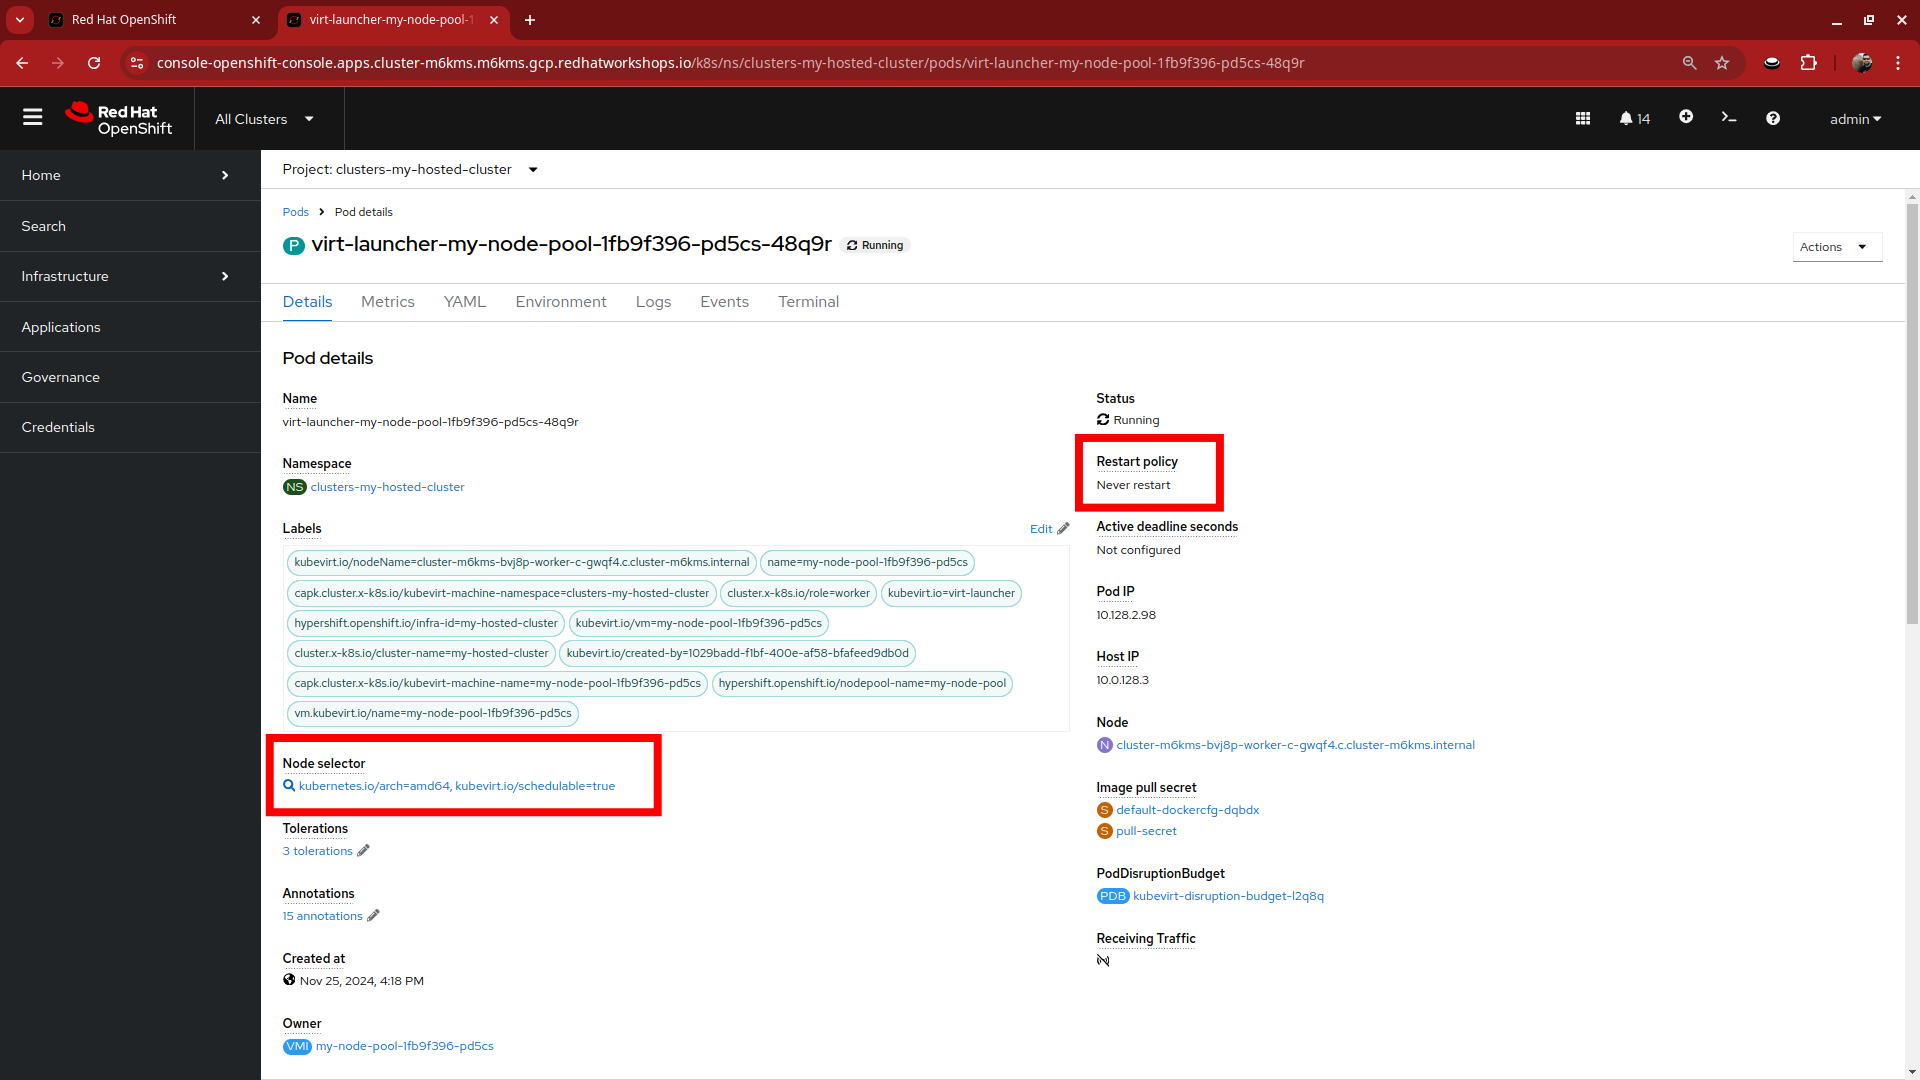
Click on one of the pods to bring up it’s detail page. Notice that like etcd you can also see the node that it is assigned to, as well as it’s pod disruption budget. But also a node selector to find nodes that can host VMs, as well as a difference in the restart policy.
Once you are done exploring the pods running in the clusters-my-hosted-cluster project, close out that browser tab to return to the overview for my-hosted-cluster.
Cluster Details and Status
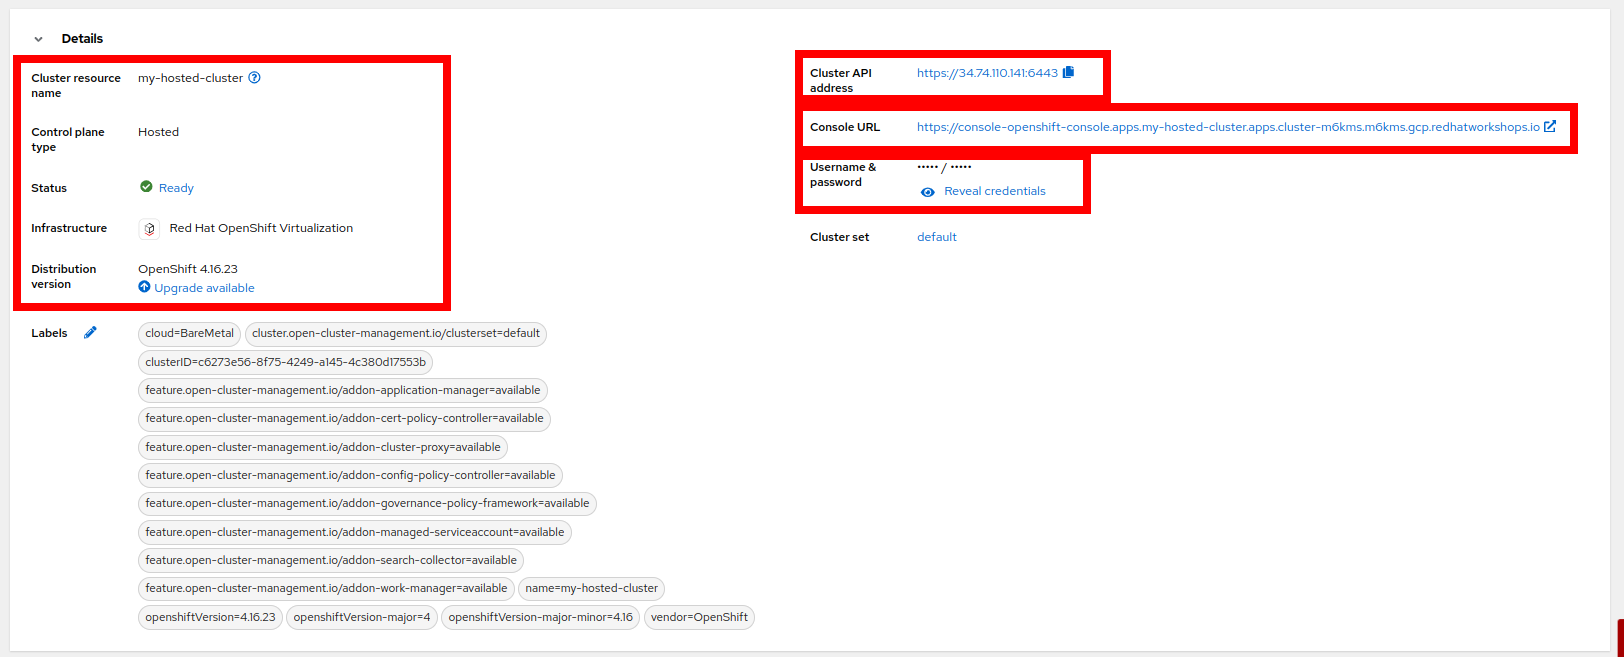
The next major section of the overview page provides details about the cluster we have deployed. This includes the status of the cluster, details about it’s infrastructure and where we can manage future operations like upgrades. It also includes the information we need to access the cluster like the cluster API address, the console URL we can use to login, and the credentials to do so, conveniently hidden for security purposes.
-
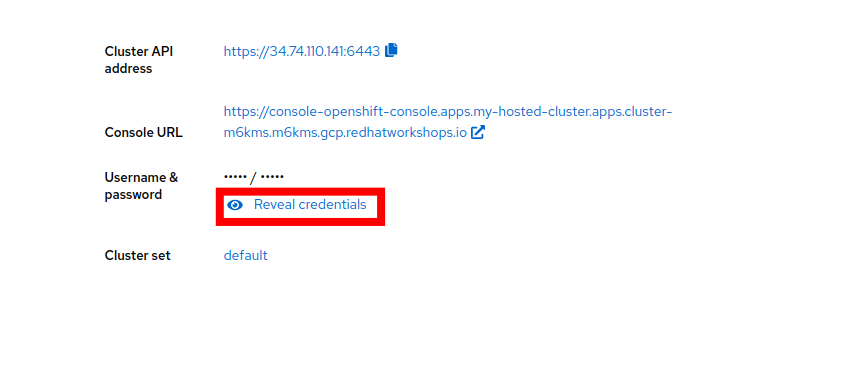
Click the eye icon to display the credentials, it will provide the information for the kubeadmin user and a randomly generated password.
-
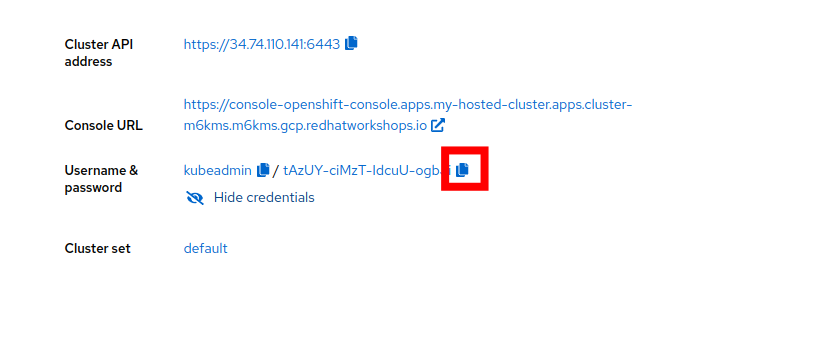
Click on the copy icon next to the password to save it to the buffer, then click on the Console URL right above that.
-
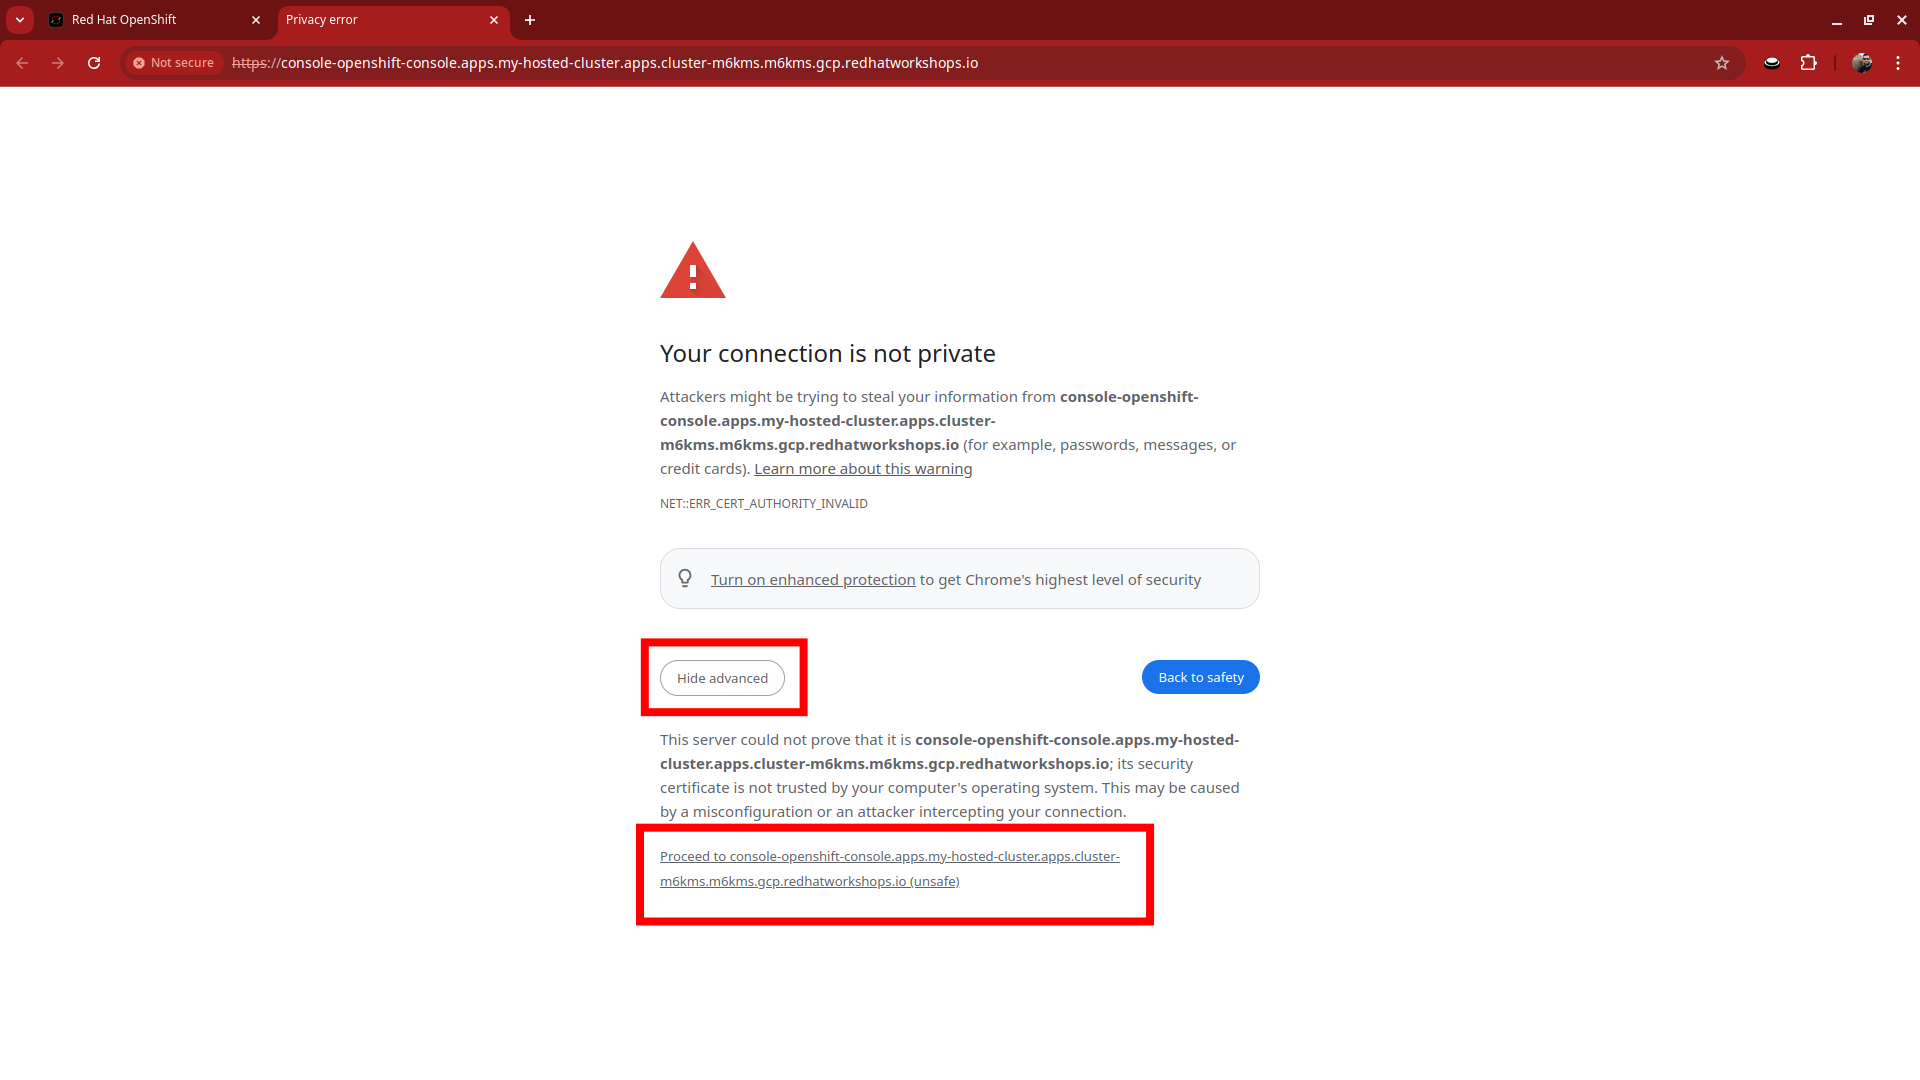
A new tab will open. You will first be presented with some security certificate prompts, click the Advanced button, and then the link it displays to bypass these warnings.
You may have to do this more than once. -
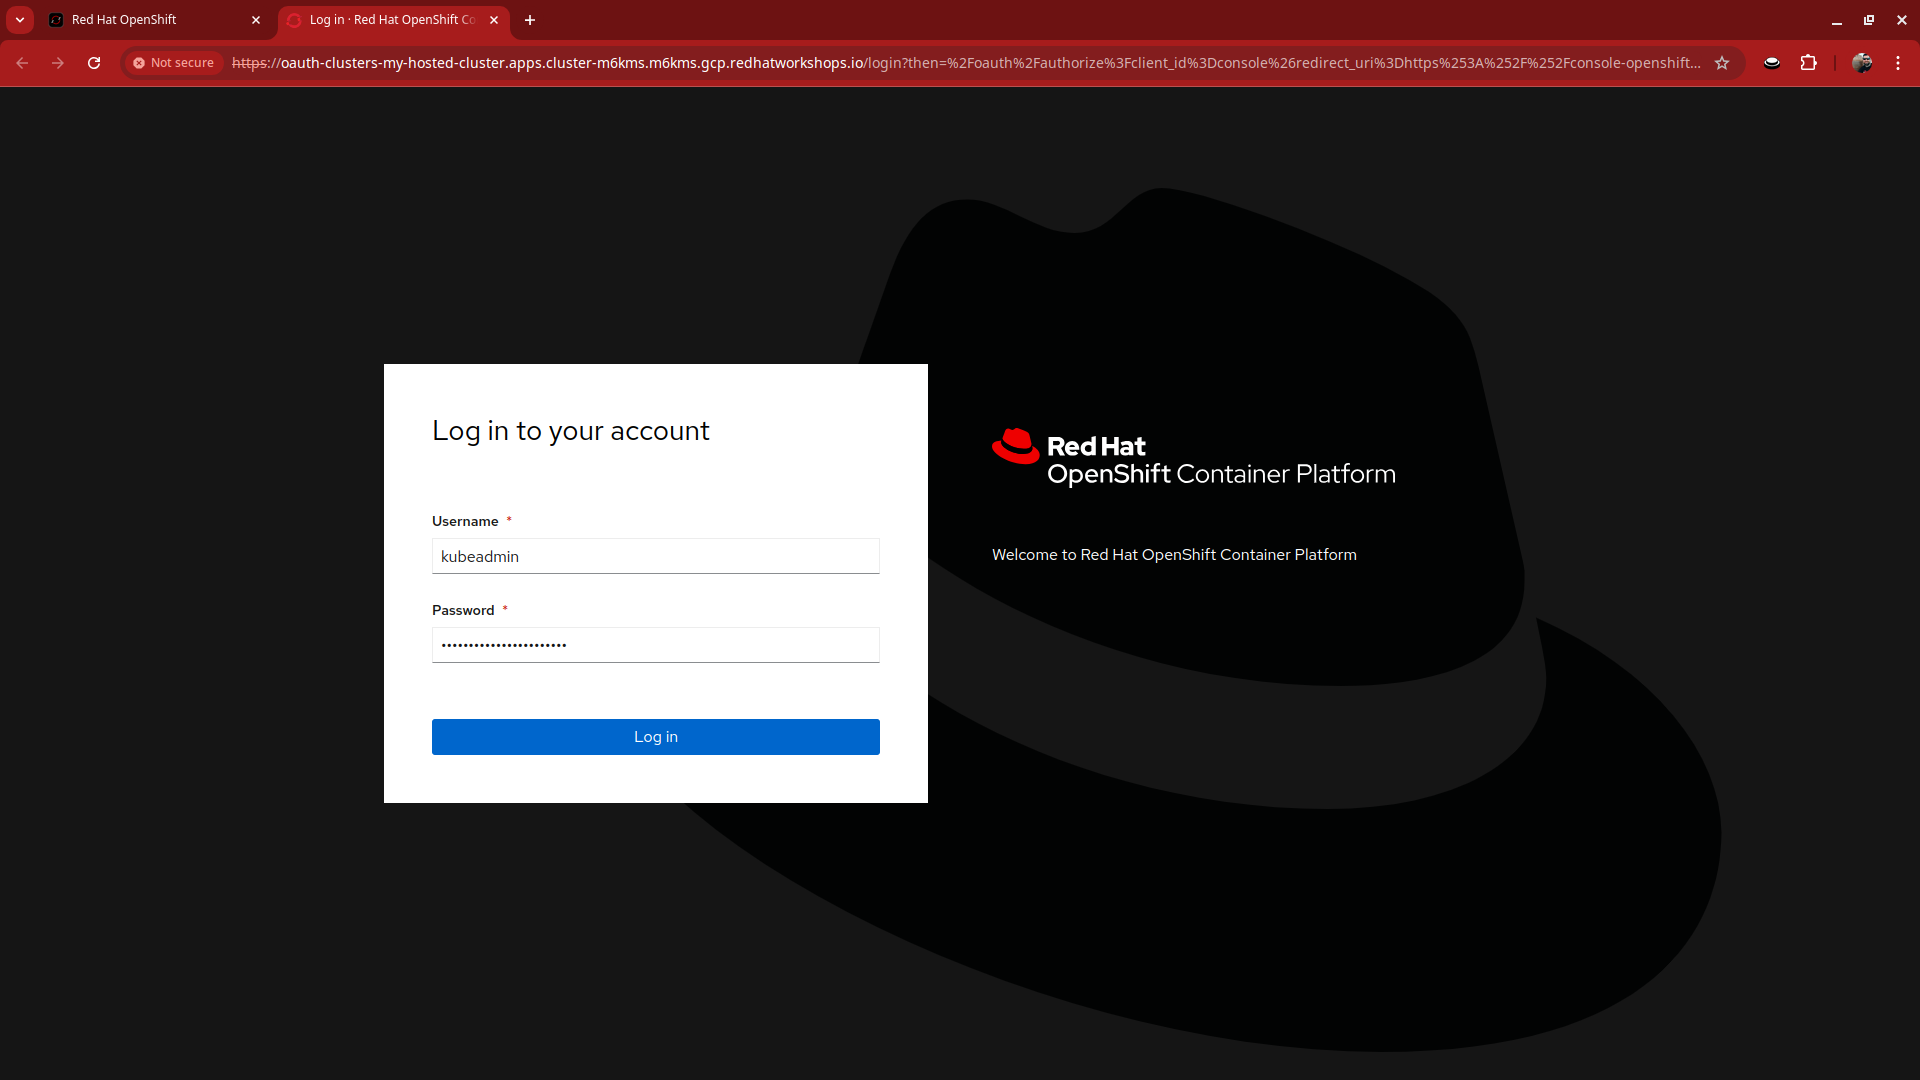
Once you bypass the certificate prompts you will be presented with the login to the OpenShift console. This is where you will use the username kubeadmin and the password that we copied a few moments ago to log in.
-
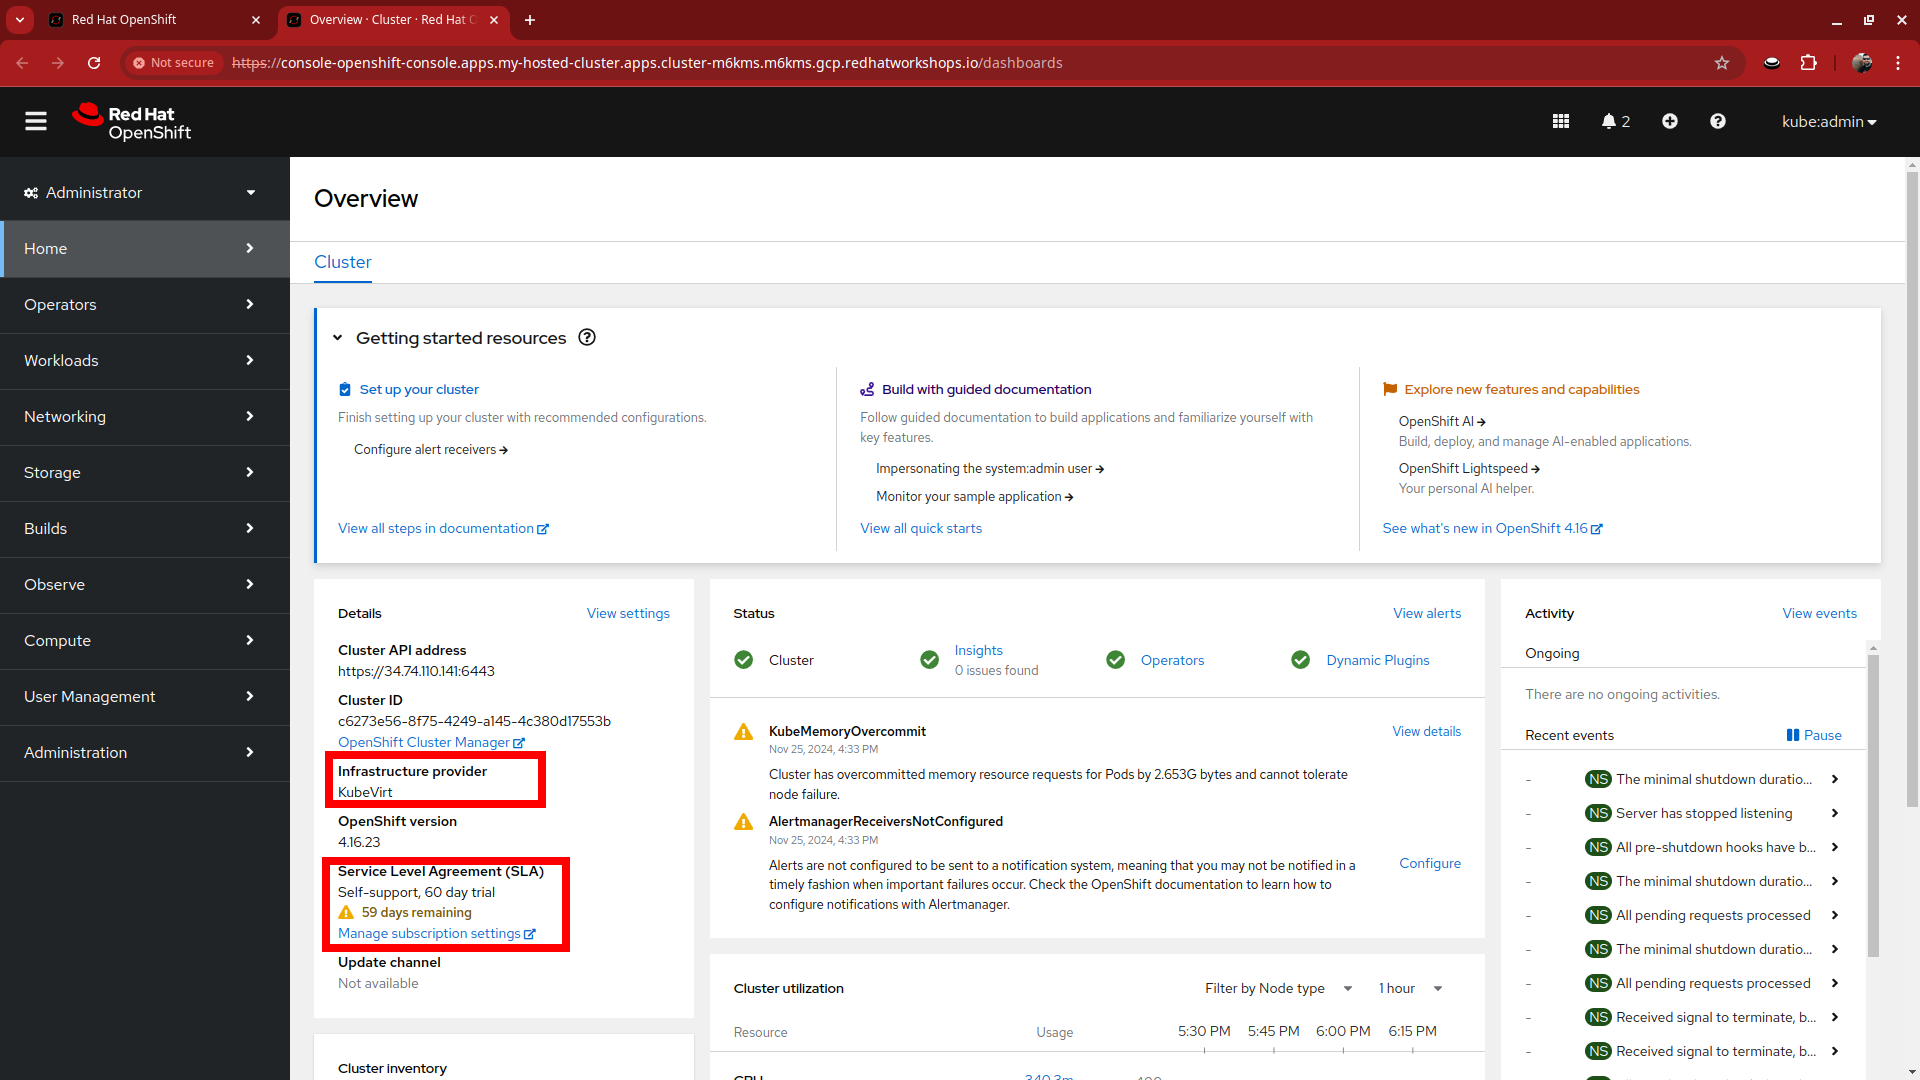
You will be presented with the OpenShift console home page, just as if you were logging into any other OpenShift cluster. You can see that the environment was newly provisioned as there are 59 days left on a default self-support trial, and that the infrastructure provider is listed as KubeVirt. You may continue to explore the environment at your leisure. When you are finished, simply close the tab to return to the remaining lab tasks.
-
Now that you are back on the hosted cluster overview scroll further down the page to the Status section where you will see a summary describing the number of nodes and applications currently running in the cluster.
-
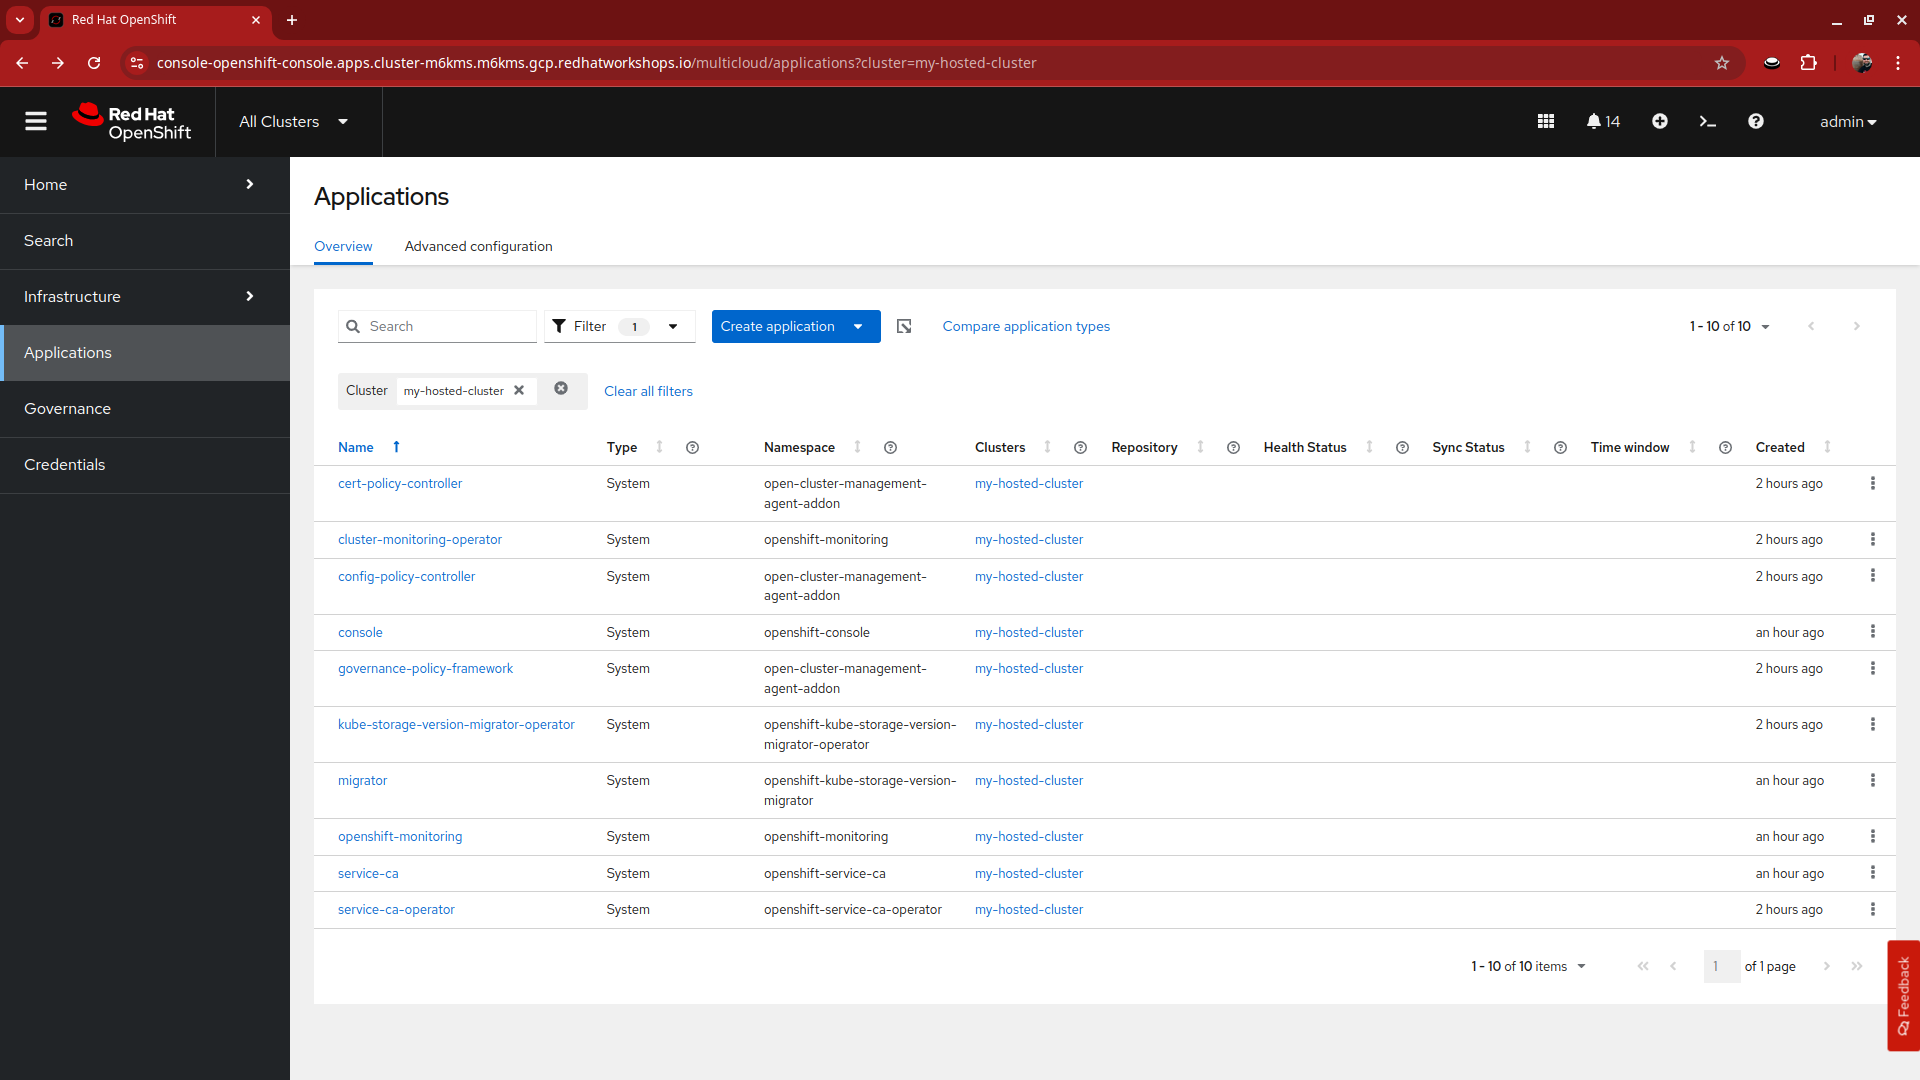
Click on the large number above applications, it will bring you to a page that shows all of the apps currently running in the cluster. At this point they are all administrative applications responsible for providing cluster services. You can also use the blue Create application button to configure centralized application deployments from ACM to your hosted cluster fleet using ArgoCD or a subscription model.
-
When you are done exploring this page, click the back button on your browser to return to the my-hosted-cluster overview.
Nodes and Node Pools
-
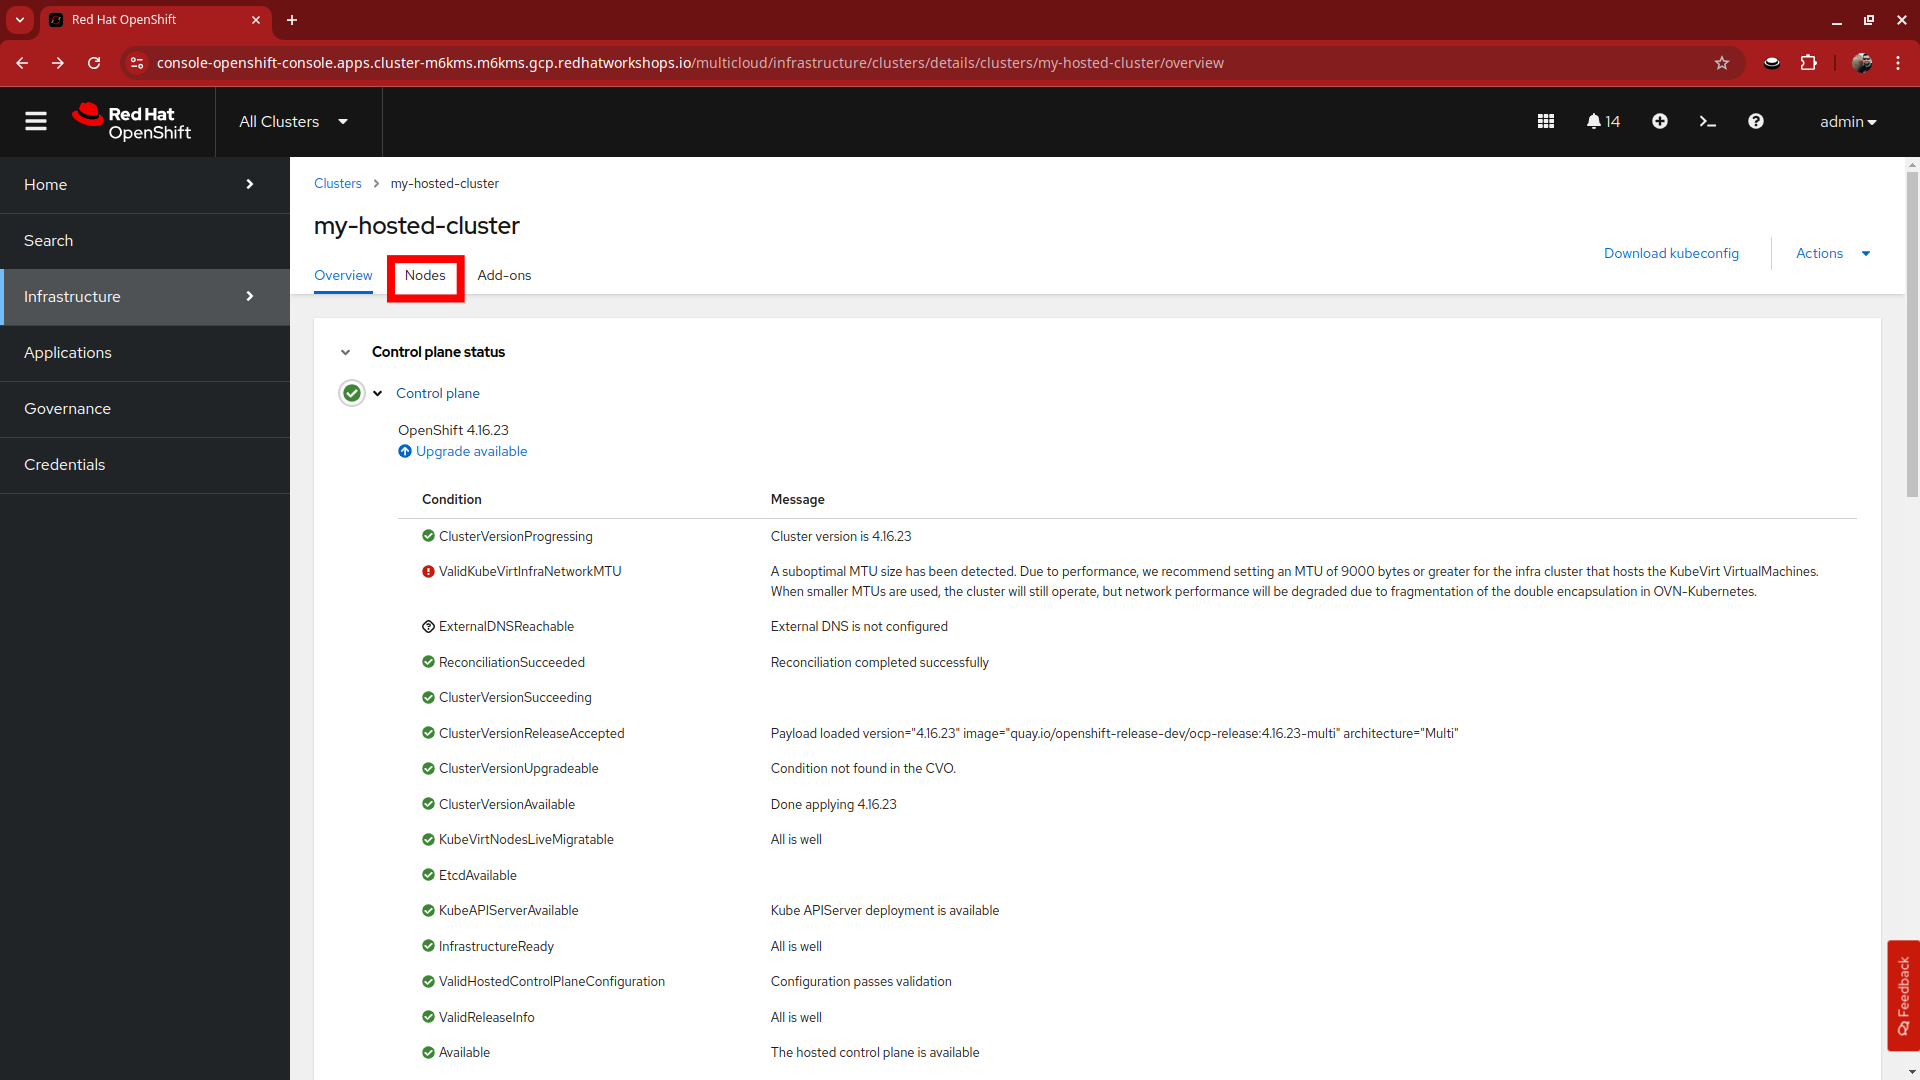
From the my-hosted-cluster overview page, click on the tab for nodes at the top.
-
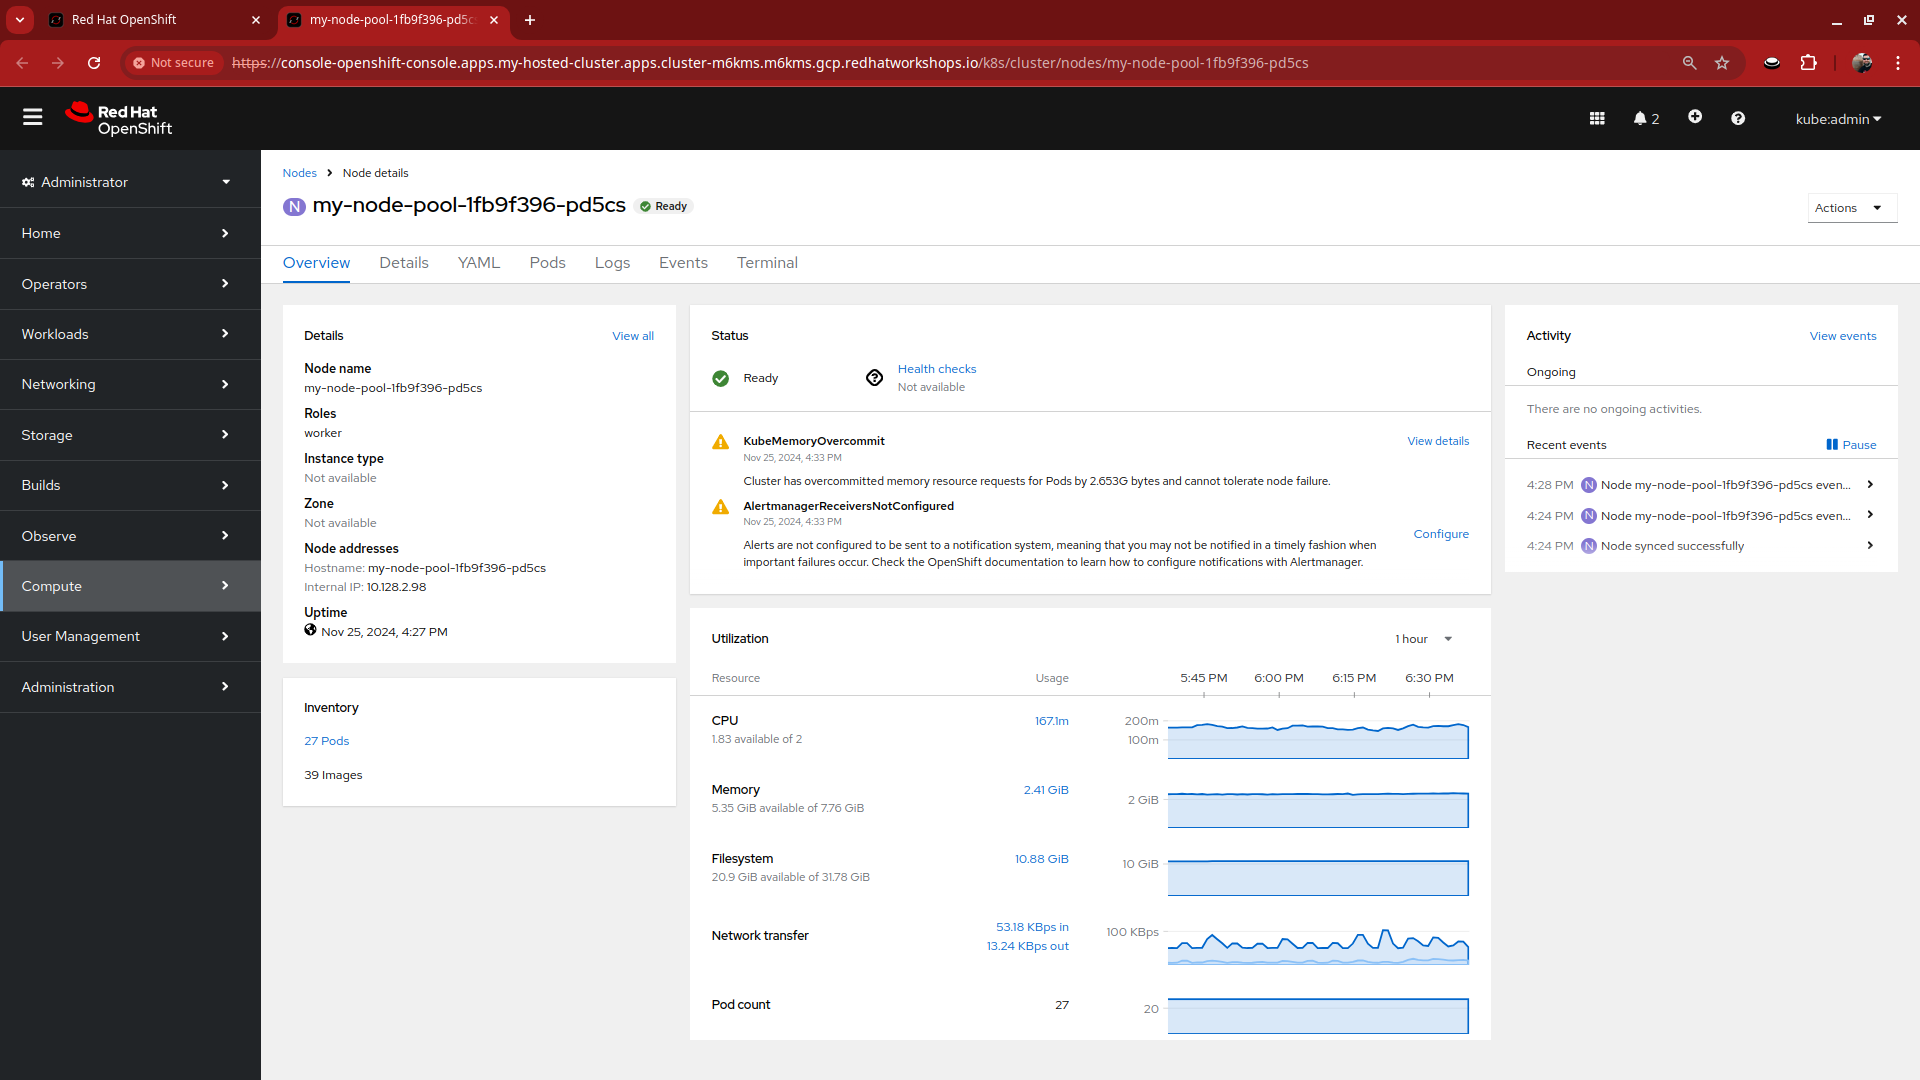
You will be taken to a page that shows the nodes in your node pool, and some basic information about their resources. If you recall we configured two during the deployment. Click on the first cluster node to explore it further.
-
A new tab will open and bring you to the compute section of your hosted cluster where you can see the node details.
-
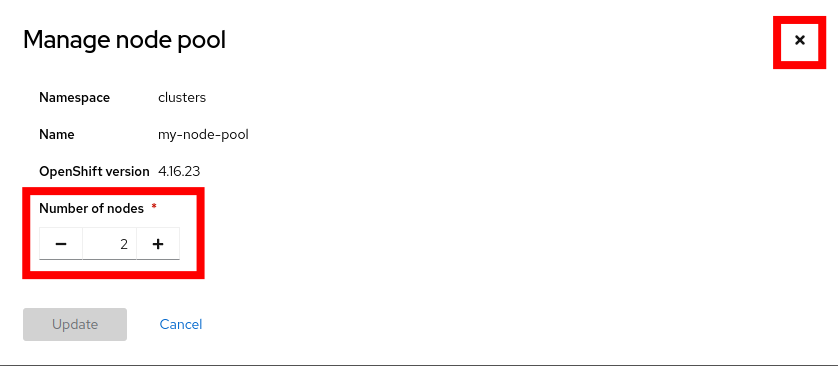
Close this tab and return to the my-hosted-cluster overview page. If you scroll about halfway down the page you can see the place where we explored the Control plane pods earlier, and the Cluster node pools section. Click on the three-dot menu on the right, and select the option for Manage node pool.
-
You will be prompted with a pop-up window to Manage node pool where you can manually scale the node pool to more than 2 nodes. Close this window when you are done viewing it.
| Do not scale the cluster at this time! We will work with node pools later in the lab. |
