Configure the Hosted Cluster
One of the primary use cases for a hosted control planes deployment is to provide multitenancy for organizations so that individuals and teams can have their own clusters with dedicated resources that cannot be infringed upon by other users. Unlike a standard deployment of OpenShift, the configuration for authentication and authorization will need to be performed on the hosting cluster against the HostedCluster object. In this lab we will step through the process of adding an additional user account for us to login with, grant that user the cluster admin role, and then test that login functionality.
Goals
-
Configure authentication for a regular user.
-
Test the authentication once the cluster is configured.
| In this section we will make use of the Showroom terminal provided to the right of the lab guide to ssh over to our bastion host to perform some command line actions against our cluster. |
Configure Authentication
Gather the Kubeconfig file to interact with the hosted cluster
-
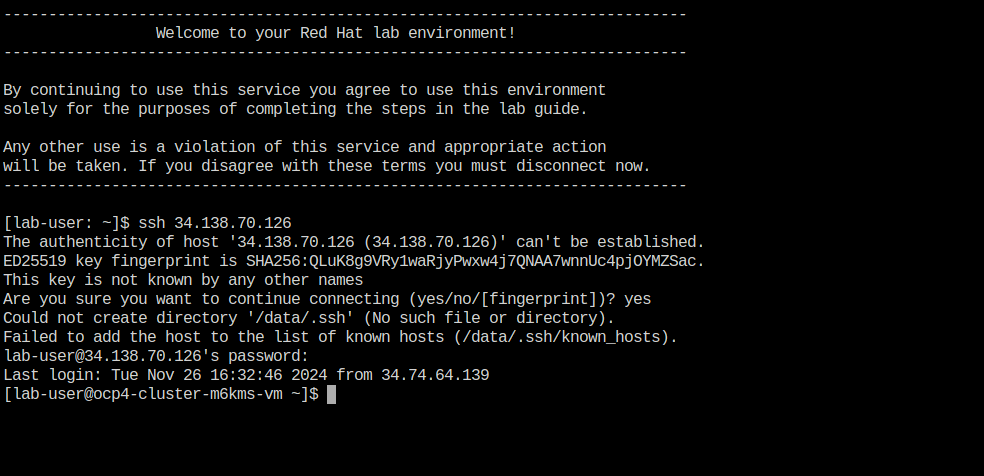
Using the Showroom terminal, SSH over to your bastion host at sample_bastion_public_hostname.
-
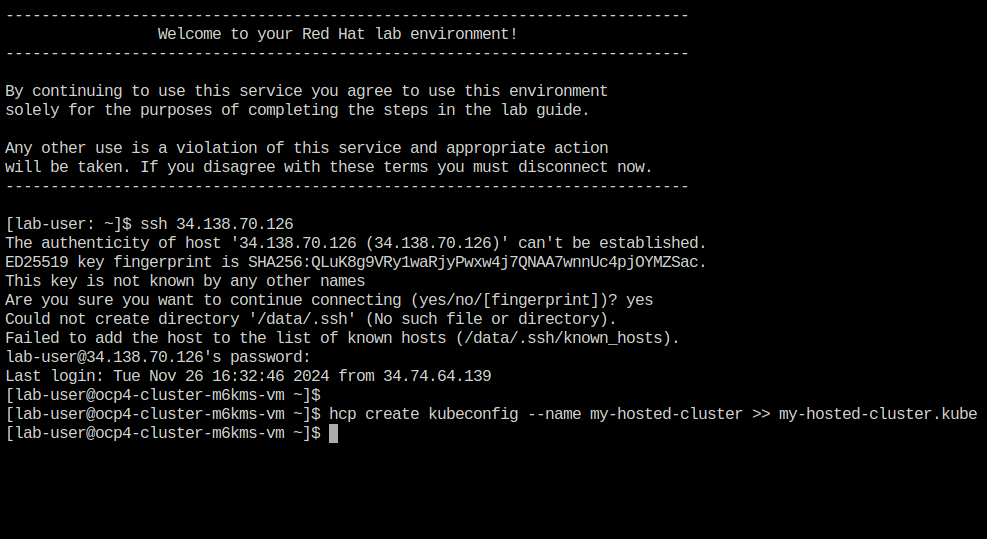
We are going to use the hcp CLI, already installed on the bastion host, to gather the Kubeconfig file from our hosted cluster so we can interact with it via CLI. Copy and paste the following syntax into your console and press Enter.
hcp create kubeconfig --name my-hosted-cluster >> my-hosted-cluster.kube -
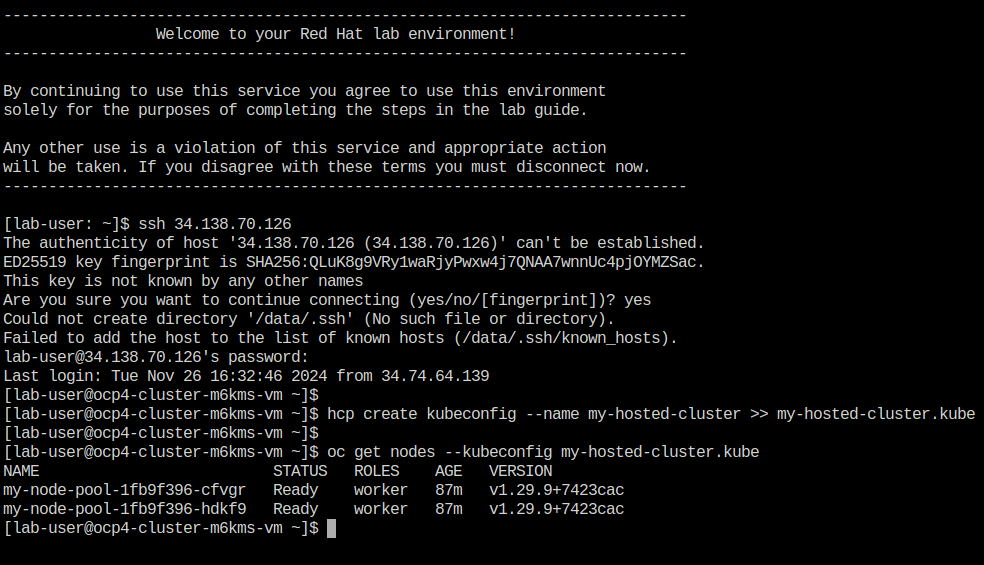
Use the newly created kubeconfig to check the number of nodes in the hosted cluster node pool to confirm it’s working as expected.
oc get nodes --kubeconfig my-hosted-cluster.kube -
With the kubeconfig downloaded and confirmed working we can move onto our next steps. Use the clear command to clean up the terminal screen.
Create User Credentials
-
In your terminal copy and paste the following syntax and press the Enter key.
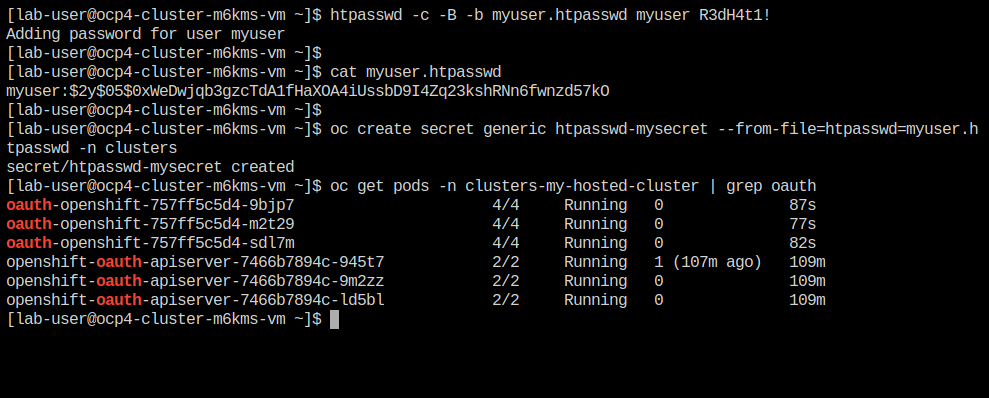
htpasswd -c -B -b myuser.htpasswd myuser R3dH4t1! -
Use the
catcommand to list the contents of the newly created htpasswd file. Use the syntax below to view the file’s contents. It will include our username, and the hashed value of the password we created.cat myuser.htpasswd -
Now we can use this value to create a secret in the cluster, which we will need to be able to log in with our own user account. Copy and paste the following syntax, and press the Enter key.
oc create secret generic htpasswd-mysecret --from-file=htpasswd=myuser.htpasswd -n clusters -
With the secret created we can now return to our hosting cluster’s OpenShift console and to perform the next steps.
Add User to Cluster
-
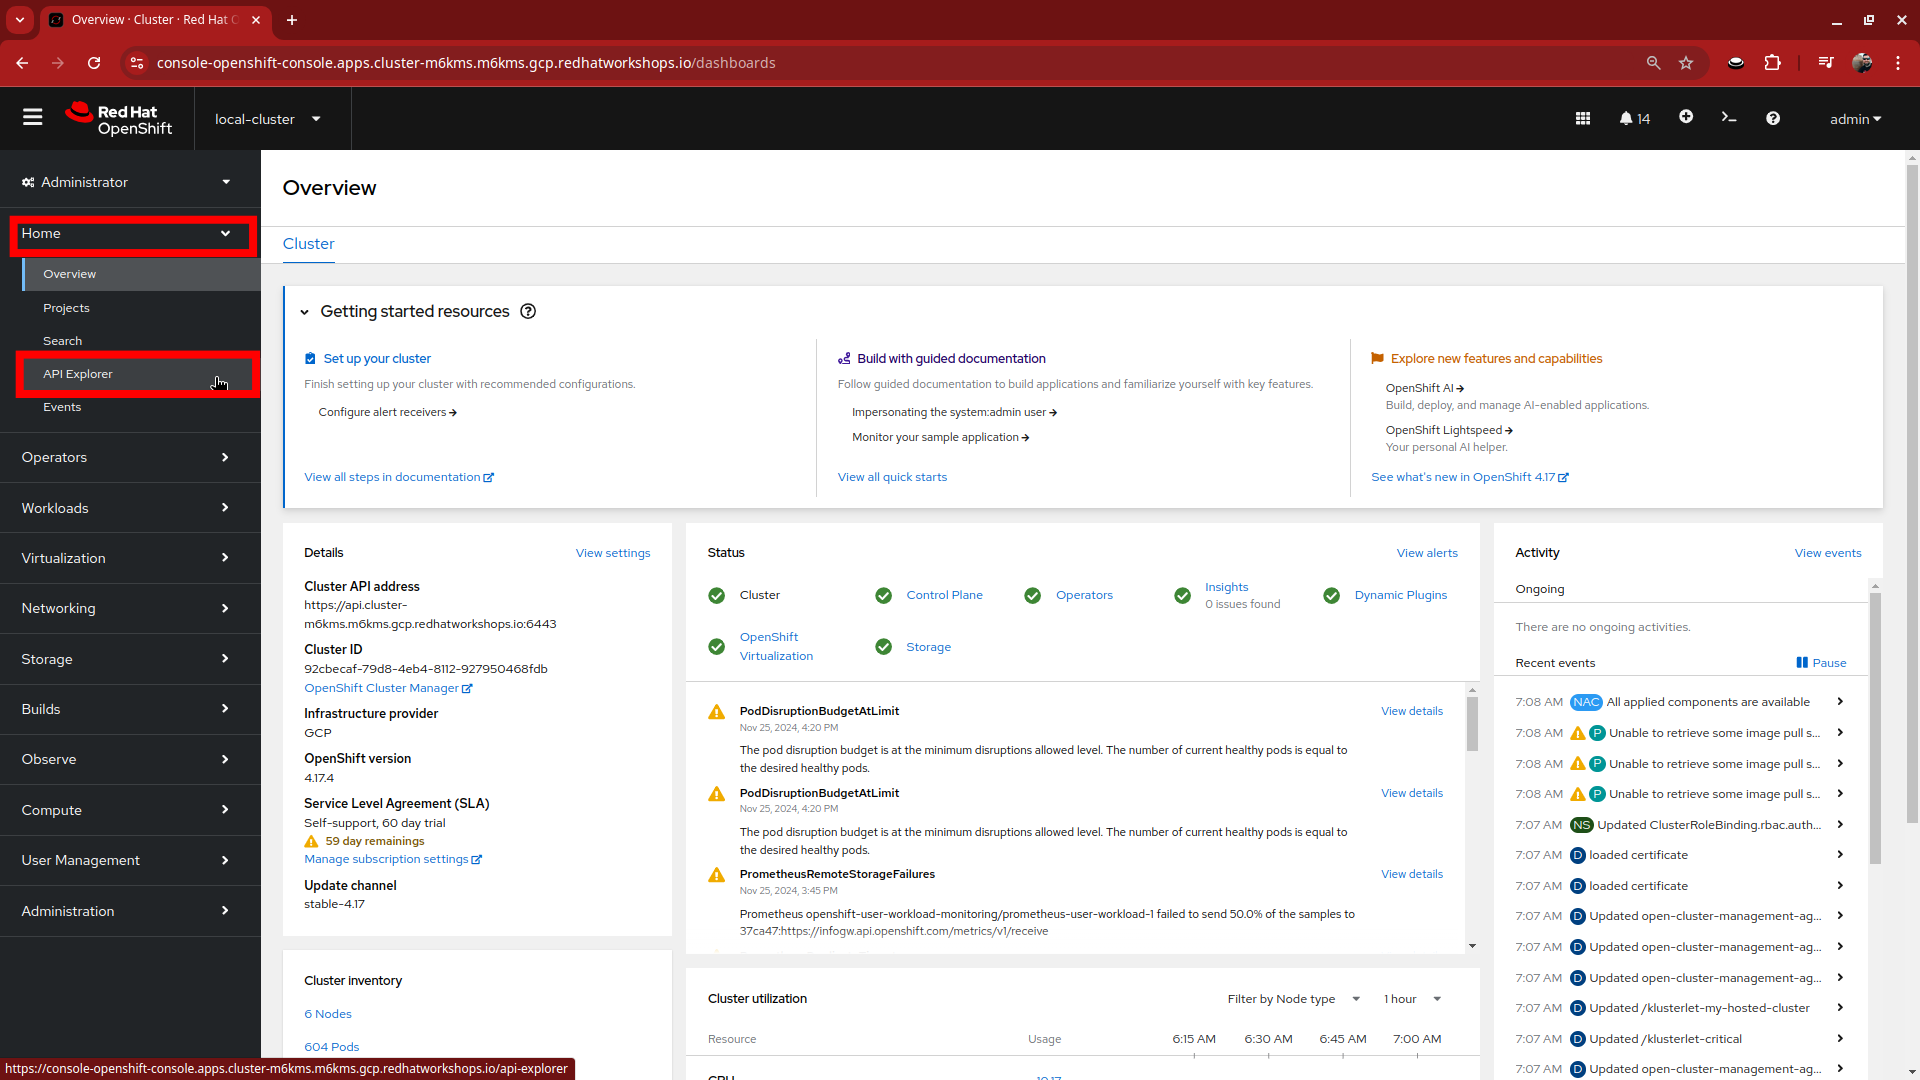
Starting from the Overview page of our hosting cluster, on the left-side menu click on Home and then API Explorer.
-
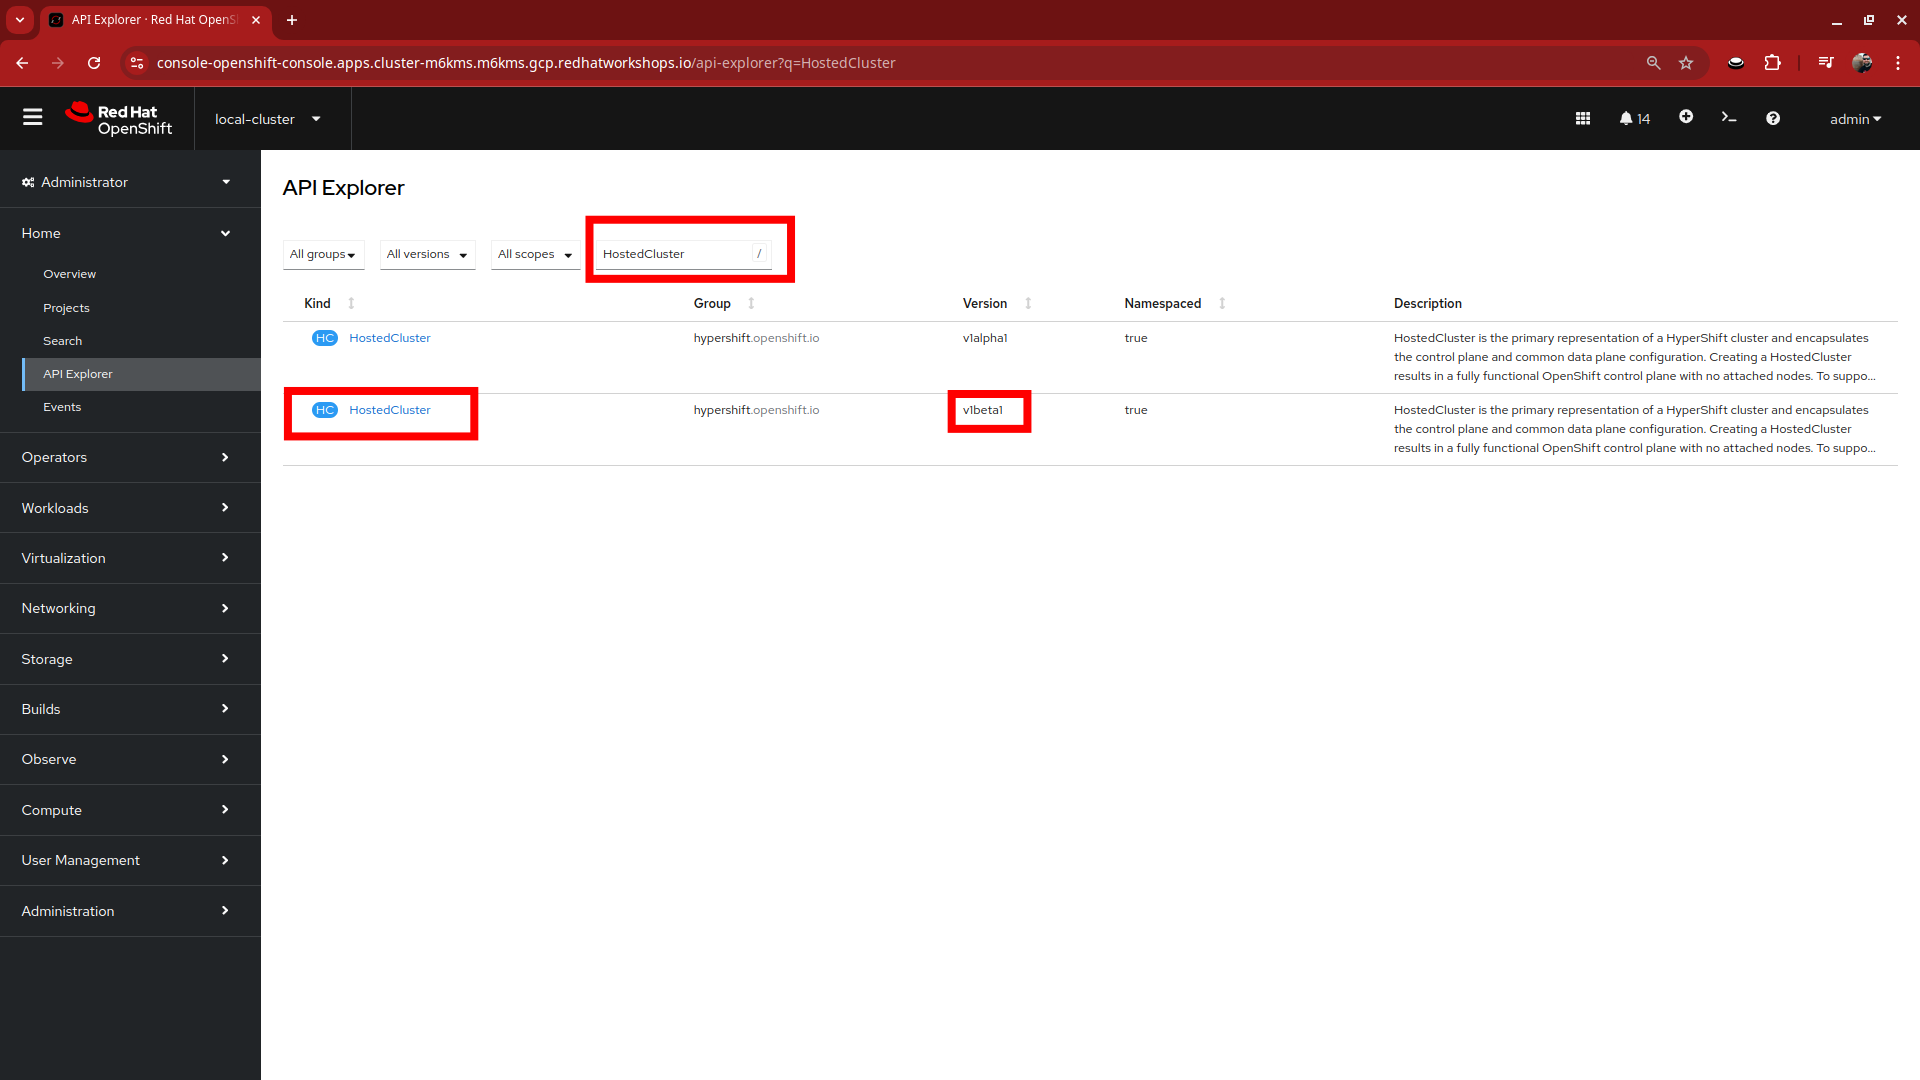
Use the Filter by kind box to search for the term HostedCluster. It should return two values, click on the one that shows it’s version as v1beta1.
-
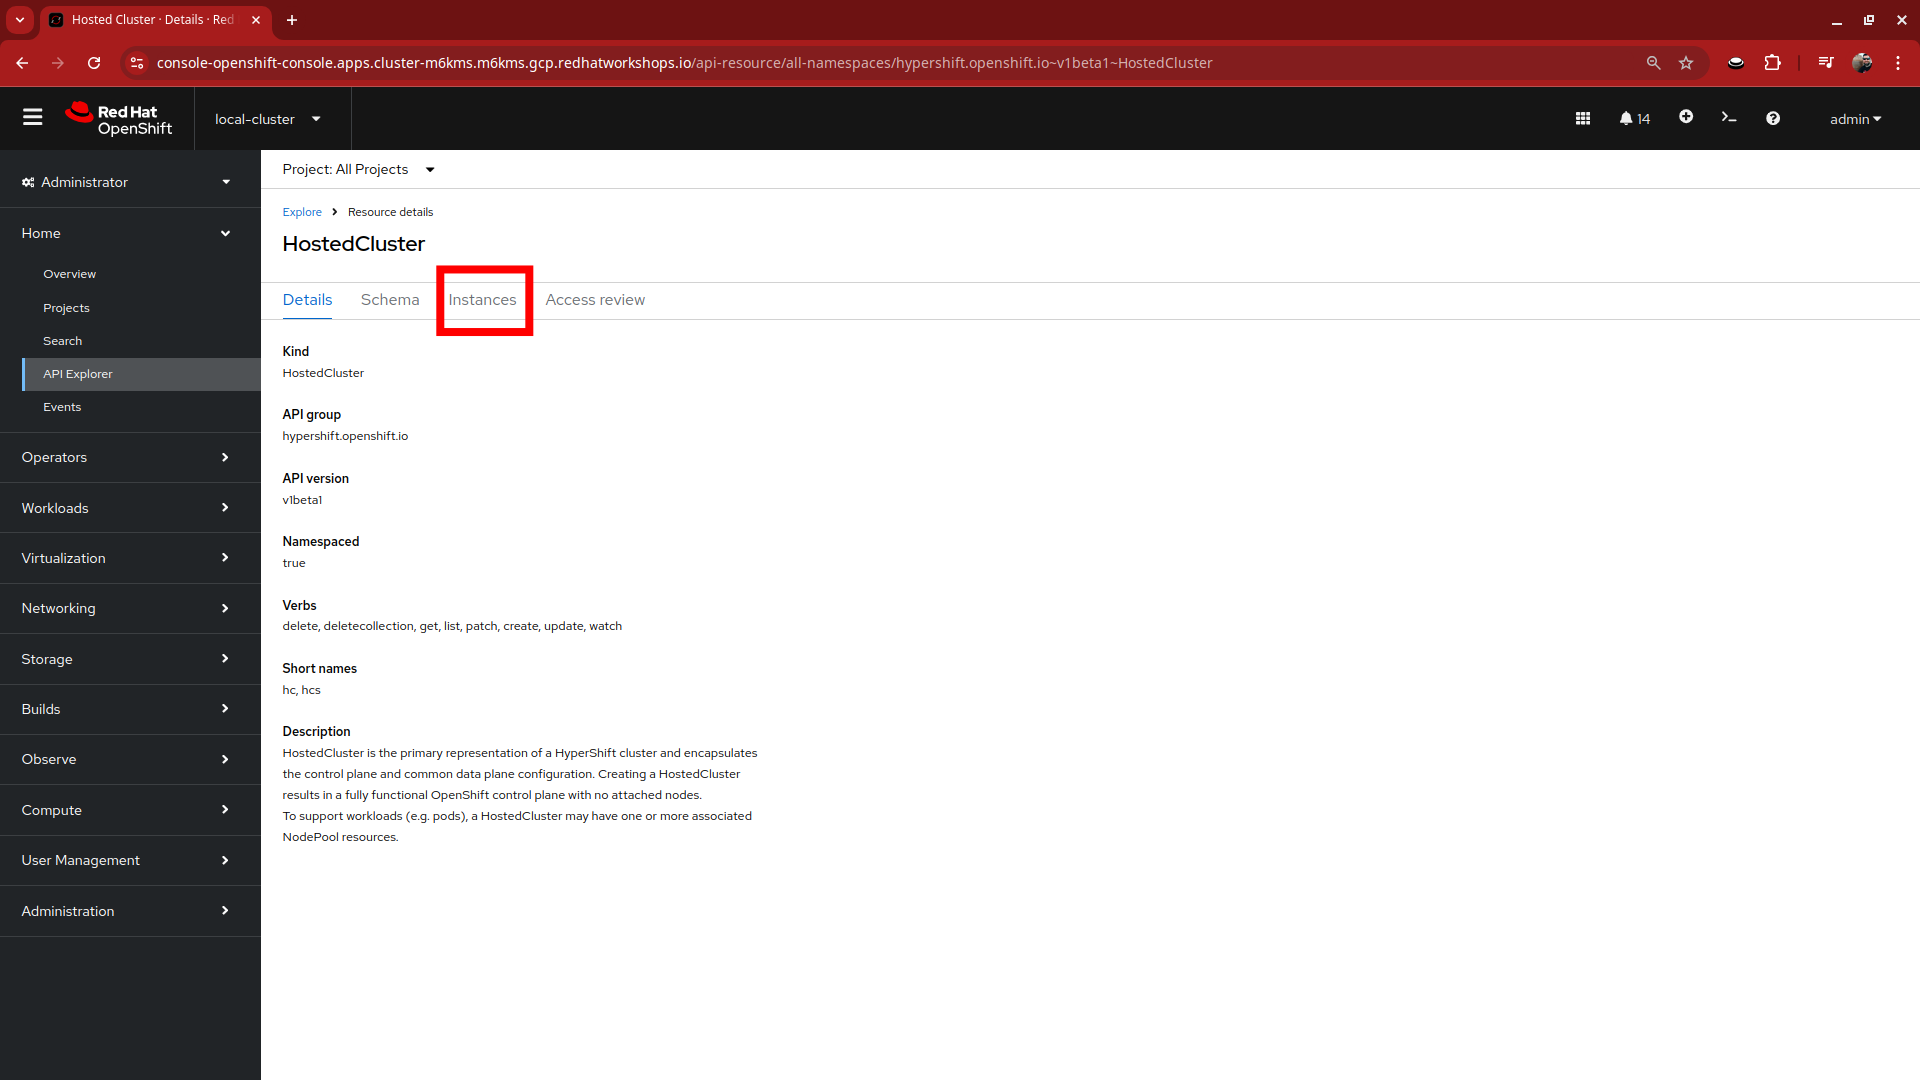
This will bring up the HostedCluster Resource details, click on the Instances tab to see our my-hosted-cluster deployment.
-
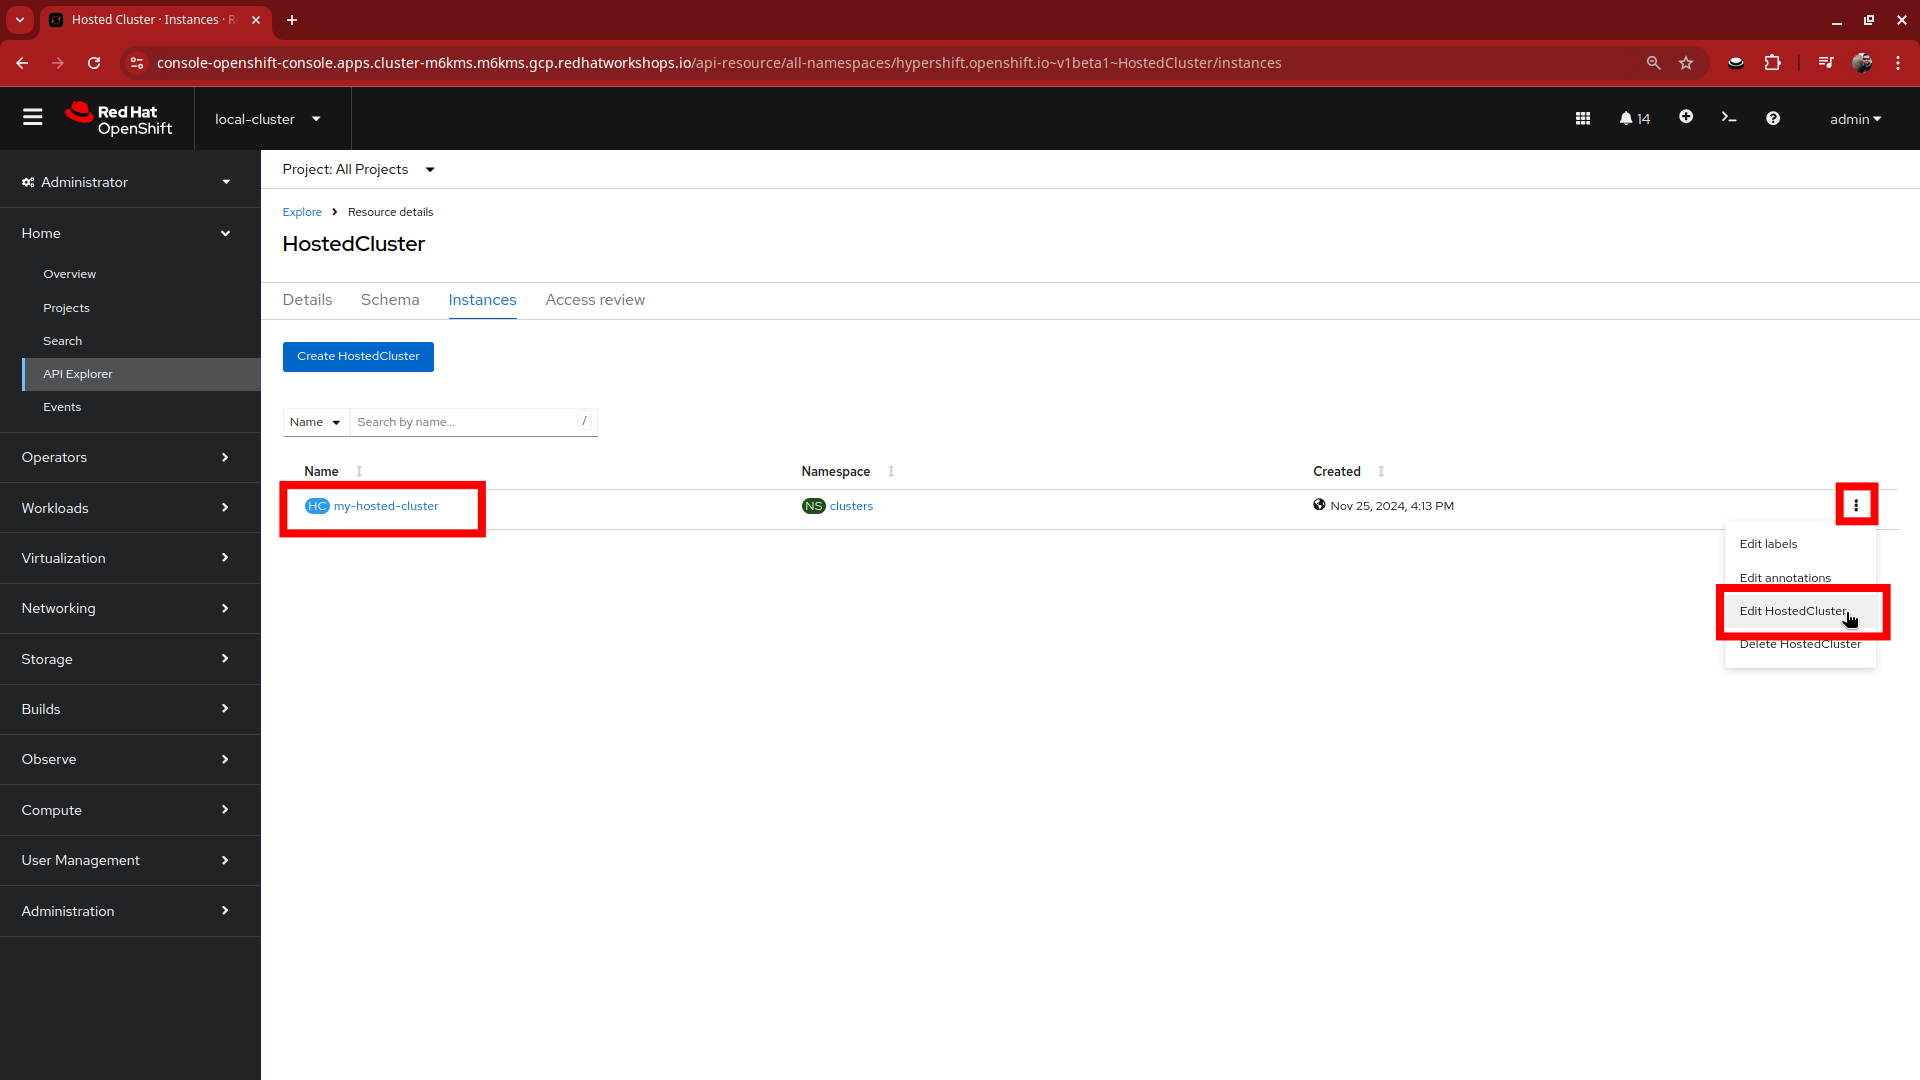
Click on the three-dot menu to the right side of our instance, and select Edit HostedCluster from the drop-down menu.
-
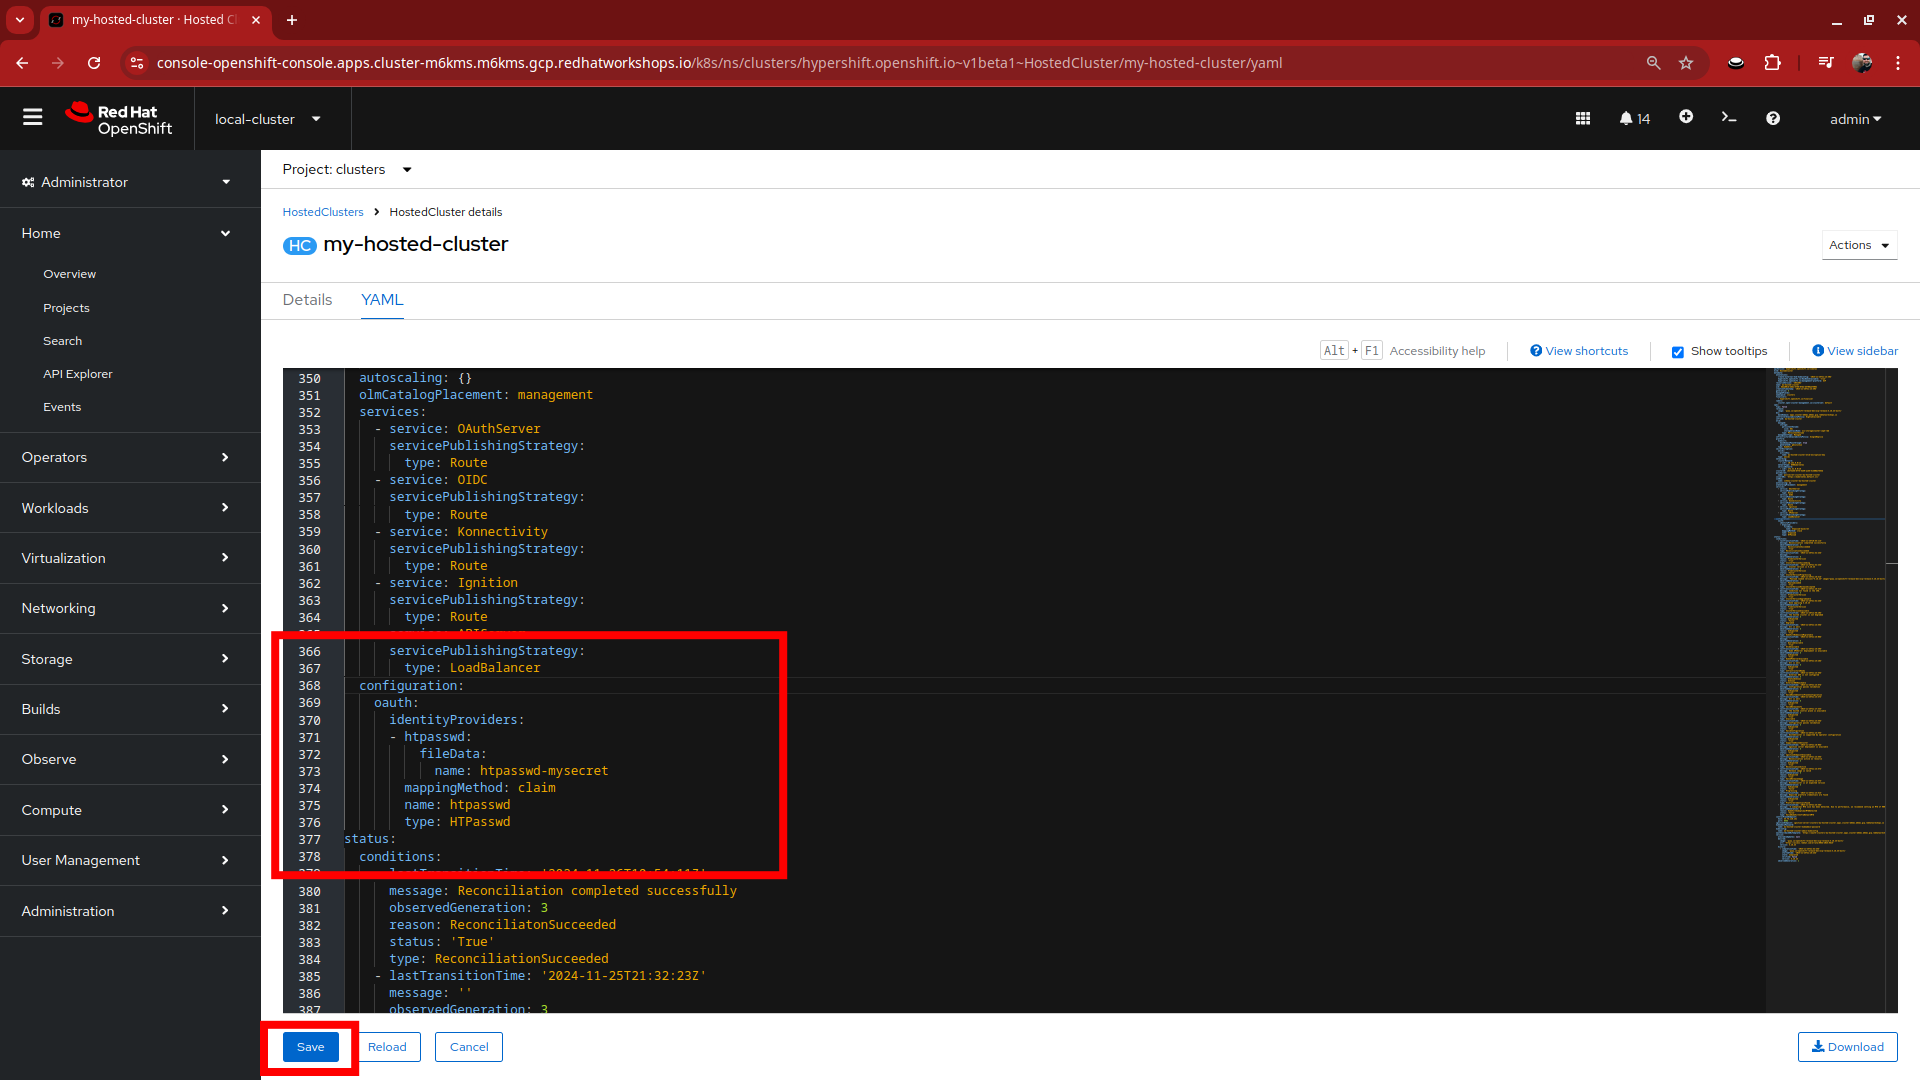
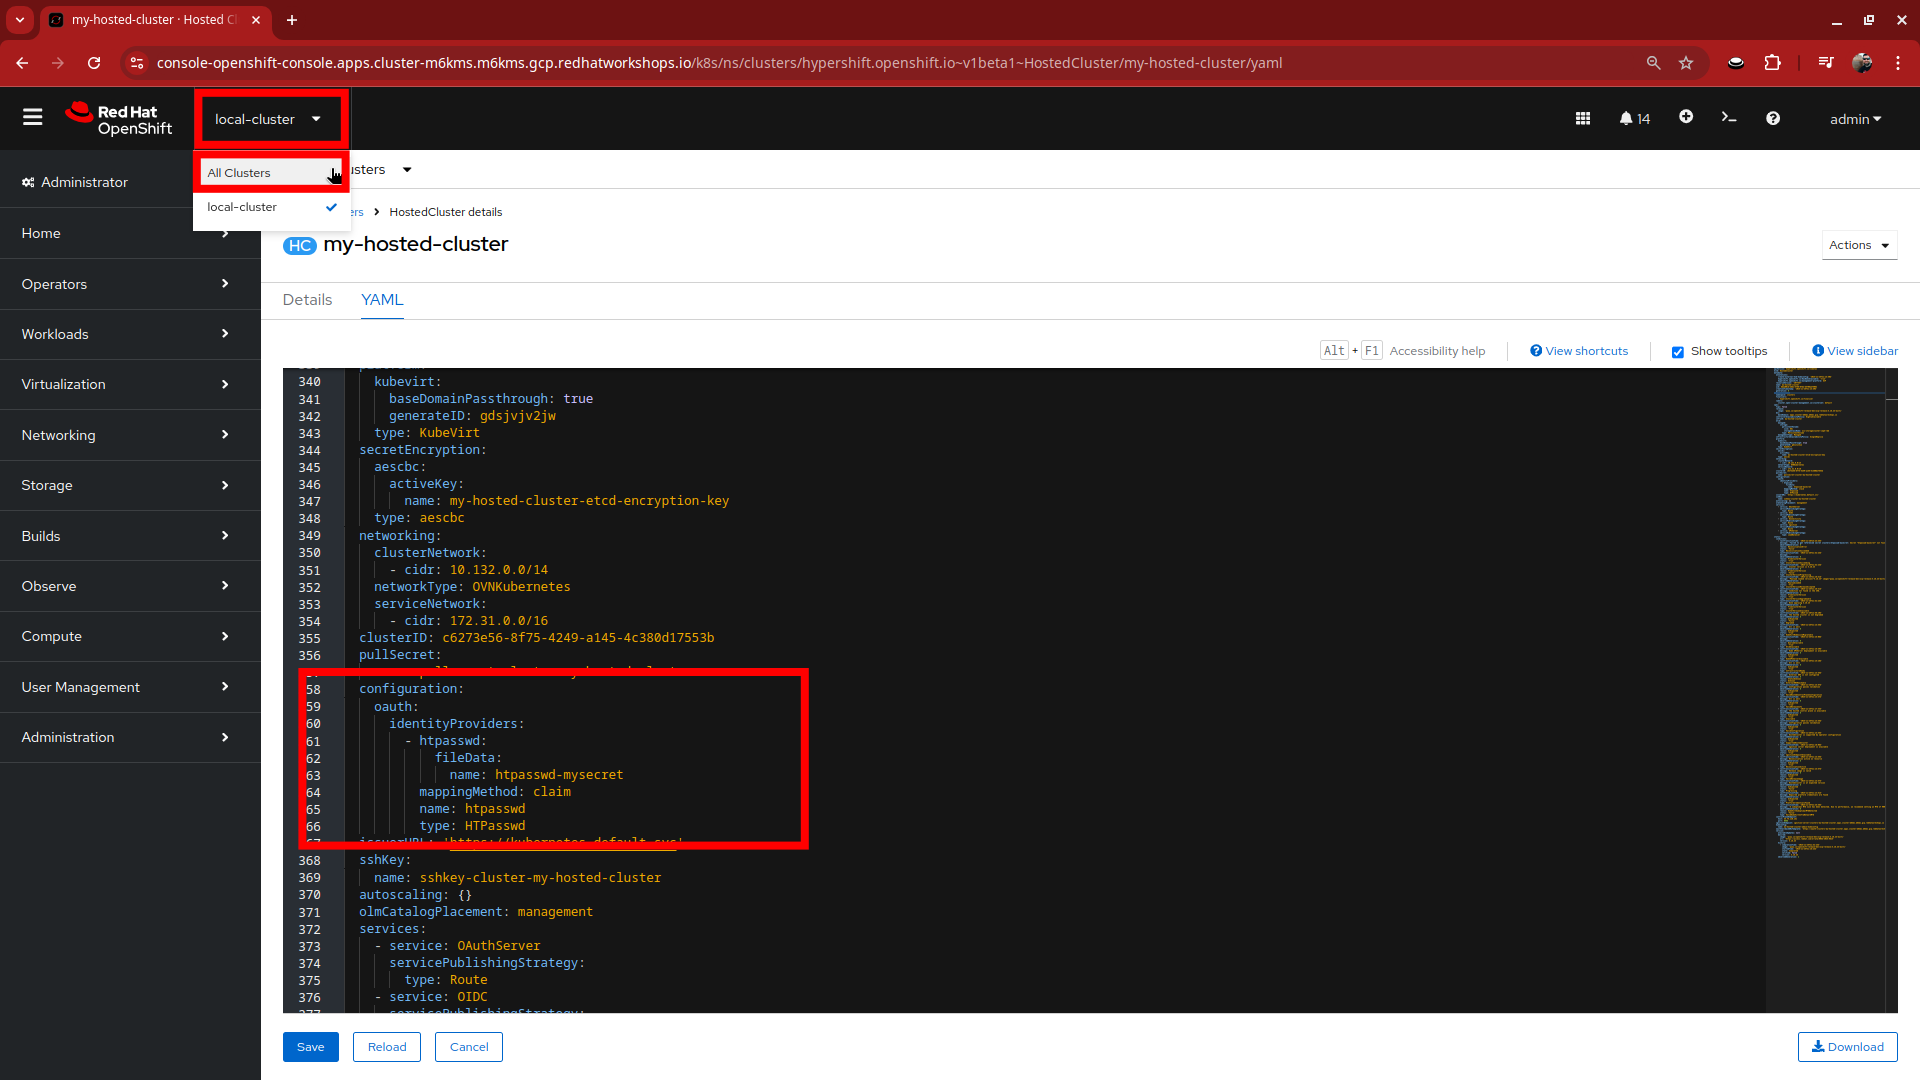
Browse to the bottom of the spec section and paste in the following syntax to add the htpasswd secret as an identity provider. Once complete, click the blue Save button.
configuration: oauth: identityProviders: - htpasswd: fileData: name: htpasswd-mysecret mappingMethod: claim name: htpasswd type: HTPasswd -
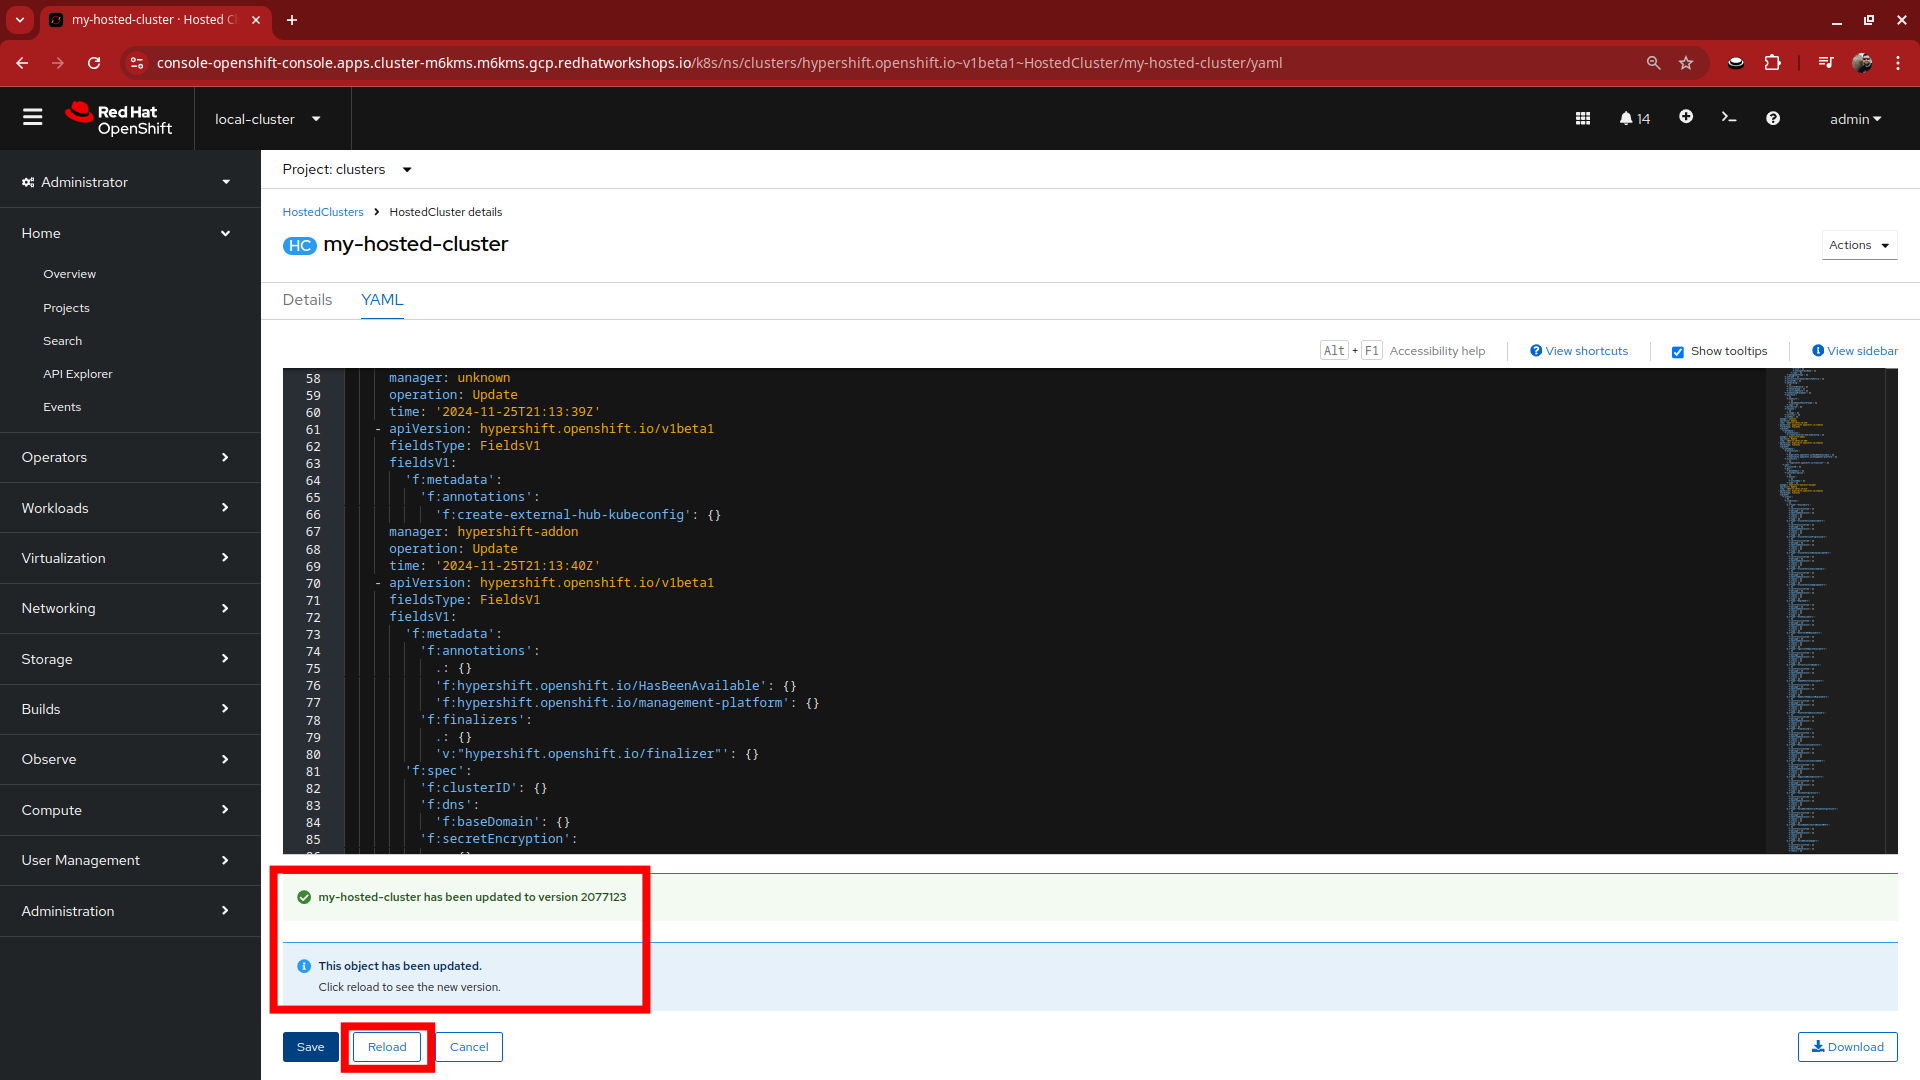
Once saved you will get two messages, that the my-hosted-cluster object has been updated, and a message that invites you to click the Reload button to see the new version. Do that.
-
Return to your terminal and run the following command to show the Oauth pods that exist in the clusters-my-hosted-cluster namespace. The oauth-openshift pods should have all recently restarted.
oc get pods -n clusters-my-hosted-cluster | grep oauth -
Returning to the OpenShift console, scroll up and confirm that your yaml snippet has been applied, and then click the local-cluster menu at the top of the page and select All Clusters from the dropdown to return to the RHACM Cluster list.
-
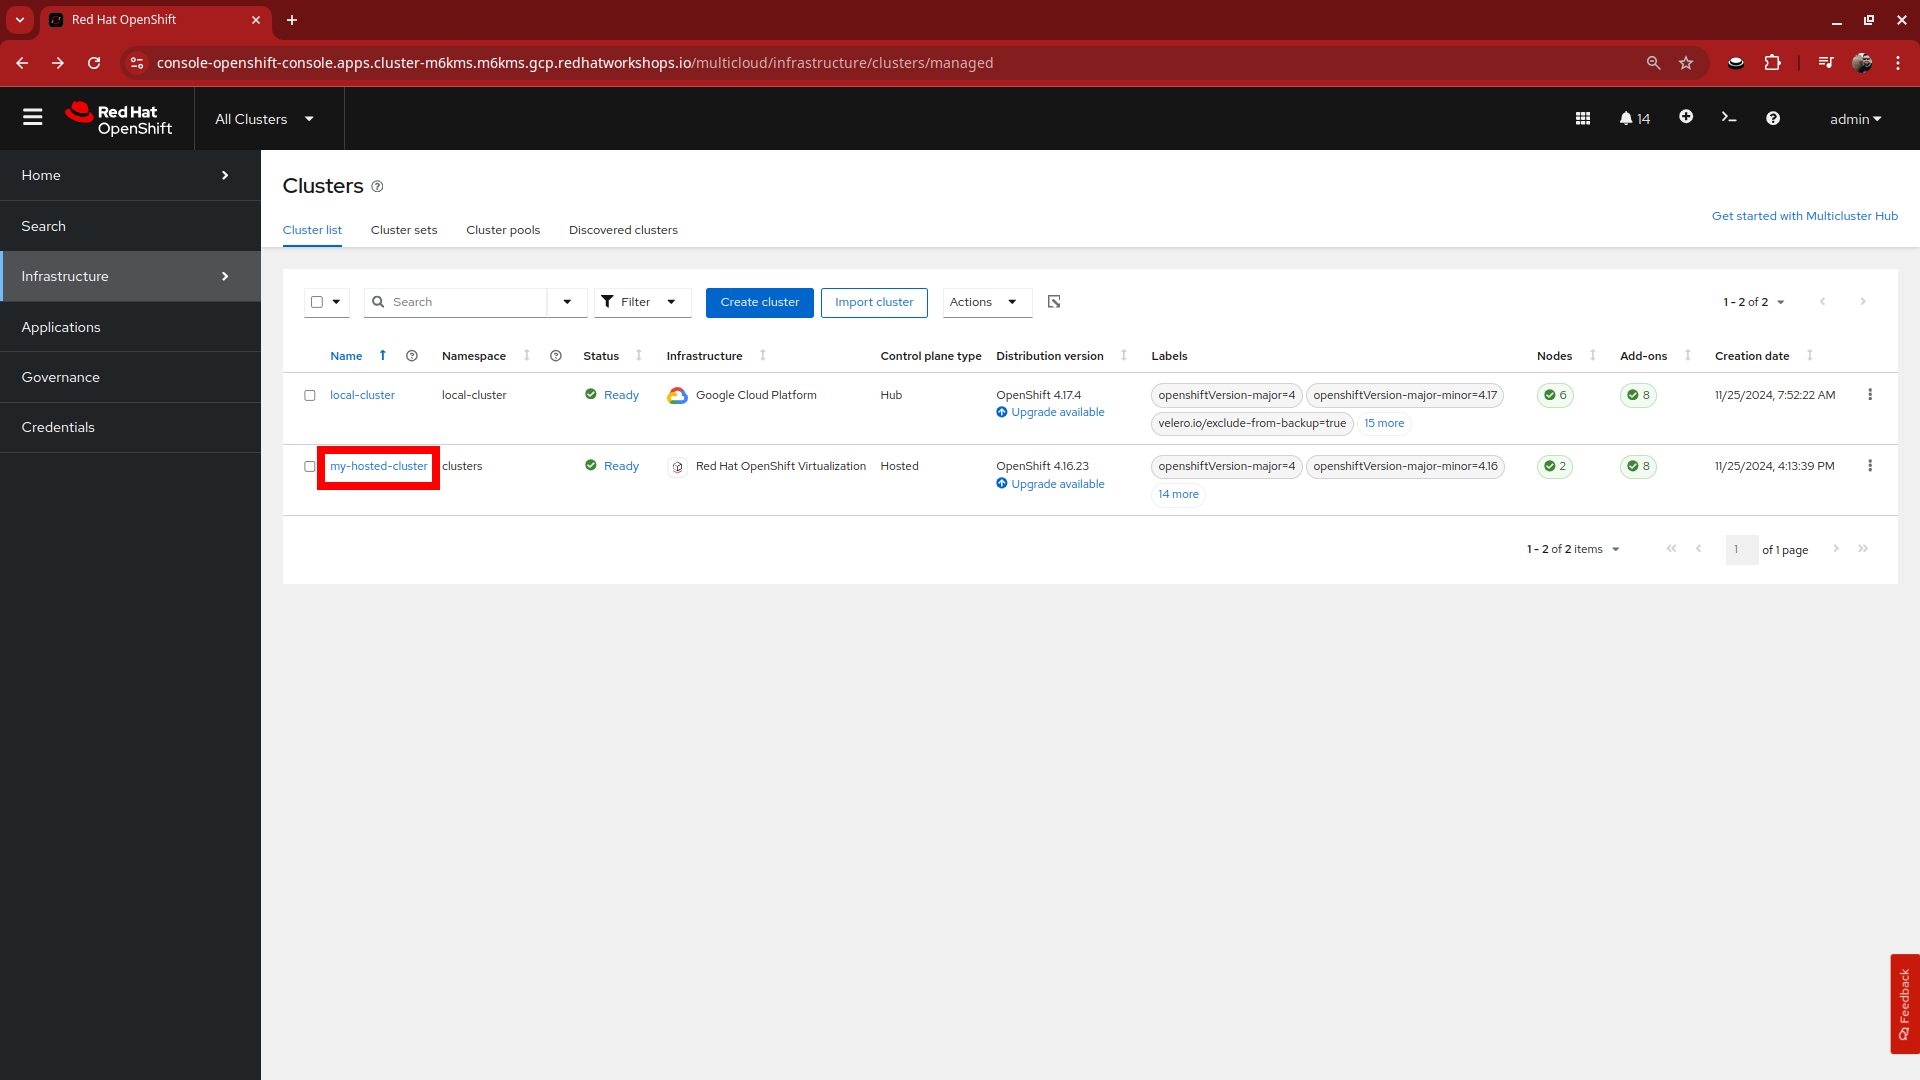
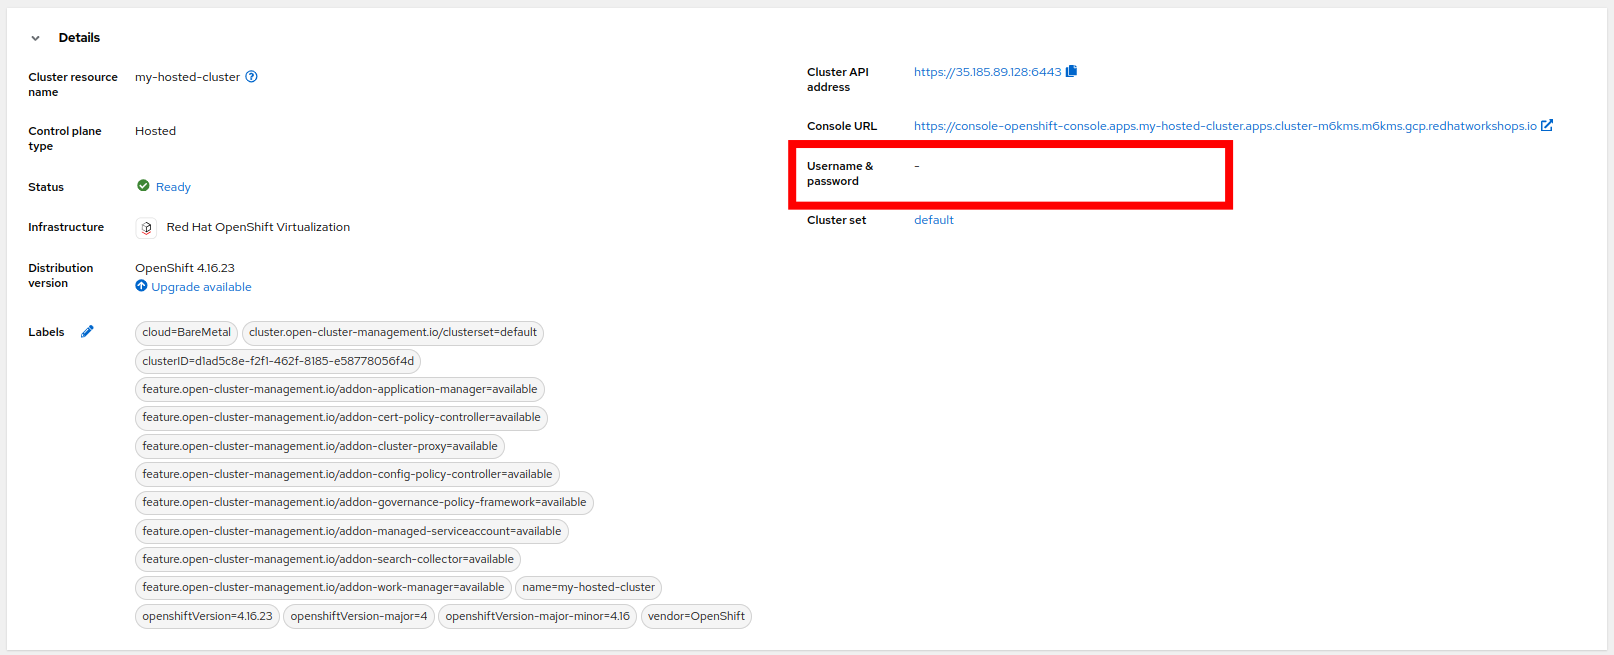
From the list of clusters that appear, click on my-hosted-cluster. Then scroll down to the Details section.
-
Do you notice that something is now missing? The credentials for the kubeadmin login are now missing since that identity provider has been configured.
Test Authentication
-
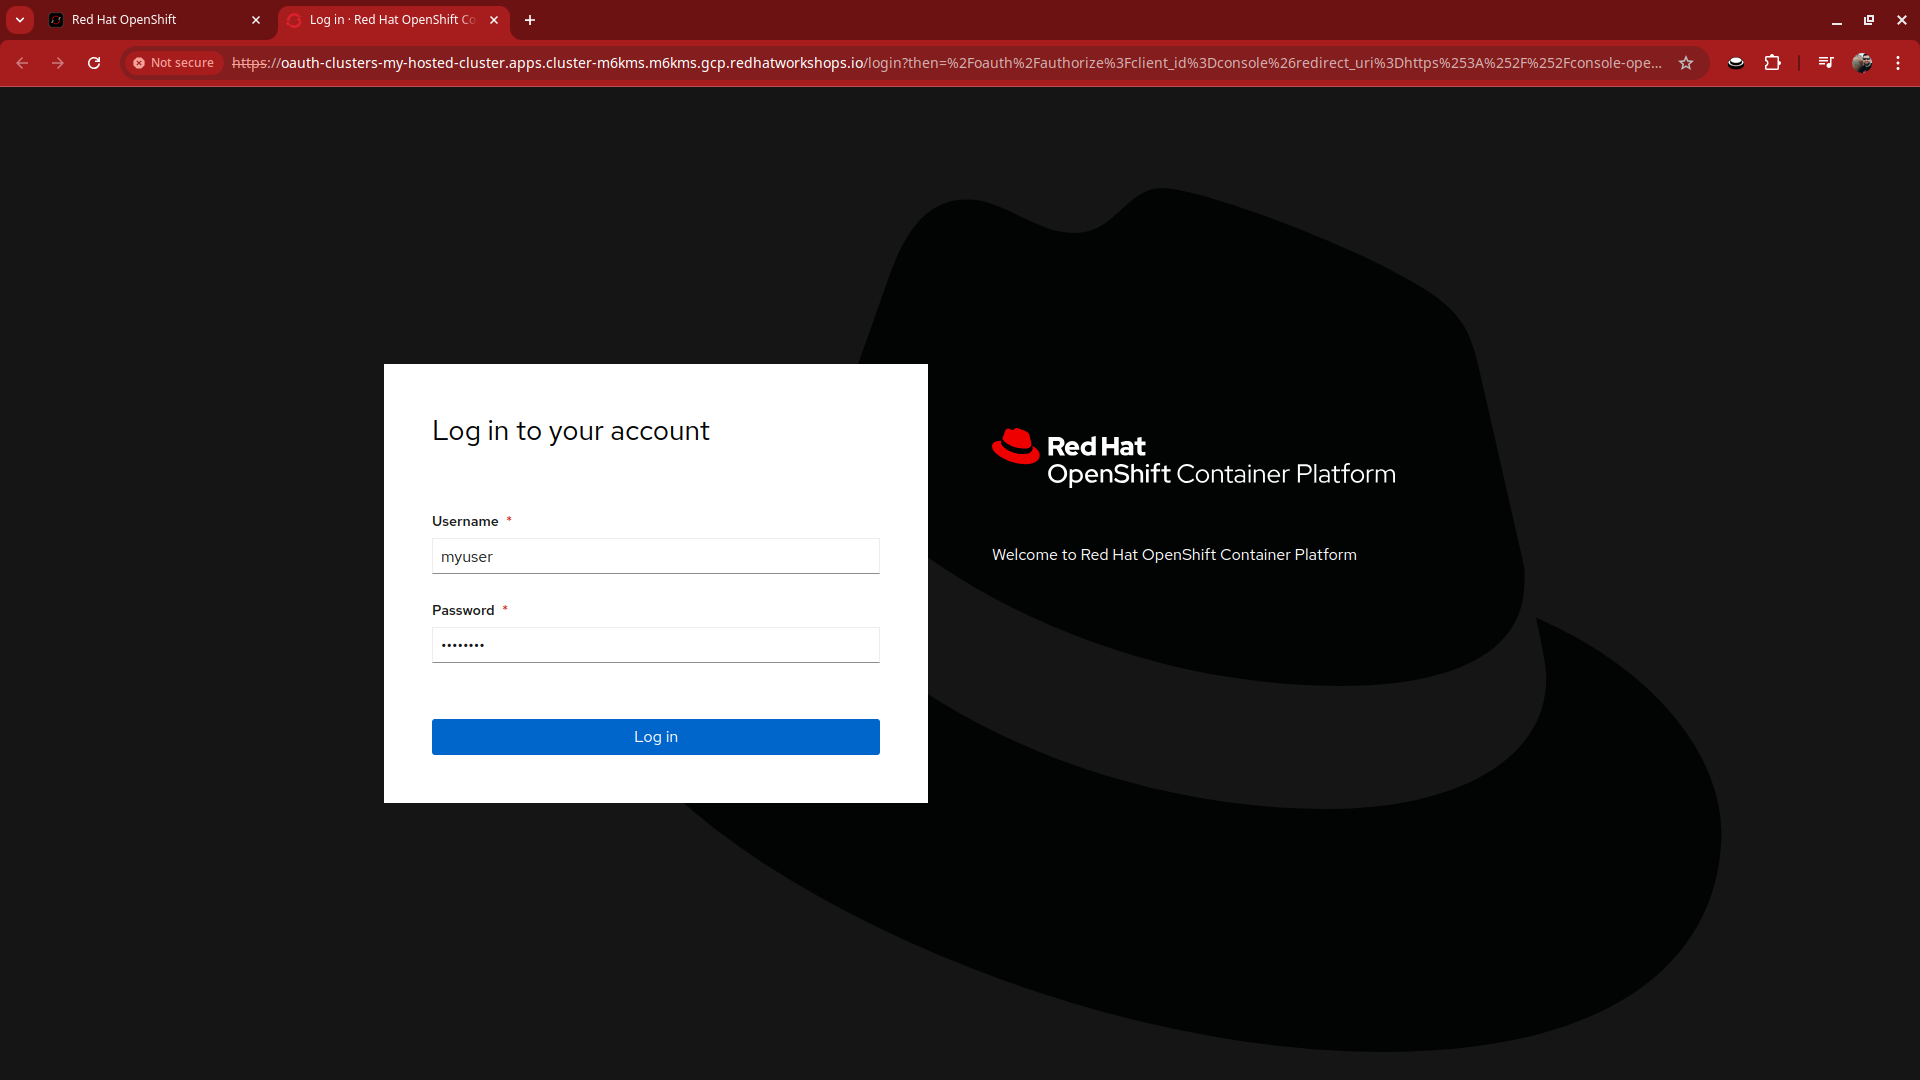
Click on the Console URL link above to launch a new tab where we can test our newly created user account using the username myuser, and the password R3dH4t1!. Notice that there is no option to select htpasswd as our Identity Provider as we would expect. Let’s attempt to login anyways and see what happens.
-
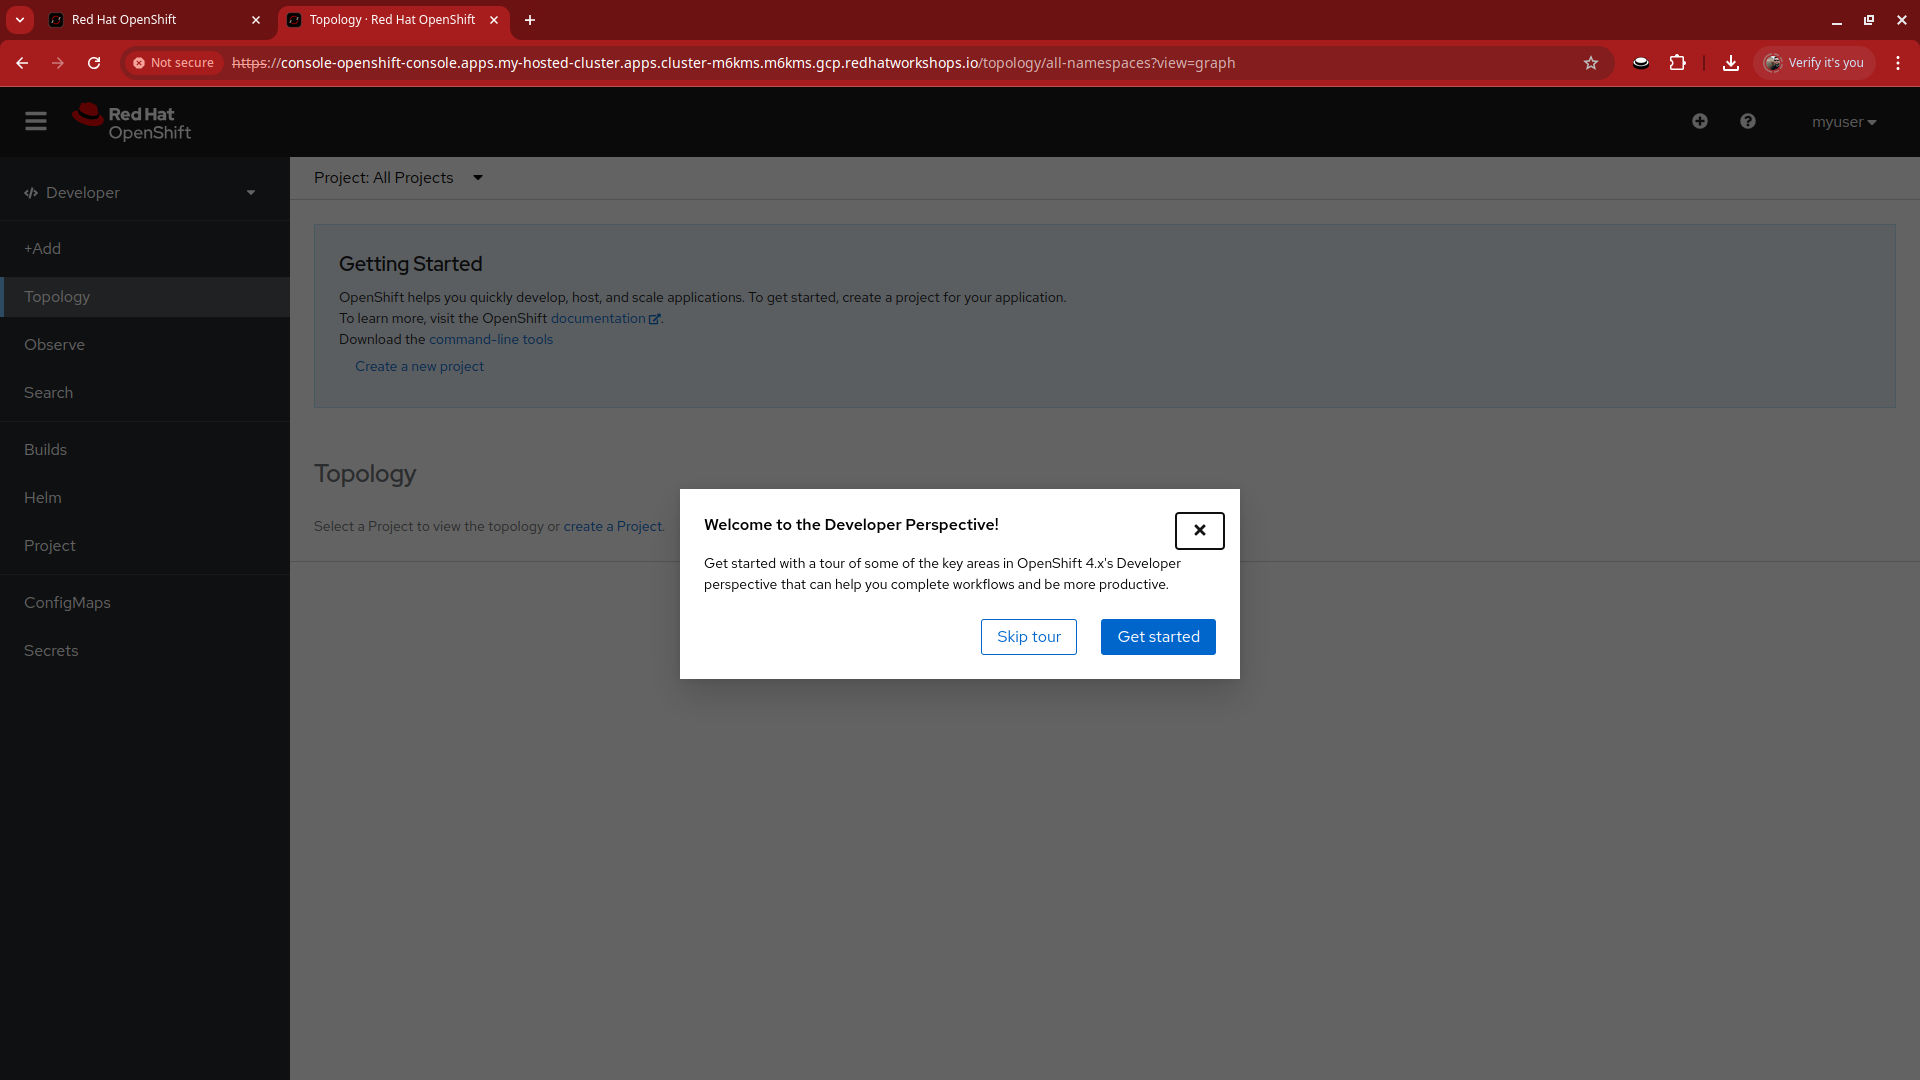
When we log in, we find ourselves in the Developer Perspective which is the default for accounts created with standard user permissions.
-
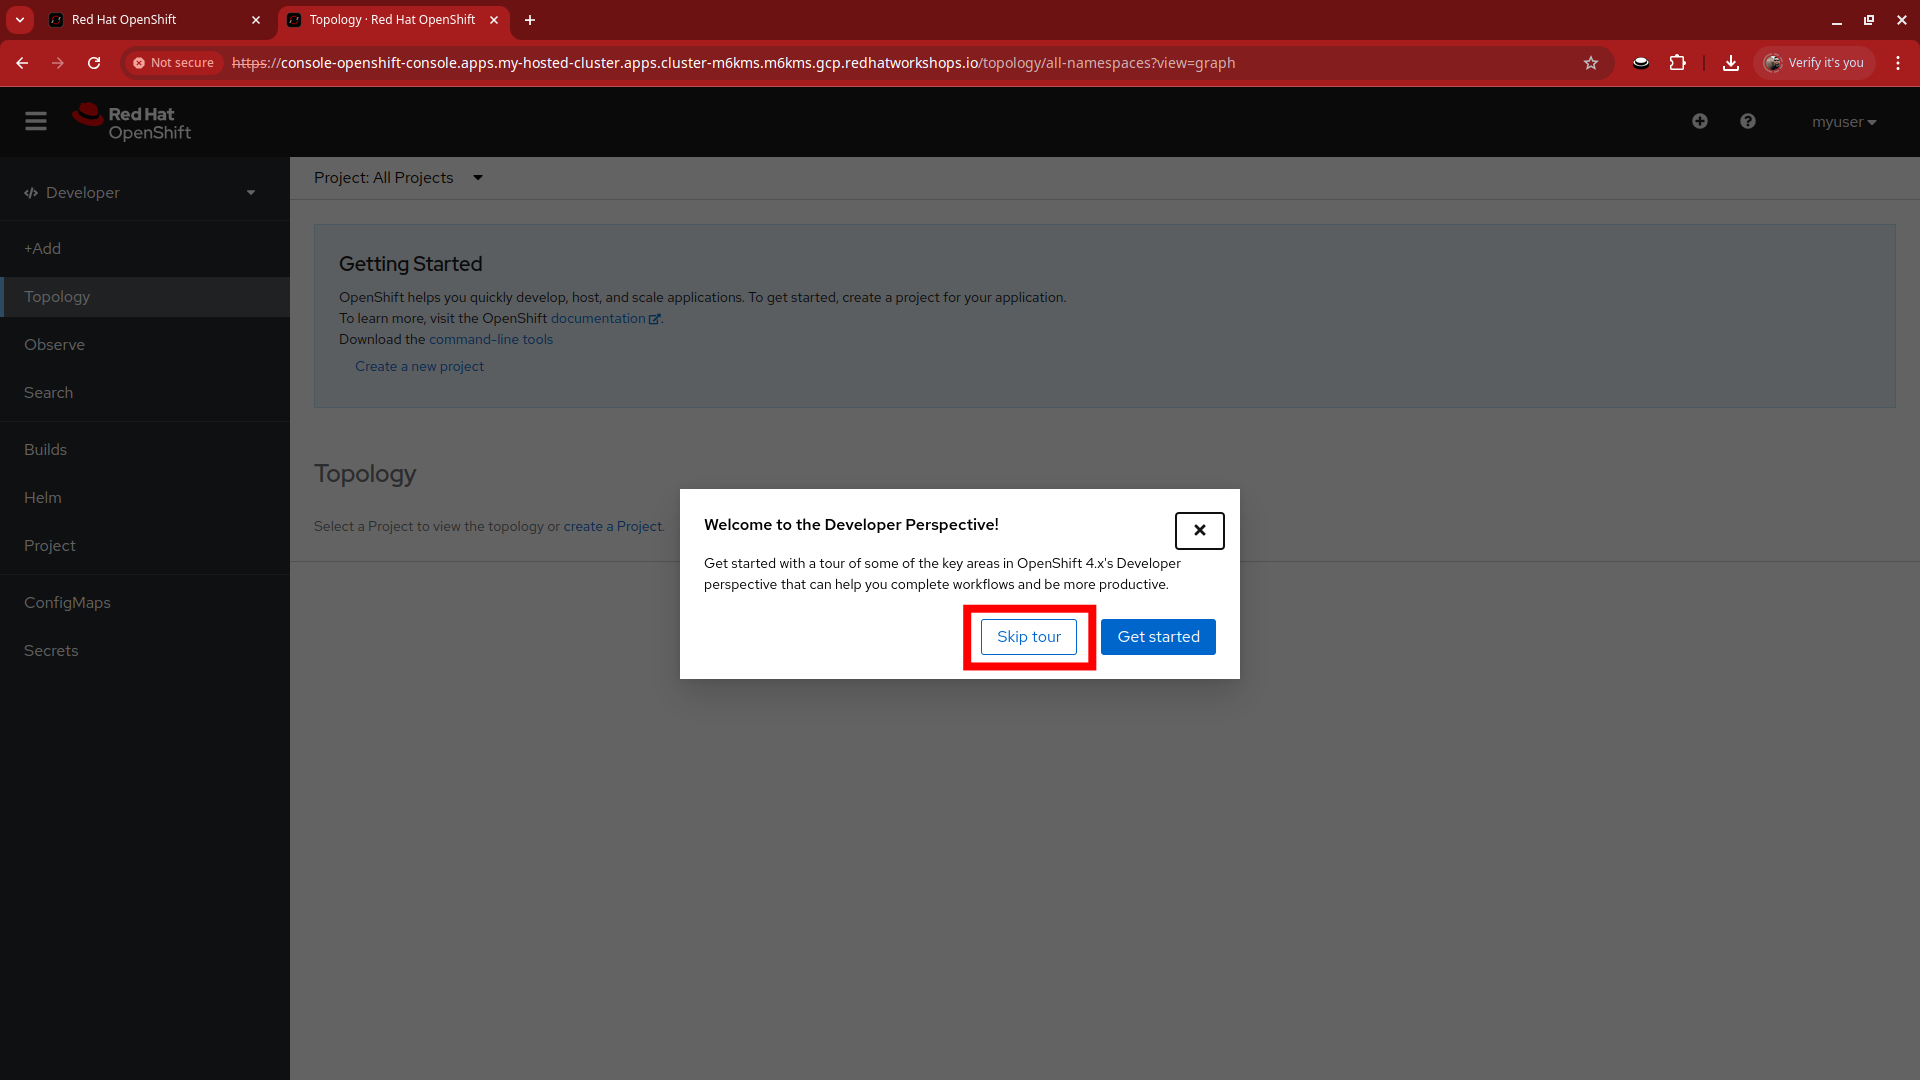
Click on the Skip tour button to bypass and introduction presented to all new users in OpenShift.
-
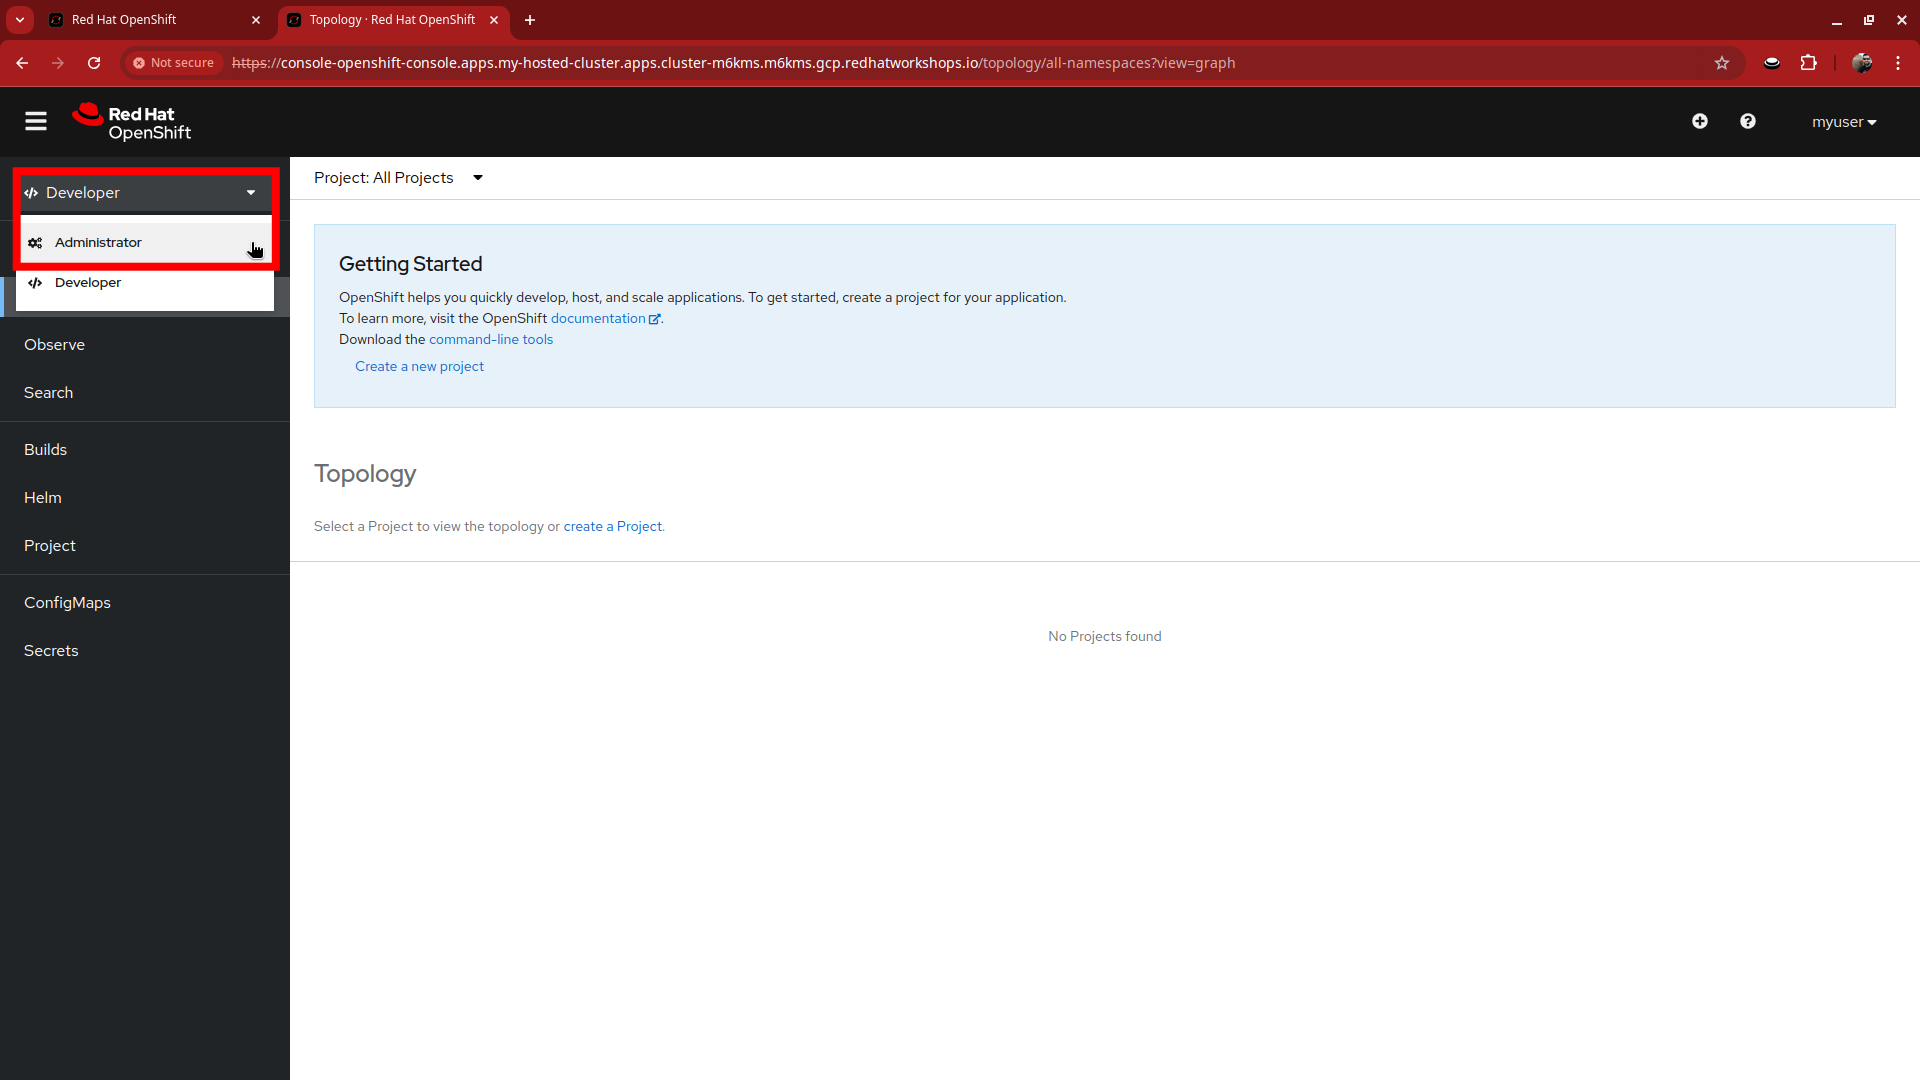
Over on the left-side menu, click on the Developer menu, and select Administrator from the drop-down list.
-
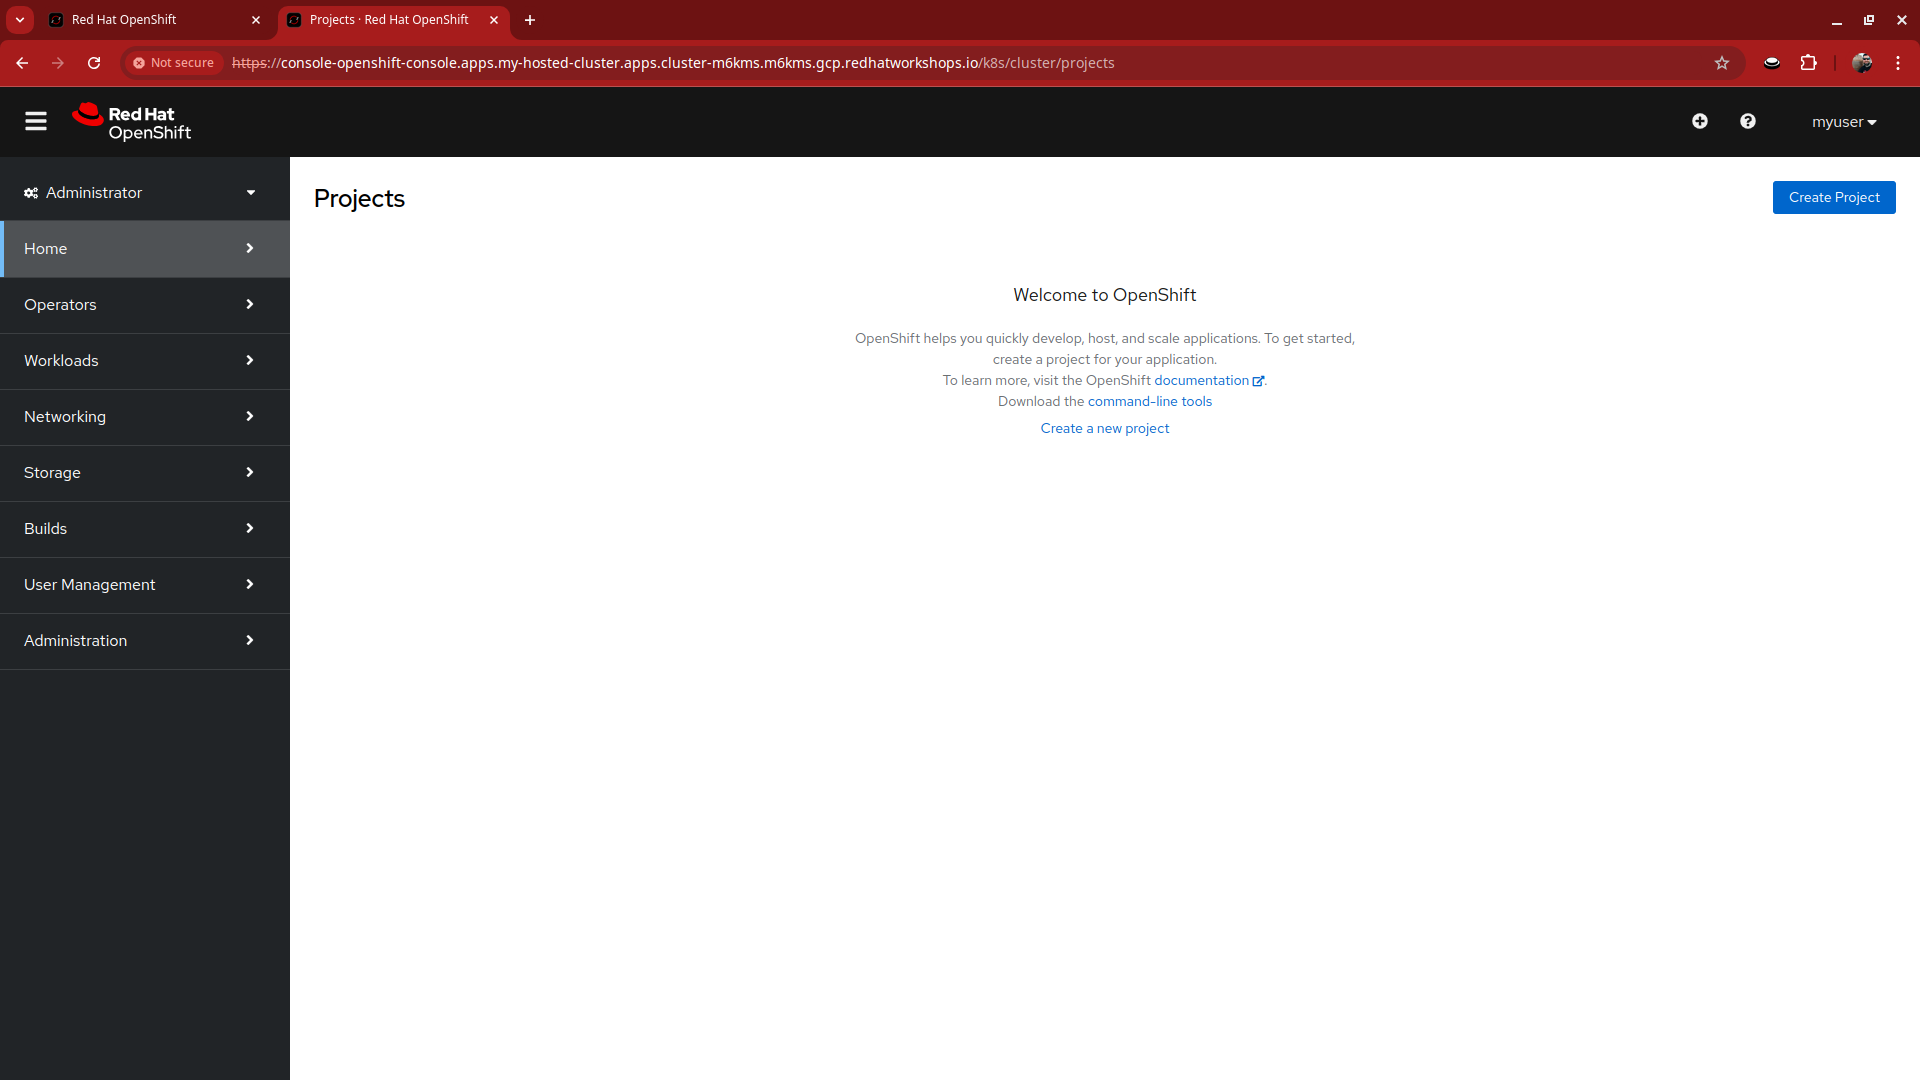
In the Administrator view you will see that we are unable to view practically anything. This is because we didn’t grant our new user account any additional authority over cluster operations.
-
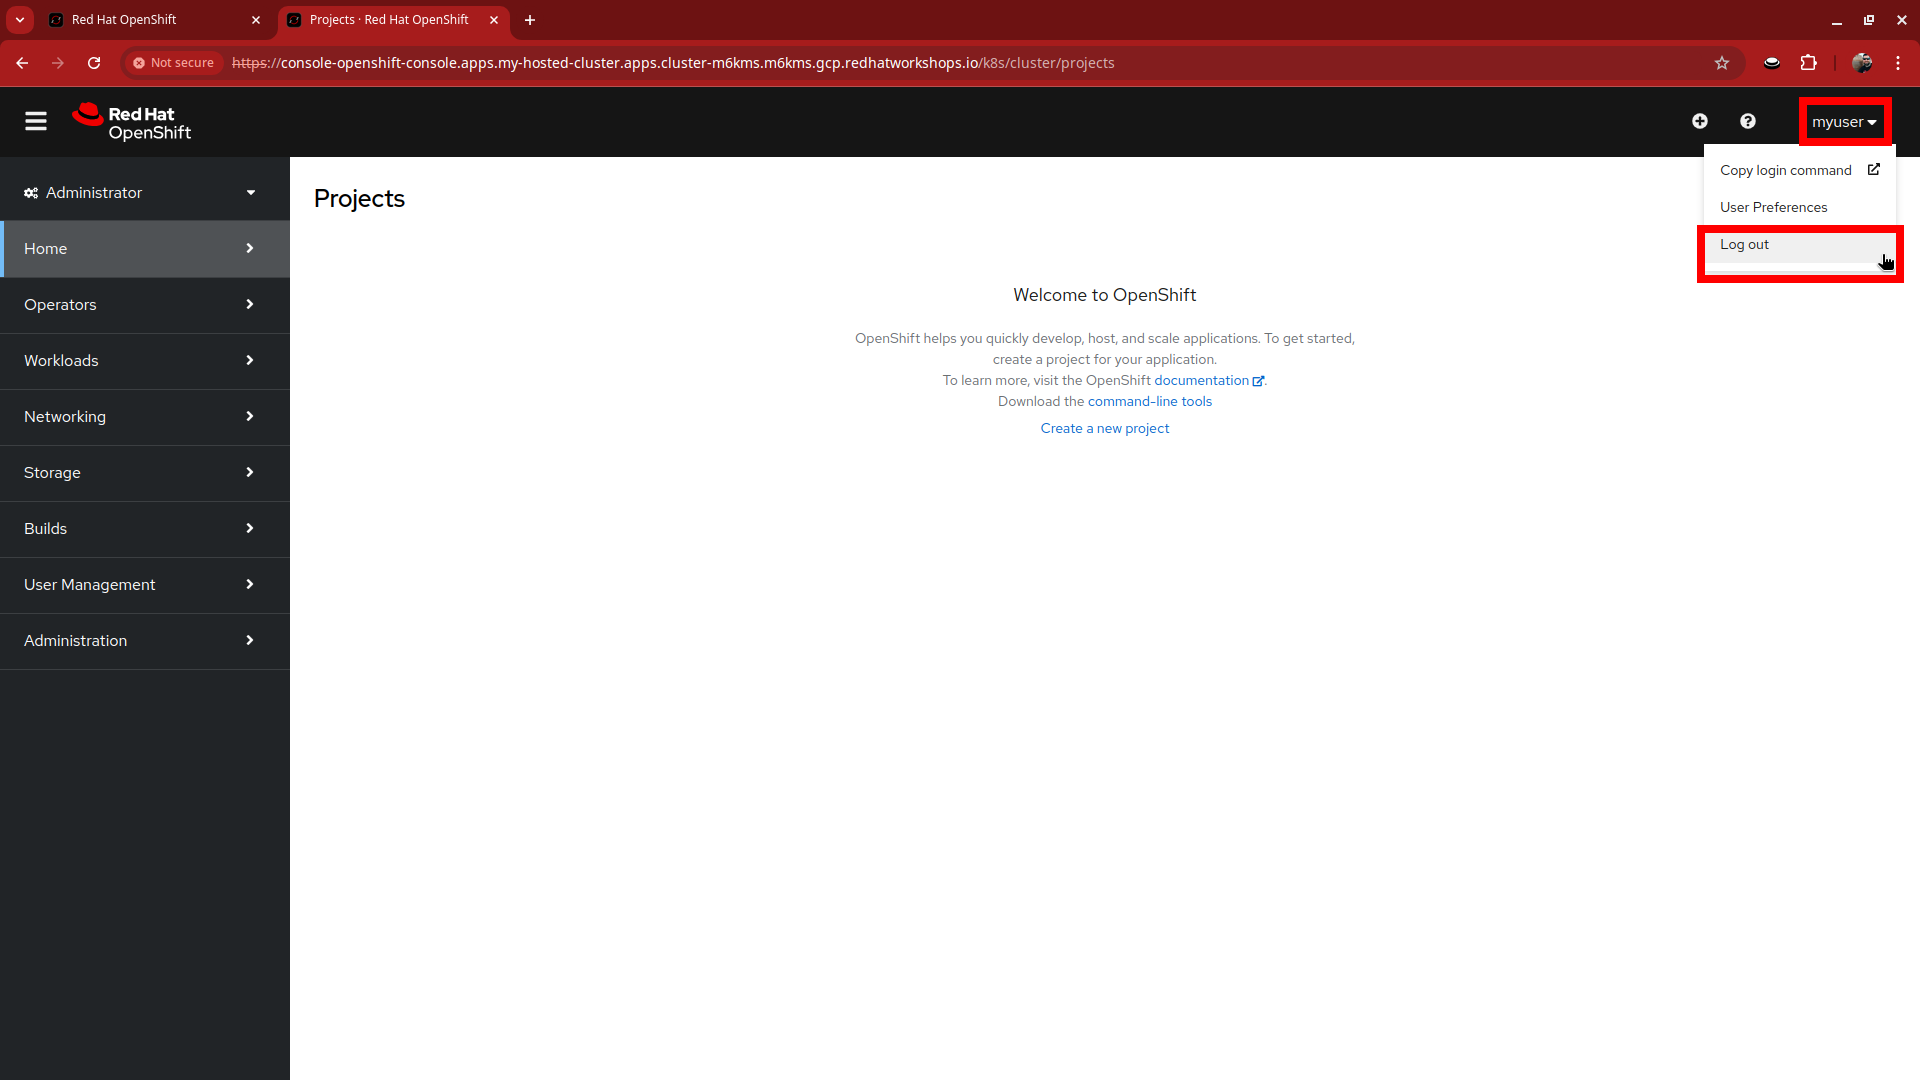
Log out of the console by clicking on myuser in the upper right corner and selecting Log out from the drop-down menu.
-
Return to the terminal where we are still logged into the bastion host.
-
Using the following syntax, use the kubeconfig file we created earlier to add your user to the cluster-admins group.
oc adm policy add-cluster-role-to-user cluster-admin myuser --kubeconfig my-hosted-cluster.kube -
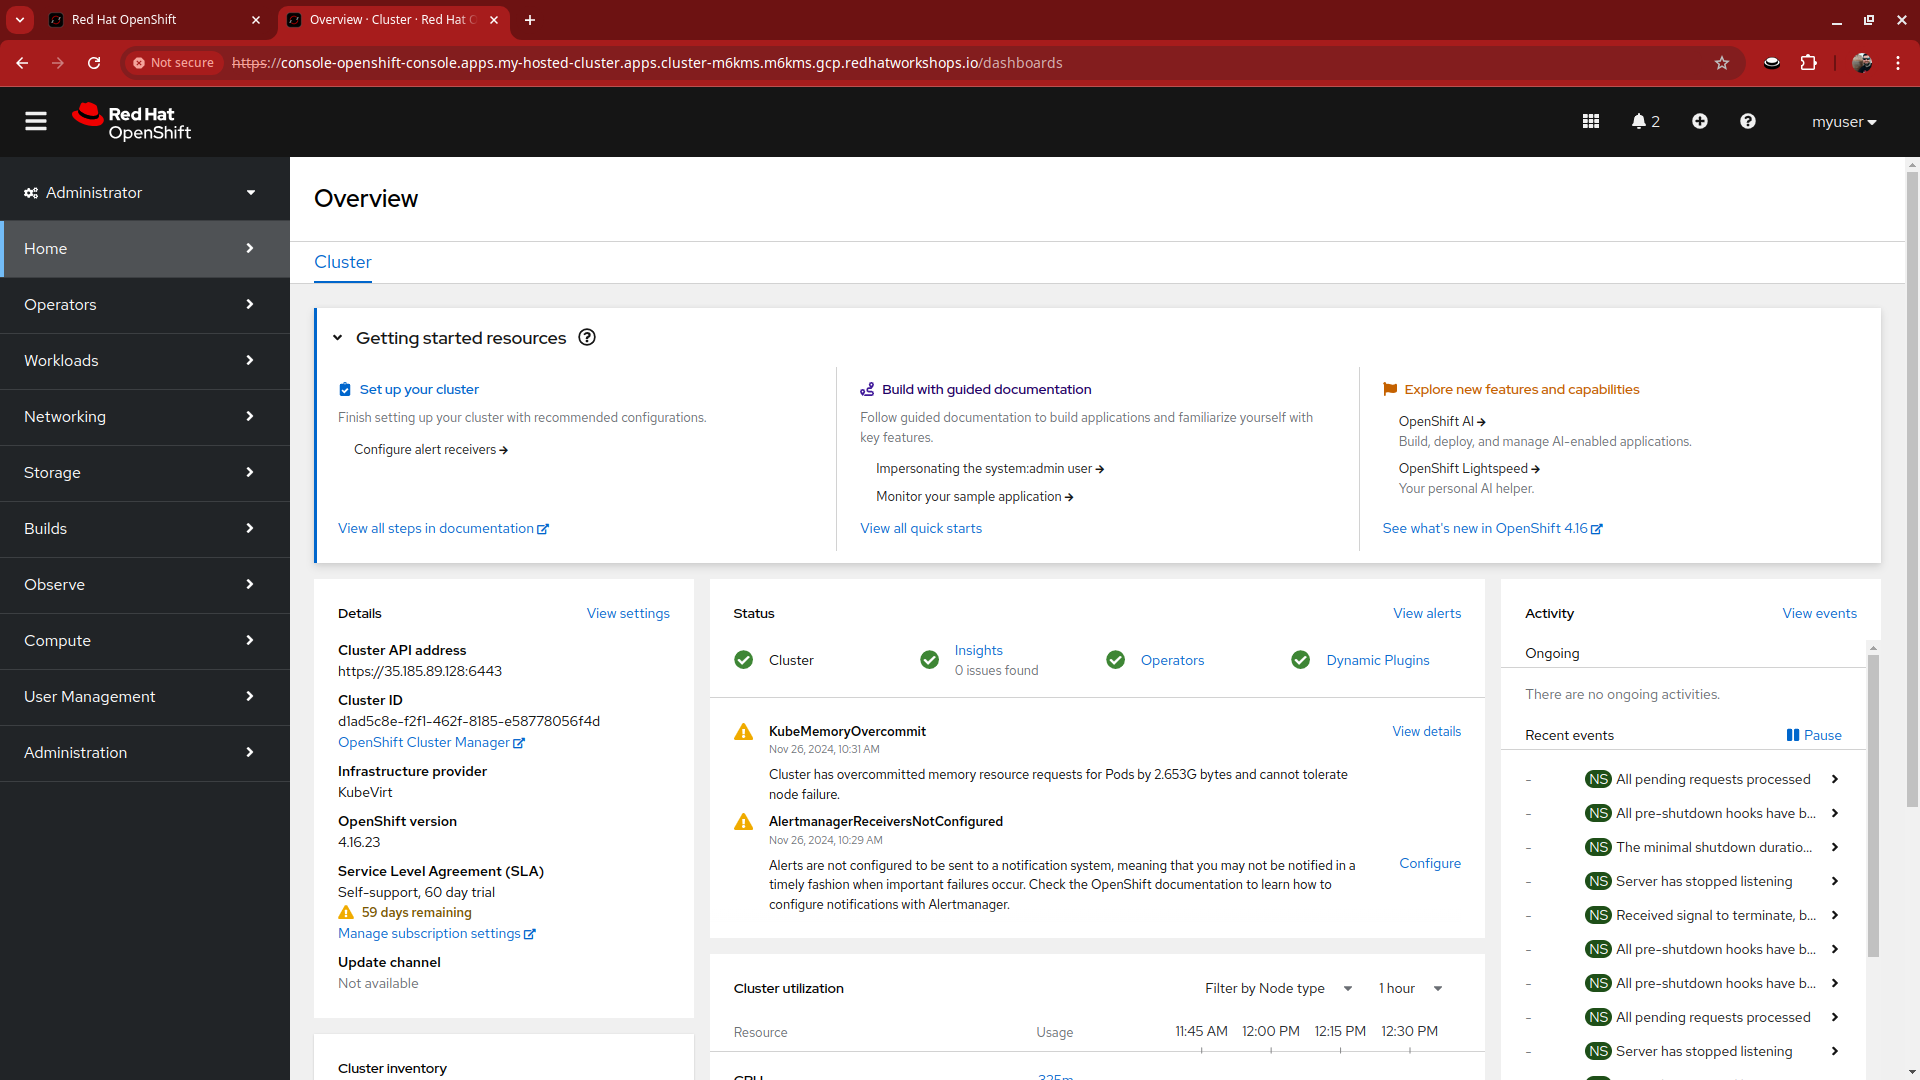
Return to the web console for my-hosted-cluster and login again.
-
You now find yourself logged into the cluster as the myuser account, and as an administrative user with full rights to manage your personal cluster.
Summary
In this section we performed a configuration of the hosted cluster by issuing commands from the console of the hosting cluster, and creating secrets and other resources on the hosting cluster. This shows how OpenShift on OpenShfit clusters using hosted control planes can be easily managed from the hosting cluster after being deployed.
